How Custom Enamel Pins Are Made: A Factory Walkthrough
Why this guide exists
If you’ve ever sourced custom enamel pins from a Chinese factory, you’ve probably received a quotation with line items like “soft enamel,” “hard enamel,” “die-struck,” “5μm gold plating,” and felt like you were reading a foreign language. This guide walks you through every step of how a custom enamel pin is actually made, so you can make better sourcing decisions and ask better questions.
Step 1 — From sketch to mold-ready file
Every pin begins as a sketch or logo file from a client. The first job of the factory’s design team is to convert that artwork into a clean vector file with two specific properties: (1) every closed shape becomes either a metal area or an enamel area, and (2) every enamel area has a single Pantone color callout. This is called “mold-ready” artwork because it can drive the next step directly.
A common rookie mistake is sending us a JPG logo and assuming we can “just figure it out.” We can — we have a 4-person design team that converts client artwork to mold-ready vectors daily — but the back-and-forth on color picks and metal-line widths adds 2-4 days to the timeline. If you can send a clean vector with Pantone callouts upfront, you skip this step.
Step 2 — CNC engraving the steel die
The steel die-block is the heart of every stamped pin. It’s a square block of hardened tool steel (we use SKD-11, heat-treated to HRC 58-62) with a mirror-image negative of your pin design engraved into it at ±0.02 mm tolerance.
Most factories outsource die engraving to specialty shops, which adds 5-7 days. We engrave ours in-house on a 3-axis CNC mill — turnaround is 3-5 days for 2D designs, 5-8 days for 3D figurine pins that require multi-cavity molds.
Step 3 — Stamping the brass blank
A flat brass disc (about 1.2-1.5mm thick for soft enamel, 1.5-2.5mm for die-struck) is placed in the die, then pressed under 80 tonnes of hydraulic force. The die crushes the brass into the engraved shape, creating recessed channels for enamel filling and raised metal lines that define the design.
After stamping, the pin is trimmed (the excess brass outside the pin outline is cut away), the post is soldered to the back, and the rough piece moves to the coloring station.
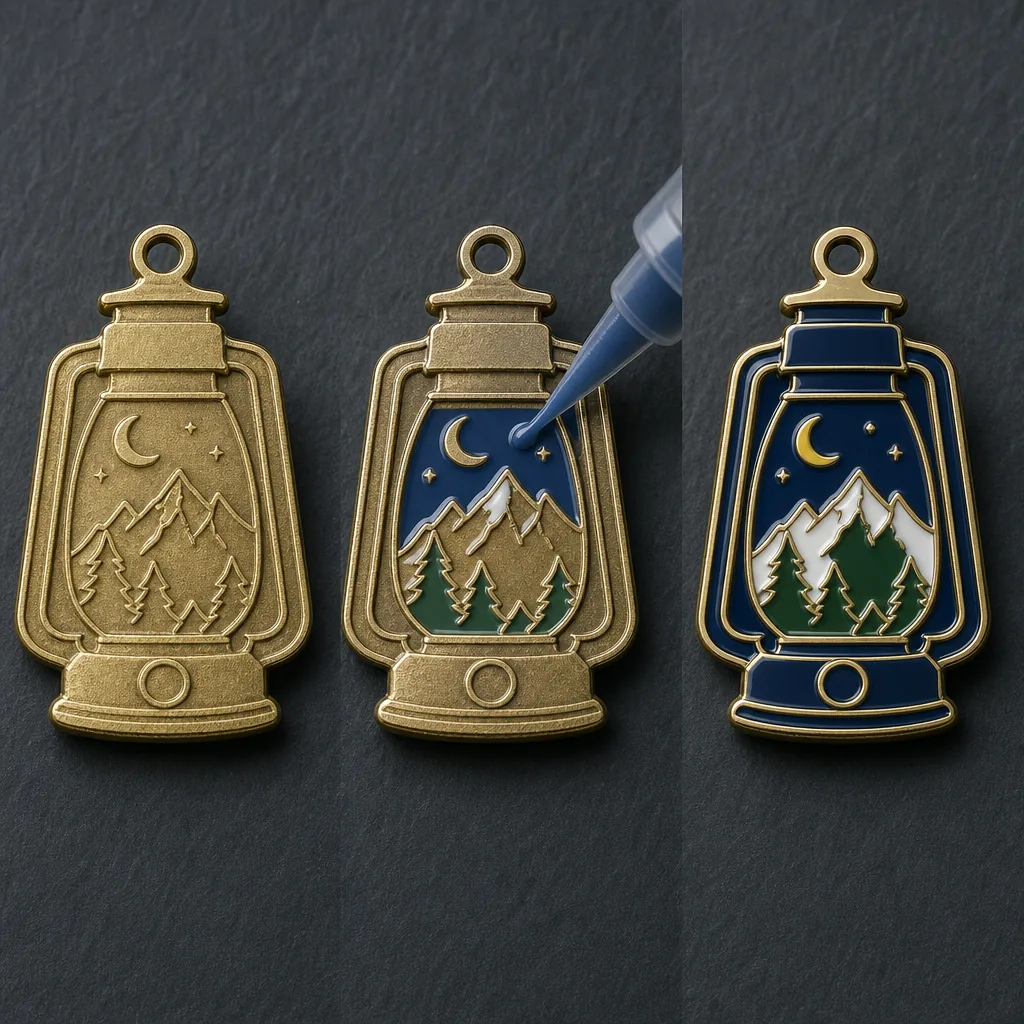
Step 4 — Filling enamel by hand
Each recessed channel in the pin is filled by hand by a skilled colorist using a fine syringe loaded with paste enamel. The colorist works under a magnifying lamp, fills each compartment to a precise level, and inspects for bubbles or under-fill. A complex pin with 6-8 colors takes about 2 minutes of hand labor per piece.
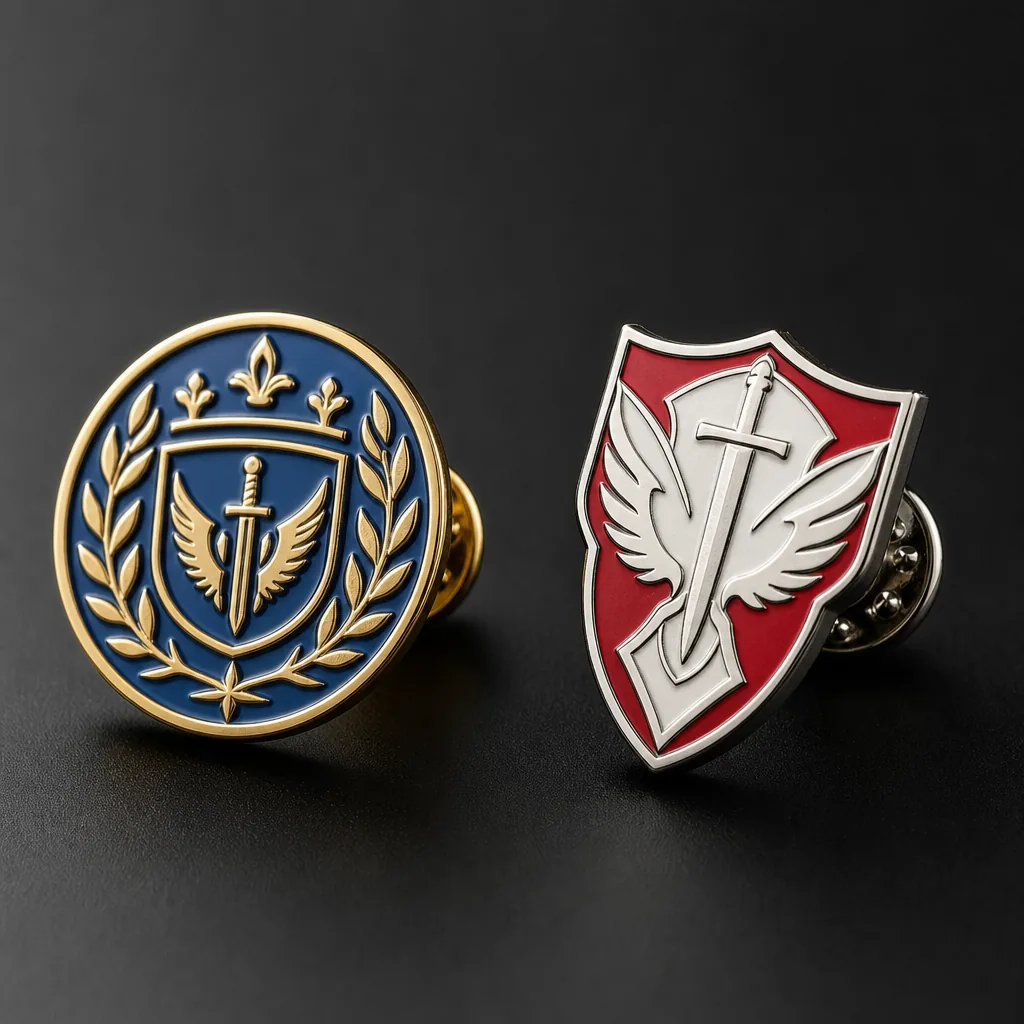
After filling, the pin is baked in a kiln at 180°C for 8-10 minutes to set the enamel. For soft enamel, this is the final color step — the surface ends up slightly below the metal lines, giving the pin its characteristic textured feel.
Step 5 — Hard enamel: refill and polish
For hard enamel pins, we don’t stop after one bake. The pin goes back through the filling station for a second pass (topping up any settling), gets baked again, and then is sent to the polishing station where a buffing wheel grinds the enamel surface flush with the raised metal lines, creating the signature mirror-flat surface.
This is why hard enamel costs more than soft enamel — additional labor at the filling station, an extra kiln cycle, plus the polishing step. But the result is a jewelry-grade surface that feels significantly more premium in the hand.
Step 6 — Plating
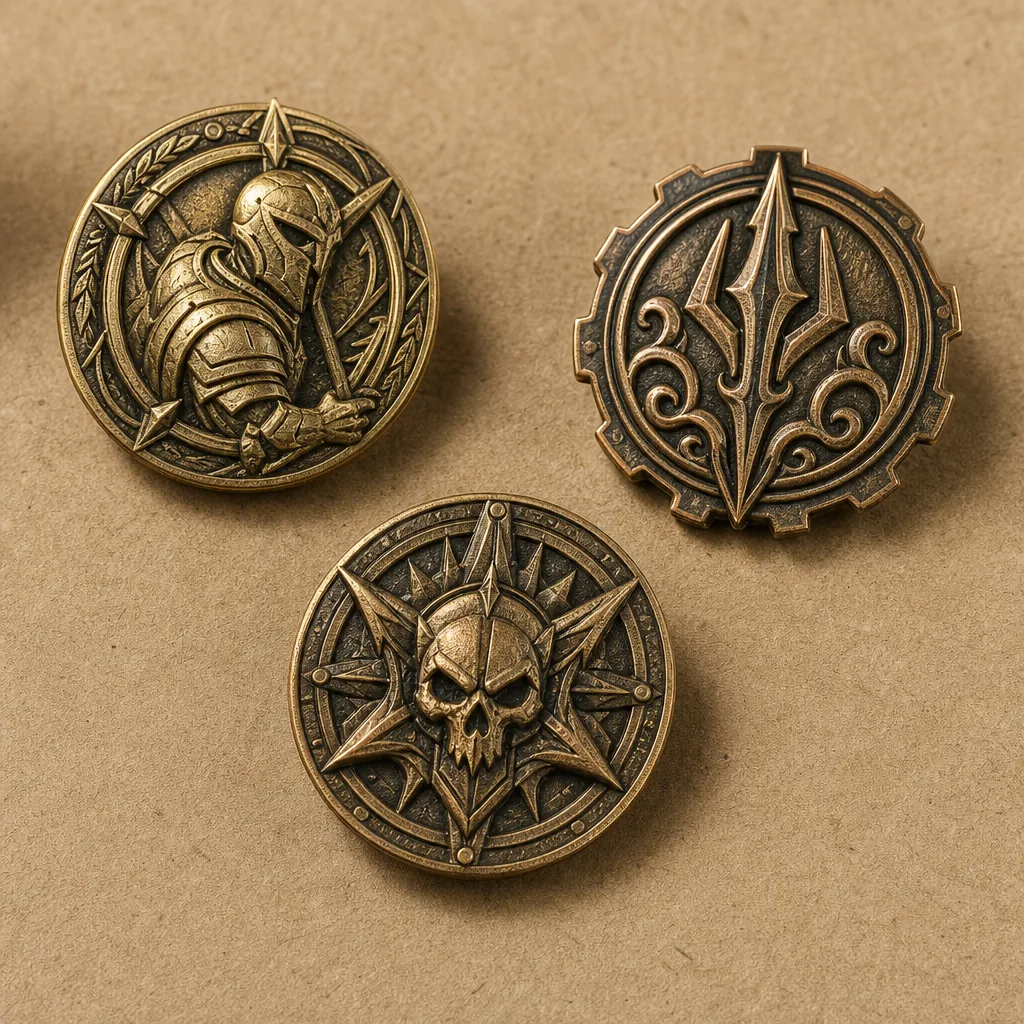
After coloring, the pin goes into electroplating tanks where it’s coated with a thin layer of your chosen final metal — gold, silver, rose-gold, antique-brass, gunmetal, nickel, chrome, dyed-black, or one of our other 12 standard finishes. Standard plating thickness is 2 microns; we recommend 5 microns for keychains and items that will receive heavy handling.
For nickel-free plating (required for EU markets), we substitute palladium as the undercoat — adds about 5-10% to the per-piece cost but eliminates the allergy risk.
Step 7 — Final polish, clutch attachment, packaging
The plated metal lines are buffed to a high mirror polish (the enamel is masked so the polishing doesn’t affect it). The pin’s back receives its attachment hardware — butterfly clutch (standard), rubber clutch, magnetic backing, or safety-pin. Then it’s individually bagged or pouched and packed into export cartons.
What this means for your sourcing decisions
When you receive a quote, the line items now make sense. The price differential between soft and hard enamel reflects real labor cost — multiple enamel passes, an extra bake cycle, and a polishing step. The plating thickness affects long-term durability — 2μm is fine for desk-bound corporate pins, but a 5μm heavy plating is worth the upcharge for keychains that ride in pockets.
Most importantly: every step happens in the same factory under the same management. There’s no “we’ll send it out for plating” or “the enameling is done by a partner.” A factory that controls the full pipeline is a factory that can deliver consistent quality, batch after batch.
Have a custom pin project? Send your artwork and we’ll respond with a detailed quotation within 12 hours, including which steps we recommend and where you can save cost without compromising quality.
Ready to get this made?
Send your sketch, target quantity and ship-date. Detailed quotation in 12 hours.