What to Specify When Ordering Mixed Promo Sets
The order that looks simple on paper
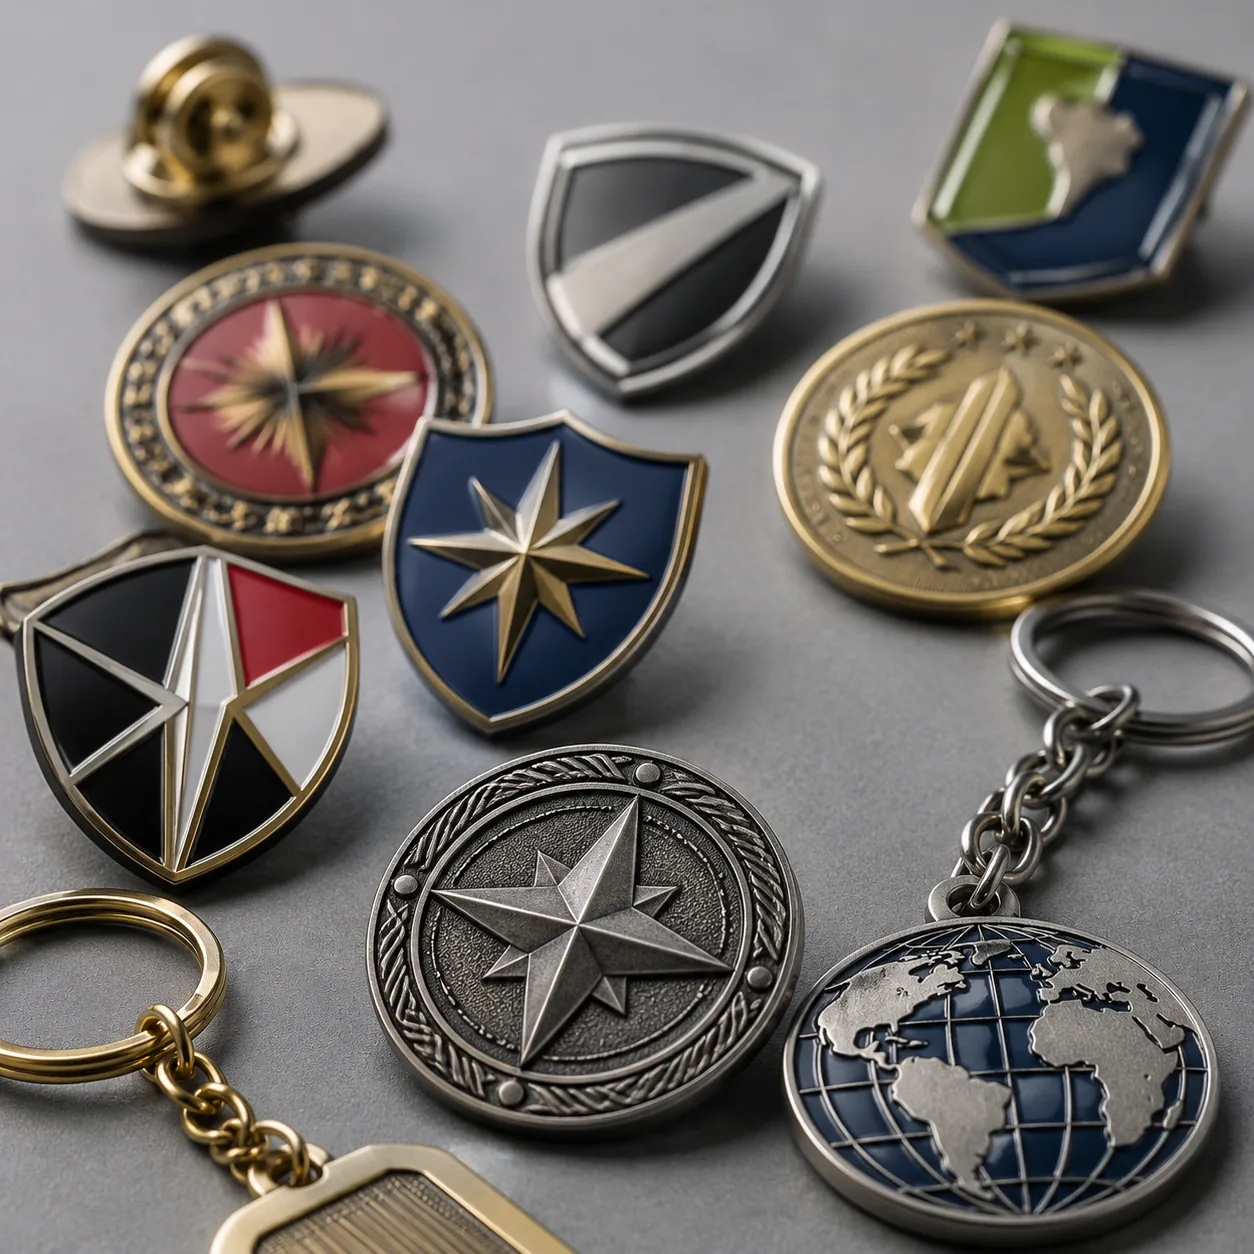
A marketing team may ask for one launch kit: a metal pin, a keychain, a patch, and a lanyard packed together for an event. On paper, that looks like four standard items. In production, it is a systems order: four processes, four material stacks, four QC routes, one packaging spec, and one deadline. Most rework starts when the buyer approves each item separately while the factory must deliver one coordinated set.
Mixed promo sets should be spec’d as a single program, not four unrelated SKUs. If artwork is approved before dimensions are frozen, if packaging is approved before accessory weights are checked, or if the ship date is set before tooling overlap is mapped, the quote can still look clean while the production plan fails. In practice, the common failure modes are predictable: the set looks visually inconsistent, the carton size changes late, one component misses approval, or the packing plan has to be rebuilt after sampling.
A better starting point is to define the end use and set architecture first. Is the kit premium PR mailer, retail add-on, conference handout, or employee welcome pack? That answer drives whether the pin should be the hero piece, whether the patch needs a backing card, whether the lanyard must carry a safety breakaway, and whether all items need retail-level presentation or simply bulk protection. Once that is clear, the factory can balance scale, finish, and packing around the set instead of optimizing each part independently.
Build the set architecture before artwork
Lock the product architecture before you open artwork comments. For example, a 35 mm soft enamel pin, a 60 mm zinc-alloy keychain, a 75 mm woven patch, and a 20 mm polyester lanyard can work together, but only if their visual weight is planned as one system. A set that mixes a small pin with a bulky keychain and an over-printed lanyard often feels assembled rather than designed.
For each item, freeze four basics early: finished size, primary material, finish family, and packaging format. For small metal items under 50 mm, a practical dimensional tolerance is ±0.3 mm on the outline and ±0.2 mm on critical fit features such as loops, clasps, pin posts, and hole spacing. For larger metal parts up to about 80 mm, ±0.5 mm is usually acceptable if the fit is not functional. For patches and lanyards, specify ±1.0 mm on width and ±2.0 mm on overall length unless the item must fit a fixed insert card or box cavity.
The same discipline applies to thickness. A 1.2 to 1.5 mm pin is typical for soft enamel; a 1.8 to 2.5 mm zinc-alloy keychain body is common when the design needs a solid feel; woven patches often sit around 0.8 to 1.2 mm total thickness including merrow or laser-cut edge; and polyester lanyards are usually 0.8 to 1.2 mm thick depending on weave and print method. If thickness is left vague, one supplier may quote a thinner body that cuts cost but changes weight, pack size, and perceived value.
Choose one visual system across different materials
The challenge is not perfect color matching across different substrates; it is making dissimilar surfaces read as one brand family. A soft enamel pin, a plated keychain, a woven patch, and a polyester lanyard will never look identical under all lighting because gloss, texture, and substrate all affect perception. Buyers should specify a visual target, not just a Pantone number.
A practical method is to define one dominant metal finish, one accent color, and one neutral support color across the set. For example: matte black nickel on the pin, satin nickel on the keychain, a black-bordered woven patch, and a black lanyard with one accent print color. That combination feels coordinated even though the substrates differ. If the lanyard is dye-sublimated, expect the print to read about 5 to 10 percent brighter than the enamel fill under showroom light; that shift is normal and should be accepted in the approval notes if the brand system is otherwise consistent.
For premium kits, the most useful visual controls are finish family, line weight, and insert color. A 0.2 to 0.3 mm recessed line on a pin may read cleanly next to a 3 mm woven edge on a patch if both use the same accent tone. In contrast, mixing polished gold, brushed silver, and gloss black in a small set usually makes the kit look collected rather than designed. If the client wants a mixed-metal look, state where the contrast is intentional so the factory does not “harmonize” it away.
When color consistency matters, define it in a way the factory can test. A useful request is: enamel, print, and thread should match the approved Pantone within ΔE ≤ 2.5 on the first article sample under D65 light, allowing a looser visual tolerance on textured materials such as woven patches. That is more actionable than simply saying “match the artwork.”
Lock the specs before quote comparison
Factory quotes for mixed sets are only comparable when the inputs match. A low quote often hides thinner metal, fewer plating steps, no epoxy, looser tolerance, or simplified packing. To avoid false comparisons, the RFQ should state dimensions, material grade, finish, accessory type, packaging method, and acceptance criteria for each item. If the buyer only sends artwork, the supplier will fill in the blanks differently from one quote to the next.
| Item | What to specify in RFQ | Typical hidden omission |
|---|---|---|
| Metal pin | Size, thickness, plating, fill type, attachment, and tolerance | Artwork only, with no thickness or backing spec |
| Keychain | Body material, ring style, epoxy or not, split ring size, and plating | Assumes all keychains use the same hardware |
| Patch | Backing type, border style, stitch count or weave density, and size tolerance | Mixes embroidered and woven assumptions |
| Lanyard | Width, print method, length, clip, safety breakaway, and attachment | Leaves length and clip type unspecified |
| Set packing | Individual bag, insert card, box, carton count, and master pack | Approves products first and packaging later |
Ask suppliers to quote the same four line items separately and then as a bundled set. That reveals whether the package price is real or simply a reshuffled unit cost. As a working benchmark for China FOB pricing in normal quantities, a custom soft enamel pin usually lands around USD 0.68 to 2.40 per piece at 100 to 500 pcs, a zinc-alloy keychain around USD 1.15 to 3.80, a woven or embroidered patch around USD 0.38 to 1.55, and a printed polyester lanyard around USD 0.30 to 1.15. At 1,000+ pcs, those ranges can drop roughly 10 to 25 percent depending on mold count, plating, thread count, and packing. If a quote sits well below those bands, check whether tooling, individual polybags, insert cards, or export cartons are excluded.
MOQ also changes the economics. Typical factory MOQs are 100 to 300 pcs per SKU for pins and keychains, 300 to 500 pcs for patches, and 500 to 1,000 pcs for lanyards if the print is custom. For a mixed set, some factories will accept a program MOQ of 250 to 500 complete kits if the four items are all made in-house; others will require each component to meet its own MOQ. That distinction matters more than the headline unit price. A quote for 300 kits with a 1,000-piece lanyard MOQ is not a real program quote unless the factory explains how the excess units are handled.
If you want price comparison to be meaningful, ask for one quote in this format: unit price, tooling, sample fee, packout fee, and FOB port. Then ask the factory to separate the cost of the product from the cost of the packaging. A quote that bundles everything together can hide a cheap product inside expensive presentation, or vice versa.
Use a sample sequence that matches the production risk
Mixed sets fail when approvals happen in the wrong order. The correct sequence is structure, artwork, sample, then packout. Packaging dimensions often need to change after final item sizes are confirmed, and one accessory change can alter the whole insert layout. A pin sample may be ready in 3 to 5 days after tooling confirmation, but if the keychain mold is revised or the patch backing changes, the full set can still miss the launch date.
Do not approve four loose samples as four separate successes. Request one combined golden sample set that includes all items together in the intended packaging. That lets the buyer check relative scale, finish harmony, hardware compatibility, and presentation in one review. It also surfaces practical problems early, such as a lanyard clip that scratches a plated keychain, a box insert that is 2 mm too shallow for the pin backing, or a patch card that bends when the set is sealed.
- Approve finished sizes before tooling release
- Request one combined golden sample, not four separate loose samples
- Confirm packaging fit against the final dimensions, not the artwork mockup
- Freeze one Pantone reference set for all colored components
- Check hardware compatibility: ring size, clip type, backing style, and bag thickness
- Record the approved set as the reorder master reference
A realistic sample timeline for a straightforward mixed set is 7 to 12 days from art freeze to first full sample if tooling already exists. New molds, new backing cards, or a full packaging prototype can push that to 14 to 21 days. If the order includes complex finishing such as glitter enamel, debossed leatherette, or multi-layer inserts, build in another 3 to 7 days for correction rounds.
Watch the failure points that actually cause rework
The first failure point is dimensional mismatch. A patch that comes in 2 mm larger than expected may force a wider backing card or a deeper box cavity, which then changes carton count and shipping efficiency. The second is finish mismatch: one supplier calls a tone satin silver, another calls it nickel, and the set arrives with visible inconsistency. The third is accessory mismatch, such as a split ring that works functionally but looks too heavy next to a slim pin or lanyard clasp.
A fourth issue is surface damage during packing. Soft enamel pins and plated keychains can scuff each other if they are bulk packed without polybags or separators. Embroidered patches can pick up lint if they share a carton with bare hardware. For retail or PR kits, individual polybags plus a master carton with dividers costs more upfront, but it usually protects presentation quality and reduces rejection risk. As a rule, 30 to 50 microns is a sensible polybag thickness for light promo items; for heavier or sharper metal parts, 50 to 70 microns is safer. If the bag is heat-sealed, ask for a clean seal width of at least 5 mm.
If the set includes moving hardware, ask for fit and wear checks before mass production. Split rings should close without visible gaps greater than about 0.3 mm, lobster clasps should open and snap closed smoothly, and keyring plating should not flake after a simple rub test. For printed lanyards, request a colorfastness standard and a pull-strength target; a common benchmark is 20 to 25 kg break strength for standard polyester lanyards with a metal hook, and 30 kg or more if the lanyard carries a badge reel or device. Safety breakaways should release at a consistent pull force rather than relying on visual inspection alone.
Use a clear defect language for the full set. Critical defects include wrong item count, wrong artwork, broken hardware, or missing safety parts. Major defects include visible plating mismatch, dimension drift beyond tolerance, or a print that misses registration by more than 0.5 mm on a premium kit. Minor defects include small thread irregularity, slight packaging crease, or a faint scuff that does not affect function. If those categories are not defined, the factory will inspect loosely and the buyer will reject too late.
Use one approval matrix before the PO
A single matrix keeps procurement, design, and production aligned before the PO is released. The goal is not to over-engineer the order; it is to stop expensive misunderstandings before they become metal, thread, and packaging. A good matrix also makes reorders faster because the approved reference is already documented and the factory does not need to infer intent again.
| Decision area | Recommended spec | When not to use it |
|---|---|---|
| Color control | One shared Pantone set across all items | When print and enamel surfaces intentionally differ |
| Metal finish | One primary finish family, one accent finish max | When each item is sold separately |
| Tolerance | ±0.3 to ±0.5 mm for small metal parts; ±1.0 mm for textiles | When a functional fit is critical |
| Packing | Individual bag plus set insert | When unit cost matters more than presentation |
| Sample control | One combined golden sample | When items are sourced from unrelated factories |
Set the quality standard to the fully packed kit, not just the loose components. A practical inspection approach is AQL 2.5 for major defects and 4.0 for minor defects at the packed-set level, with critical defects at zero tolerance. If the order is for a customer-facing launch kit, some buyers lower the minor defect tolerance further or require 100 percent visual check on the outer presentation card and the hero item.
For a hard launch date, ask the supplier to show the critical path in days: tooling, sample, approval, mass production, packing, and export carton consolidation. For a straightforward mixed set made in one factory, 15 to 25 days after sample approval is realistic if molds already exist or only minor revisions are needed. If the order includes new molds, custom printed boxes, or multi-step finishing, 25 to 40 days is a safer planning window. Add 5 to 7 days if the goods need third-party inspection before shipment.
For shipping terms, ask the supplier to quote clearly on FOB port basis, not vague ex-works language. That makes the quote comparable and avoids confusion about inland trucking, export documentation, and loading charges. If the order is moving by air for an event deadline, ask for carton weight, carton dimensions, and packed cube early so freight cost does not erase the product savings. A good FOB quote should also identify whether master cartons are export-rated 5-ply or 7-ply, especially for heavier metal sets.
What to send before you issue the PO
Before placing the order, collect the minimum data set: final artwork, final sizes, material choices, finish targets, packaging spec, quantity split by item, and the acceptable defect standard. Then ask the supplier whether all items will be produced under one quality plan or across multiple workshops, because that changes accountability and lead time. For international buyers, this is also the moment to confirm inspection standard, carton marks, and whether AQL 2.5 for major defects and 4.0 for minor defects will be applied to the fully packed set.
A practical buyer checklist looks like this:
- Final artwork approved in vector format
- Finished sizes and tolerances frozen for every component
- Material, plating, thread, and print method specified
- Packaging drawing approved with internal cavity dimensions
- FOB port, MOQ, sample fee, and lead time confirmed in writing
- Golden sample signed and stored as reorder reference
- Inspection standard set for the packed kit, not just individual parts
If the campaign is sensitive to presentation, ask for one pre-production packout photo set before mass shipment. That should show the items together in the box, the outer carton marks, and one sealed master carton. If the supplier cannot show the full packed kit, the buyer is accepting risk blind.
The fastest way to reduce rework is simple: issue one combined RFQ with a line item for each product and the packout, request one full set sample, and freeze the reorder spec in writing. That gives procurement a clean quote basis, gives production a single approval path, and gives QC a measurable standard. For bundled promo programs, that discipline matters more than any single unit price because the real product is the set, not the components.
Have a project? Send your artwork and target quantity and we’ll reply with a detailed quotation within 12 working hours.
Ready to get this made?
Send your sketch, target quantity and ship-date. Detailed quotation in 12 hours.


