What to Specify When a Promo Set Must Arrive Together
Why a “simple” promo set becomes a sourcing risk
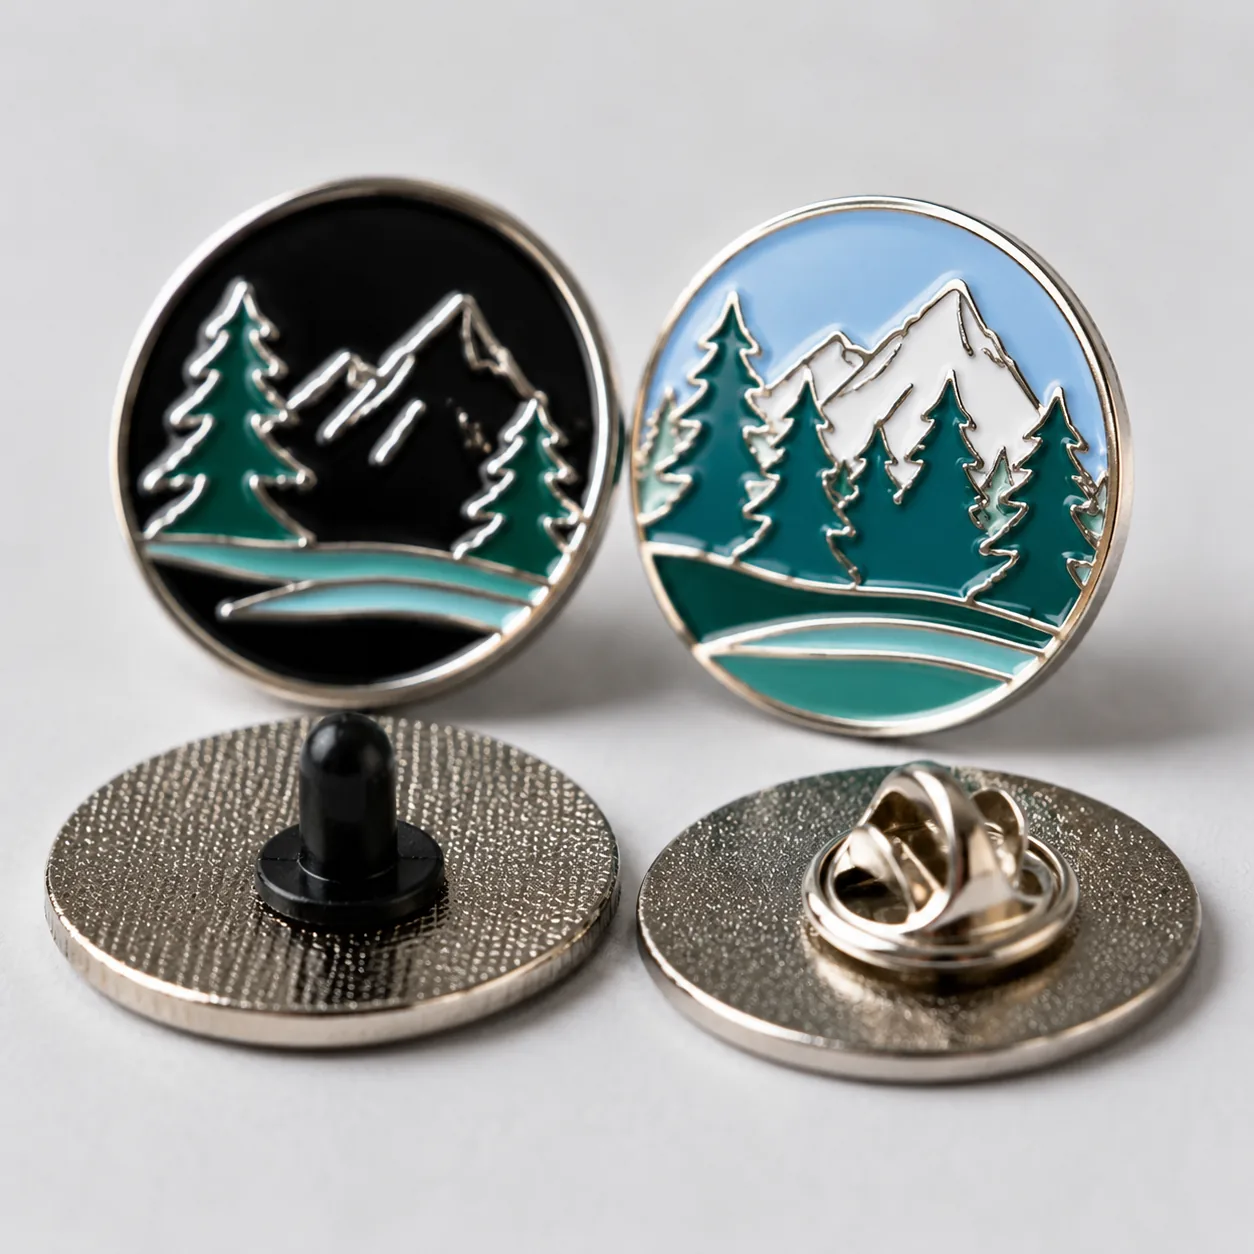
A marketing team may describe one launch kit—a soft enamel pin, a challenge coin, a fridge magnet, a keychain, and a backing card in one branded box—but production sees five different processes, five defect profiles, and one shared deadline. The set only works when the art, dimensions, finish, packaging, and assembly plan are coordinated from the start.
The most common failure is buying each component to a separate spec sheet and expecting the factory to combine them cleanly at the end. That creates color drift, mismatched plating tones, inconsistent logo scale, and late components that force partial shipment or local rework. For event kits, retail launch bundles, distributor packs, and internal recognition sets, the buyer needs one coordinated brief with item-level detail inside it.
Commercially, the real cost is not just unit price. It is the sum of tooling, sample rounds, assembly labor, scrap risk, and freight timing. A quote that looks cheap on paper can become expensive once one item misses the packing window and the whole set needs air freight or manual sorting.
Lock the shared design rules before quoting
Start with the rules every component must obey: exact Pantone references, finish family, logo placement logic, line-weight floor, and the intended brand feel. If the pin uses antique gold and the coin uses bright gold, that difference should be deliberate and documented. If the card is printed in CMYK, define whether it must visually match a Pantone standard or only sit within the same brand palette.
Use measurable acceptance criteria rather than subjective language. For mixed sets, a practical baseline is spot color within one Pantone chip family, printed artwork scaling within ±0.3 mm, die-struck metal detail within ±0.2 mm, and assembly interface alignment within ±0.5 mm. For small items such as 25-32 mm keychains or thin coin edges, keep the minimum readable line width at 0.25-0.3 mm so internal details do not close up in production.
Decide in advance what can be simplified. A mascot with eight internal lines may need to be reduced to five on a 25 mm keychain while remaining full detail on a 38 mm coin. Approve those simplifications once, then apply them consistently across the kit so each supplier is not inventing its own version of the artwork.
- List master Pantone references for every shared color.
- Choose one finish family unless contrast is intentional.
- Set the minimum line width for the smallest item, not the largest.
- Define which details may be simplified on secondary pieces.
- Confirm whether packaging uses the same color system as the products.
Pick one reference item and let the rest follow it
A multi-item set needs one visual reference object. Usually that is the pin or coin because it carries the sharpest relief and finish detail, but for a retail gift set it may be the printed card or carton if packaging is the brand hero. Picking the lead item early prevents every supplier from interpreting the brand differently.
If the pin is the standard, the coin, magnet, and keychain should match its color, plating tone, and icon proportions where practical. If the packaging is the standard, the product artwork may need slight simplification so the set does not compete with the box hierarchy. This is especially important when rigid metal parts are paired with printed paper or soft PVC, because each process resolves detail differently.
Approve one master sample first, then cascade its visual rules to the rest of the set. That master should be the piece with the tightest line work or the most demanding finish. For example, a 32 mm soft enamel pin may be the best lead item when the crest is line-dense, while a 40 mm coin may be the better reference when relief, edge treatment, and antique fill are more complex.
| Lead item | Best when | Typical spec focus | Buyer control point |
|---|---|---|---|
| Pin or coin | Artwork detail matters most | Pantone match, plating tone, relief depth | Use one master color and finish standard |
| Packaging | Shelf presentation matters most | Print hierarchy, box structure, insert fit | Match layout priorities to box design |
| Largest item in set | Many pieces must share one motif | Simplification rules for small items | Write acceptance criteria for reduced artwork |
| Highest-value item | Premium gift or collector set | Perceived quality across all components | Approve one sample against the whole set |
Split the kit into production families
Do not treat the set as one generic order. Break it into production families: stamped or cast metal, printed paper, molded plastic, textile, and assembly. Each family has different tooling lead times, defect risks, and inspection points. A challenge coin and a brooch may share the same crest, but their molds, thickness, edge treatment, and finishing sequence are not interchangeable.
This split matters for pricing too. Metal items are usually quoted by size, thickness, plating, and quantity. Printed cards and boxes are priced by paper grade, print method, coating, and die-cut complexity. When those families are separated clearly, it is easier to compare supplier quotes without hidden labor being buried in packing fees. A bill-of-materials style RFQ is the cleanest way to see which line item carries cost and which one carries schedule risk.
Typical minimums and lead times vary by process. Soft enamel pins often start at 100-300 pieces per design, with 12-18 production days after proof approval. Coins commonly start at 100 pieces, with 15-25 production days depending on edge detail and antique finishing. Printed backing cards can run at 500-1,000 pieces minimum, with 5-10 days for print and die-cut. Box inserts and final assembly usually add 3-7 days after all components are on hand.
| Family | Typical MOQ | Typical lead time | Common failure |
|---|---|---|---|
| Stamped or cast metal | 100-300 pcs | 12-25 days | Finish drift or soft detail |
| Printed paper | 500-1,000 pcs | 5-10 days | Color shift or cutting error |
| Textile or molded accessory | 200-500 pcs | 10-20 days | Shrinkage or misregistration |
| Assembly and packing | 100 sets | 3-7 days after parts arrive | Partial kit shortages |
Write the dimensional rules for the whole kit
Mixed sets often fail at the handoff between parts, not in the parts themselves. A pin that is 30 mm wide and a backing card that is 32 mm wide leaves almost no room for safe insertion, sealing, or retail display. The same problem appears with coin foam inserts, magnet recesses, and keychain blister pockets. If the cavity is too tight, the assembly line slows down; if it is too loose, the product rattles and looks cheap.
Specify both part dimensions and interface dimensions. Part dimensions cover the product itself. Interface dimensions cover the card window, box cavity, insert thickness, hanging hole position, and any retention feature. For paper inserts, allow at least 1.0-1.5 mm total clearance per side. For foam or EVA inserts, 0.5-1.0 mm per side is usually safer because the cut edge compresses less. If the item has domed epoxy, raised relief, or a bulky clasp, increase the margin.
The dimensional note should also say when the measurement is taken. A 38 mm pin measured before plating may finish slightly larger after coating and polishing. A box insert measured after die-cut may vary more than the artwork proof suggests. Write whether the control dimension is pre-plating, post-plating, pre-pack, or packed-unit size.
- State the finished size of every item, not just the artwork size.
- Give the exact cavity size for cards, inserts, or box foam.
- Specify the minimum clearance around raised metal details.
- Define the acceptable shift of holes, slots, and punch points.
- Confirm whether dimensions are measured before or after plating and coating.
Coordinate sampling so the full set matches
The worst workflow is approving each sample in isolation. A pin sample may pass, a coin sample may pass, and a card sample may pass, but together they can still fail because the red on the card is warmer, the gold on the coin is duller, and the display layout hides the key message. The set needs one combined approval step that checks color, fit, hierarchy, and assembly order at once.
A practical sampling sequence is: approve the master artwork, approve one representative metal sample, approve the printed component, then approve a full-kit pre-production sample with all components packed together. For a new supplier, request a single reference sheet showing all approved pieces side by side under neutral light. That gives production a visual target and reduces “close enough” interpretation during mass production.
For quality control, ask for measurable criteria. A common standard for printed inserts is AQL 2.5 for major defects and AQL 4.0 for minor defects, with color checked against the approved proof under D65 light. For plated metal, require 100 percent visual inspection for surface pits, burrs, contamination, and misfilled enamel, plus a tolerance note for finished metal thickness of ±0.2 mm when the design is sensitive to fit.
| Sample stage | What it proves | What it does not prove |
|---|---|---|
| Artwork proof | Layout, text, Pantone targets | Physical fit or finish quality |
| Single-item sample | Item-specific build quality | Cross-item consistency |
| Combined pre-production sample | Color harmony and assembly fit | Full-scale packing efficiency |
| Mass-production first article | Line repeatability | Long-run carton damage or transit issues |
Plan the packing line before the cartons close
Many buyers focus on the products and forget the kit assembly step, which is where late fees and scrap often appear. If a backing card must be inserted into a box before the pin is fixed, the order of operations matters. If magnets or coins are packed with foam, the foam density and die-cut accuracy matter. A set can be perfectly made and still arrive damaged if the packing sequence lets hard items rub against each other.
The packing spec should state insertion order, orientation, bag type, whether each item is individually polybagged, and how many sets go into an inner carton and master carton. For promotional kits that will ship to events, include a drop-risk assumption and tell the factory whether the outer carton must survive courier handling or only export pallet handling. For direct-to-event distribution, a 3-layer corrugated master carton with corner protection is often safer than a light single-wall shipper.
Useful FOB pricing for planning: simple pin-and-card sets often land around USD 0.90-2.20 FOB per set at 1,000 units; coin-based premium sets often run USD 2.80-6.50 FOB; more complex multi-piece kits with custom boxes can reach USD 5.50-12.00 FOB depending on finish, insert complexity, and assembly labor. At 300 units, those numbers usually rise by 20-45 percent; at 3,000 units, they can drop by 10-25 percent if tooling is already stable.
- Specify whether each piece ships loose, bagged, or fixed to a card.
- Write the exact assembly order for the kit.
- State carton count per inner and master carton.
- Define whether the packing must support direct-to-event distribution.
- Ask for a photo or video of the first packed carton batch.
Know when the set should be split instead
Sometimes the right answer is not a bundled kit. If the launch date is tight and the items have very different lead times, separate shipments are safer than forcing one synchronized deadline. If the coin requires deep relief, the keychain is soft PVC, and the box needs full-color litho printing, one delayed component can hold the whole order hostage. In that case, shipping finished components first and assembling locally may cost less than expediting every line item.
Do not bundle when the buyer needs ongoing replenishment of only one component, such as replacement pins for a kit that already has stock boxes. Do not bundle when the items will be distributed in different channels, because shared packaging can create SKU confusion. Do not bundle if the supplier cannot show a credible assembly plan with tolerances and carton logic. A low combined quote is not useful if the final pack-out fails inspection.
As a rule, split the order when any one component needs a materially different approval path, tooling path, or replenishment cadence. A practical threshold is a gap of more than 10 production days between the fastest and slowest component, or a cost delta that makes rush freight on the slow item more expensive than local assembly at destination.
What to send in the RFQ and how to approve
Build one master brief for the whole promo set, then attach item-specific drawings under it. Ask suppliers to quote the products separately and the assembly separately so you can see where the schedule risk sits. Require a combined pre-production sample, not only individual samples, and approve the final carton pack-out before mass production begins.
A strong RFQ should include finished dimensions, shared color references, plating and print codes, packing requirements, target lead time in days, Incoterm, and the expected AQL level. For most mixed sets, a first-pass brief should also name MOQ targets, tolerance requirements, and whether the supplier must supply the cartons or only fill cartons supplied by the buyer.
If one factory is handling the metal items and coordinating the packed set, the cleanest handoff is a BOM with finish codes, per-item tolerances, and a pack-out map. That reduces the chance that a “simple gift set” turns into a schedule recovery project at the end.
Have a project? Send your artwork and target quantity and we’ll reply with a detailed quotation within 12 working hours.
Ready to get this made?
Send your sketch, target quantity and ship-date. Detailed quotation in 12 hours.


