Uniform Badges That Survive Daily Wear: Buyer Specs
Why Uniform Badges Fail in Daily Service
Uniform badges are not the same product as event pins. A giveaway pin may be worn once; a hotel, airline, security, school, restaurant, or retail badge may be attached and removed 200 to 500 times in a year. It is rubbed by seat belts, bag straps, lanyards, jacket seams, sweat, perfume, rain, hand sanitizer, and dry-cleaning residue. Most failures are gradual rather than dramatic: the finish dulls at raised edges, the badge rotates, the pin post bends, fabric puckers, enamel chips at a corner, or the clutch loosens and gets lost.
For B2B buyers, the operational cost is larger than the unit price. A badge that costs USD 0.55 to 2.80 FOB can create replacement claims, inconsistent staff presentation, damaged uniforms, and complaints from franchise or branch locations. The RFQ should treat the badge as a wearable uniform component with mechanical and surface-performance requirements, not only as a decorated metal souvenir.
During engineering review, ZheCraft separates daily-wear uniform badge orders from standard promotional pin orders. The production processes may look similar—die striking, die casting, enamel filling, plating, polishing, and assembly—but the specification should be stricter. The buyer should lock thickness, weight, attachment type, plating stack, edge radius, inspection level, and packing method before approving mass production.
Set Size, Weight, and Fabric Limits First
Start with the garment, not the logo. On thin polyester shirts of 120 to 160 gsm, a badge should usually stay between 25 and 38 mm wide and 4 to 7 g. On cotton polos of 180 to 220 gsm, 30 to 45 mm and 6 to 12 g is normally safe. Structured jackets and blazers can carry 35 to 55 mm badges at 8 to 18 g. Security jackets or ceremonial outerwear can accept 45 to 65 mm badges at 15 to 28 g, but they need stronger hardware.
Finished thickness also matters. Stamped brass or iron badges normally work well at 1.2 to 1.8 mm. Zinc alloy die-cast badges are usually 2.0 to 3.5 mm because the casting process needs more body, especially for 3D relief. Above 50 mm width or 15 g weight, a single butterfly clutch is rarely suitable for light fabric. The badge will rotate, pull down the cloth, and sit at an unprofessional angle after a few hours.
Use measurable tolerances in the PO. For most uniform badges, specify ±0.20 mm on overall length and width, ±0.15 mm on thickness, and ±0.30 mm on pin-post or magnet location. For printed or laser-engraved variable details, keep position tolerance within ±0.25 mm from the approved artwork. These numbers are important for reorder consistency; a 1 mm shift in outline, logo centering, or branch text is visible when staff stand together.
| Uniform fabric | Recommended badge spec | Avoid |
|---|---|---|
| Thin polyester shirt, 120–160 gsm | 25–38 mm wide, 1.2–1.5 mm stamped metal, 4–7 g, dual short posts or small magnet set | Zinc alloy over 15 g, sharp corners, or one long post |
| Cotton polo, 180–220 gsm | 30–45 mm wide, 1.5–2.0 mm metal, 6–12 g, dual clutch or bar pin | Narrow posts below 0.8 mm diameter and pointed badge tips |
| Suit jacket or blazer | 35–55 mm wide, 1.5–2.5 mm, 8–18 g, bar pin, dual post, or wide magnet | Weak magnets through lining or heavy badges on one clutch |
| Outerwear or security jacket | 45–65 mm wide, 2.0–3.0 mm, 15–28 g, screw posts or heavy bar pin | Unsealed soft enamel if exposed to abrasion and rain |
Choose Base Metal by Duty Cycle
Brass is usually the best base metal for premium uniform badges because it stamps cleanly, polishes evenly, and accepts stable plating. H62 or H65 brass in 1.2 to 1.8 mm sheet is common for hotel, airline, financial-service, and corporate badges. It costs more than iron but gives cleaner raised detail and better corrosion resistance, especially when the badge is handled daily.
Iron is suitable for budget school badges, club badges, or internal staff IDs where the design is small and the plating is properly sealed. At 1,000 pcs, simple 25 to 35 mm iron soft-enamel badges may price around USD 0.45 to 1.40 FOB, depending on size, colors, plating, and backing. The trade-off is corrosion risk if the copper/nickel layer or clear lacquer is thin, scratched, or poorly applied. Iron is not the first choice for outdoor transport uniforms, coastal climates, or badges that may be washed with garments.
Zinc alloy is useful for thick shields, curved surfaces, deep relief, and complex outlines that cannot be stamped cleanly. It is normally die cast at 2.0 to 3.5 mm thickness. It looks substantial but gains weight quickly, and fine raised lettering below about 0.6 mm height can lose definition. Stainless steel 201 or 304 works well for flat engraved name-style badges, brushed finishes, and corrosion resistance, but it is less flexible for deep enamel cells and some plating colors.
| Base metal | Best use | Typical MOQ | FOB range at 1,000 pcs | Main trade-off |
|---|---|---|---|---|
| Brass H62/H65 | Premium hotel, airline, corporate, and customer-facing badges | 300–500 pcs per design | USD 0.85–2.60 | Higher material cost, strong plating result |
| Iron | Budget school, club, and internal staff badges | 300–500 pcs per design | USD 0.45–1.40 | Needs robust plating seal to reduce rust risk |
| Zinc alloy | 3D shields, thick badges, sculpted relief, complex outlines | 500 pcs per design | USD 0.90–2.80 | Heavier and less crisp for tiny text |
| Stainless steel 201/304 | Brushed, engraved, or plain name-style badges | 300–500 pcs per design | USD 0.80–2.20 | Limited enamel depth and fewer finish options |
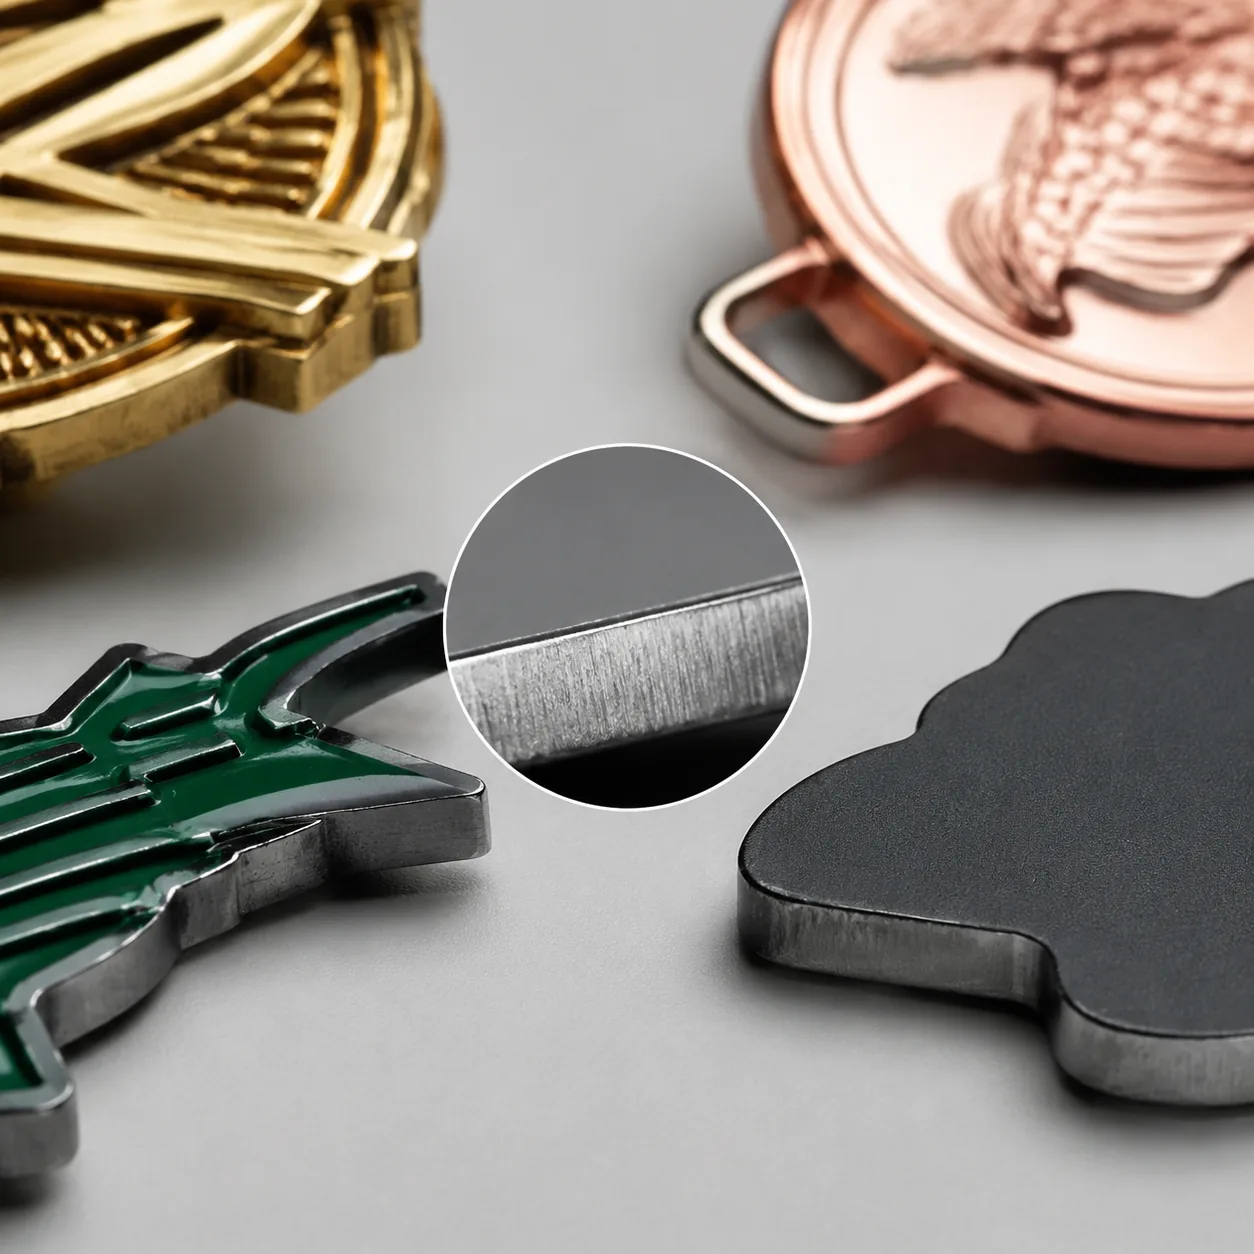
Specify Plating, Enamel, and Edge Durability
Daily-wear badges need a stronger surface specification than promotional pins. For nickel, gold tone, black nickel, antique brass, or satin silver, ask for a copper undercoat of 3 to 5 microns where suitable, followed by 5 to 8 microns of finish plating for normal indoor use. For hotel, restaurant, airport, transport, and security uniforms, 8 to 10 microns is safer because raised edges are touched and rubbed repeatedly. If the design has sharp relief, confirm that minimum thickness applies to high points, not only flat test areas.
Gold color should be specified carefully. Flash gold is bright for photos but wears quickly on corners and raised logos. For uniform use, request imitation gold, brass-tone plating, or real gold tone with a clear electrophoretic lacquer if the finish allows it. Brushed, satin, antique, and matte finishes hide micro-scratches better than mirror plating. For badges exposed to sweat, perfume, cleaning spray, or rain, add a clear lacquer or e-coating and define acceptance after handling tests.
Enamel design controls chipping. Rounded external corners should have at least a 0.5 mm radius; 0.8 mm is better for school and security badges. Raised metal borders around enamel should be at least 0.25 to 0.30 mm wide, and recessed enamel cells should not be narrower than 0.35 mm. Soft enamel works when raised metal protects the color. Hard enamel gives a flatter polished face and better abrasion resistance but costs more and may soften very fine relief after polishing. Epoxy protects printed or soft-enamel surfaces but creates a glossy dome, which may not match a premium metal-relief look.
- State the plating stack, not only the color: copper undercoat, nickel layer, gold tone, black nickel, antique brass, or nickel-free finish.
- Set minimum plating thickness: 5–8 microns for standard indoor uniforms and 8–10 microns for heavy daily wear.
- Require clear lacquer or electrophoretic coating when badges contact sweat, perfume, cleaning chemicals, or rain.
- Use brushed, satin, or antique finishes for high-touch badges; avoid mirror plating where scratches will be obvious.
- For EU or skin-contact programs, define whether the requirement is nickel-free, low nickel release, or no nickel in the finish layer.
- Discuss salt-spray testing for outdoor, coastal, transport, and security applications before approving the finish.
Engineer the Backing So the Badge Stays Level
The backing is often the difference between a professional uniform badge and a cheap pin. A single butterfly clutch is inexpensive and familiar, but it allows rotation on horizontal logos and loosens with repeated use. For badges wider than 35 mm, use two posts spaced 18 to 30 mm apart. For badges above 50 mm, use wider spacing when the outline allows it. Post diameter should generally be 0.9 to 1.1 mm, with clean solder or welded joints and no sharp flux residue.
Bar pins are stronger for jackets and faster for staff to apply, but the pin wire can leave a longer fabric path than posts. Screw posts are appropriate for security, ceremonial, or high-value badges where loss is unacceptable, but they are slower to attach and may require washers. Magnets prevent holes and suit luxury hospitality or retail uniforms, but they are not universal. Magnets can detach through thick linings, and they may be restricted around medical devices, access cards, or sensitive equipment.
For magnetic badges, specify the magnet instead of saying “strong magnet.” A common setup for badges under 10 g is two N35 or N38 neodymium magnets, 8 to 10 mm diameter and 2 to 3 mm thick, paired with a steel backing plate. For 12 to 18 g badges or lined jackets, use larger magnets, a longer magnetic strip, or switch to a mechanical backing. Pull testing must be done through the target fabric because a magnet that feels strong on a desk may slip on a lined blazer.
| Attachment | Good for | Typical added FOB cost | QC point |
|---|---|---|---|
| Single butterfly clutch | Small badges under 30 mm and under 6 g | USD 0.03–0.06 | Post solder strength and clutch grip |
| Dual butterfly clutch | 30–50 mm logos that must stay level | USD 0.06–0.12 | Post spacing tolerance within ±0.30 mm |
| Safety bar pin | Jackets, heavier badges, quick staff application | USD 0.08–0.18 | Hinge closing force and pin sharpness |
| Magnetic backing | No-hole uniforms and premium retail wear | USD 0.18–0.55 | Pull strength through actual fabric |
| Screw posts | Security, ceremonial, and high-value badges | USD 0.15–0.35 | Thread fit, washer size, and backing tightness |
Plan Sampling, MOQ, Lead Time, and Reorders
A rushed badge order often fails because the buyer approves artwork but not wear behavior. For a new design, allow 2 to 3 days for engineering artwork review, 5 to 7 days for die or mold preparation, 7 to 10 days for pre-production samples, and 12 to 20 days for mass production after sample approval. Complex plating, hard enamel, epoxy doming, magnetic backings, or multiple branch versions can add 3 to 7 days. Air shipment is usually fast, but it cannot fix a weak attachment or wrong plating choice.
Repeat orders with an active die and confirmed golden sample can often be produced in 10 to 18 days for 500 to 5,000 pcs, assuming standard metal, plating, and hardware are available. If the previous order used a special plating bath, custom magnet, uncommon backing plate, or color-matched enamel, confirm material availability before promising a delivery date. Tooling condition also matters; a die used for many runs may need polishing or replacement if edges and small lettering are no longer crisp.
MOQ is driven by process setup, plating bath efficiency, and version control. Simple stamped brass or iron badges can often start at 300 pcs per design, but pricing improves at 500, 1,000, and 3,000 pcs. Zinc alloy and complex 3D molds usually start at 500 pcs. Multi-branch programs can reduce cost by using a shared base die with laser-engraved branch names, but that approach is not always suitable when each branch needs raised metal relief or separate enamel colors.
| Order type | Practical lead time | Typical tooling | FOB price guidance |
|---|---|---|---|
| New stamped brass badge, soft enamel | 22–32 days including sample | USD 45–90 per die | USD 0.85–2.20 at 1,000 pcs |
| New zinc alloy 3D badge | 25–35 days including sample | USD 70–140 per mold | USD 0.90–2.80 at 1,000 pcs |
| Repeat order with active die | 10–18 days after PO | No new tooling unless die is worn | Often 5–15% lower than first run |
| Multi-version branch badge set | 25–40 days depending on versions | Shared or separate tooling by design | Driven by version quantity and marking method |
Use QC Criteria That Reflect Real Wear
Standard visual inspection is not enough for uniform badges. The QC plan should cover attachment strength, plating appearance, enamel fill, edge smoothness, magnet holding, dimensional tolerance, logo accuracy, and packing. A practical final inspection plan is AQL 2.5 for major defects and AQL 4.0 for minor visual defects, with zero tolerance for critical defects such as sharp hazardous burrs, wrong logo, missing attachment, visible rust, or incorrect metal finish.
Define inspection conditions. Visual checks should normally be made at 30 cm under neutral white light, with the front face viewed straight and at a slight angle. Major defects include loose posts, cracked enamel, exposed base metal, wrong plating color, incorrect logo, missing hardware, sharp edges, and magnets installed with wrong polarity. Minor defects include tiny dust under clear coat, slight polishing marks outside the main viewing area, or small color variation within the approved master sample range.
Mechanical tests should use fixed sample quantities. For example, test 20 pcs per lot for post pull strength with no detachment under a 2 to 3 kg straight pull for standard badges. For heavy security badges, raise the target after confirming the base metal and soldering method. For bar pins, open and close 10 pcs for 20 cycles and check hinge deformation. For magnets, test through the approved garment fabric and include a short shake or movement test, not only a static pull.
- Approve one signed golden sample showing exact plating, enamel, attachment, backstamp, dimensions, and packing.
- Use AQL 2.5 major and AQL 4.0 minor unless your brand or distributor agreement requires stricter limits.
- Check overall dimensions to ±0.20 mm and post or magnet position to ±0.30 mm against approved drawings.
- Reject burrs that can catch fabric or scratch skin, even if the front appearance passes visual inspection.
- Run a 24-hour wear trial on the real uniform when the badge is over 12 g or uses magnets.
- Retain 5–10 samples from every batch for reorder comparison and branch complaint investigation.
Send a Uniform-Specific RFQ
Before asking for price, collect the garment type, fabric weight if known, badge size target, expected wear period, attachment preference, finish requirement, delivery country, and any nickel-free or skin-contact rules. If the supplier receives only a logo and quantity, the quote will often default to the cheapest pin construction, which may be wrong for daily service.
Ask for two engineered options: a cost-controlled version and a wear-resistant version. For example, compare iron with 5 microns plating and one clutch against brass with 8 microns plating, clear lacquer, and dual posts. The stronger version may add USD 0.20 to 0.60 per piece, but it can be cheaper over the life of the uniform program if it reduces replacements, damaged garments, and branch-level complaints.
A strong RFQ should include artwork, target quantity, size range, fabric photo, preferred backing, finish expectation, packing method, sample deadline, and reorder forecast. ZheCraft can return a process recommendation, estimated tooling cost, FOB unit range, sample lead time, production lead time, and QC points to lock before mass production. For daily staff wear, do not release mass production until at least one approved sample has been tested on the real garment.
Have a project? Send your artwork and target quantity and we’ll reply with a detailed quotation within 12 working hours.
Ready to get this made?
Send your sketch, target quantity and ship-date. Detailed quotation in 12 hours.


