RFQ to Bulk: A Practical Sourcing Process for Custom Metal Promo Orders
Start with the order path, not the artwork
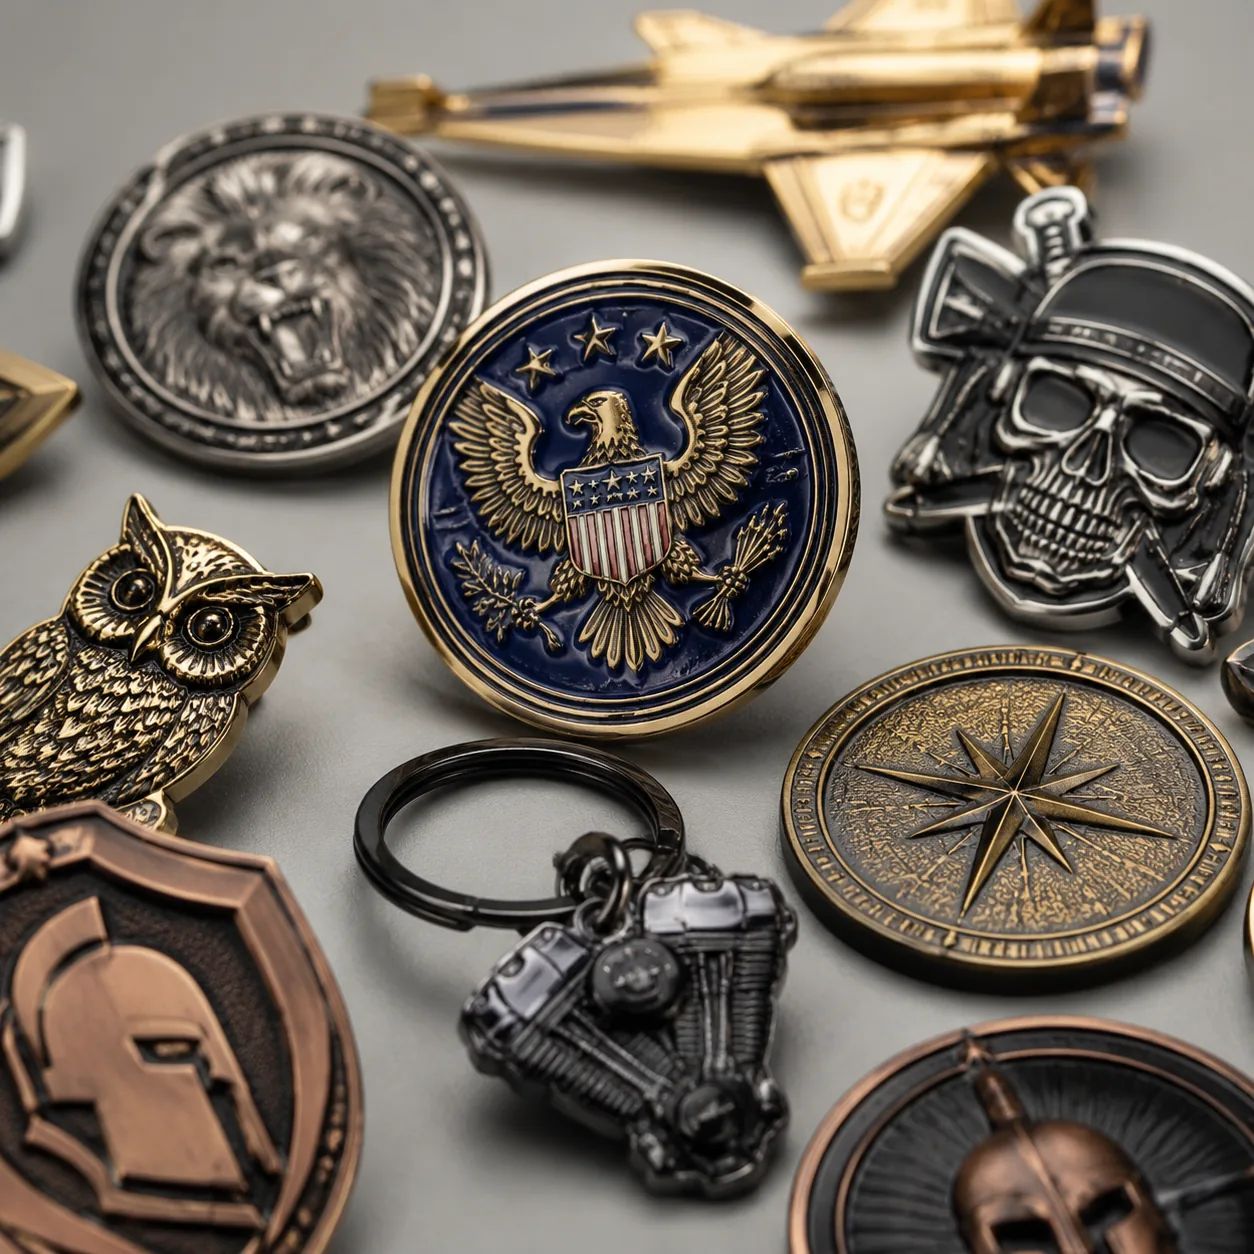
Most rework on custom enamel pins, badges, coins, keychains, and metal promotional accessories starts before the supplier even quotes. Buyers send a logo, a rough size, and a target price, then ask the factory to infer the rest. That creates quote noise, sample drift, and bulk surprises. A better approach is to define the sourcing path first: what must be quoted, what must be sampled, and what must be frozen before release to production.
For metal promo products, the first decision is not the artwork style; it is the order type. A repeat order needs locked specifications and repeatable QC. A campaign order needs speed and an acceptable cosmetic range. A brand-controlled program needs consistency across multiple SKUs, packaging formats, and reorder windows. The clearer this is up front, the easier it is for the factory to choose the right tool path, plating plan, and inspection level.
The mistake many buyers make is mixing design intent with procurement intent. A designer may care about visual impact, while a buyer needs a quote that can be compared across factories. Those are not the same document. A usable sourcing path separates concept approval, sample approval, and bulk release so each step has a defined gate.
A practical rule is to write the RFQ in the same sequence the factory will manufacture: base material, process, finish, accessory, packaging, then inspection. That order forces gaps to surface early. If the supplier cannot answer a line item without guessing, the quote is not yet ready for comparison.
Write the RFQ so factories can quote the same thing
A good RFQ is short, but it must be specific. At minimum, specify product type, finished size, thickness, material, decoration method, plating finish, attachment, packaging, quantity tier, target ship date, and destination port or warehouse. For enamel-filled items, include Pantone references, fill type, and whether the sample must match a physical master or a digital file. For coins and badges, specify edge style, back design, and whether 2D or 3D relief is acceptable. If you want a premium presentation, say so directly instead of assuming the supplier will infer it.
The biggest RFQ problem is vague language such as standard quality, good finish, or similar to sample. Those phrases do not mean the same thing to every factory. A quote is only comparable when every supplier is pricing the same thickness, same plating, same carton count, same backing, and same artwork count. If one supplier assumes 1.2 mm thickness and another assumes 1.8 mm, the price gap is meaningless. The same is true for packaging: a polybag-only quote is not comparable with a velvet pouch and printed insert card quote.
Use measurable tolerances whenever the item has functional or branding risk. For simple promo jewelry-style items, a size tolerance of ±0.2 to ±0.5 mm is common; for heavier cast parts or multi-piece assemblies, ±0.3 to ±0.8 mm may be more realistic if the design has deep relief or moving features. If the item must fit a board, box insert, or display card, define the mounting tolerance as well, not just the part tolerance.
- State exact finished size in mm, not only a visual estimate
- Specify base metal or alloy preference, such as iron, brass, zinc alloy, or aluminum
- Define plating color and thickness if the supplier offers measured control; decorative flash plating is often around 0.03–0.08 microns, while durable plated finishes are commonly 0.5–1.0 microns or more depending on process
- List attachment type, packaging, and accessory count
- Give tolerance targets for size, color, and assembly if the item must match a brand standard
- Ask for separate pricing on tooling, sample charge, unit price, packing, and cartonization
Choose the build method before you compare prices
A low quote can hide the wrong construction. For custom metal promo products, the build method drives tooling cost, visual sharpness, weight, defect risk, and lead time. Stamped or die-struck parts suit cleaner lines, shallow relief, and strong edges. Cast parts work better for irregular shapes and deeper 3D detail. Etched parts are useful for fine linework and flatter surfaces. Enamel-filled parts need tighter line walls, fill control, and more disciplined polishing. If the supplier proposes a method that does not fit the artwork, the sample may look acceptable by hand but the bulk run will be inconsistent.
Use the build method as a filter, not a negotiation after the quote. A heavy commemorative coin with polished rims behaves very differently from a thin badge with cutouts and soft enamel recesses. A keychain with a spinner, hinge, or bottle opener needs tighter assembly control than a static emblem. The correct method is the one that gives you acceptable detail at a defect rate you can actually tolerate in production and retail use.
The decision also changes tooling strategy. A shallow die-struck pin may need one mold set and a simpler polish path, while a deep cast logo with recessed text can require extra polishing, more scrap allowance, and more sample iterations. If the artwork has thin strokes, small knockouts, or raised text under 0.3 mm, ask the factory to confirm the minimum manufacturable line width before you approve the concept. For many factories, a practical minimum line width is about 0.25–0.35 mm for straightforward die work and about 0.35–0.50 mm for cast work, though the exact limit depends on alloy, cavity depth, and finishing method.
| Build method | Best for | Main trade-off |
|---|---|---|
| Stamped / die struck | Clean logos, coins, badges, simple contours | Less suitable for deep 3D detail |
| Cast | Irregular forms, raised detail, sculpted items | Higher tool sensitivity and more cleanup |
| Etched | Fine lines, flat artwork, serial details | Limited depth and tactile relief |
| Enamel-filled | Colored logos, lapel pins, badges | Needs tighter line and fill control |
| Mixed method | Complex products with both relief and color | More engineering time and sample iterations |
A useful comparison point is surface precision. On simple die-struck work, many factories can hold line-width variation around ±0.10–0.20 mm. On cast items, especially those with sculpted relief, a wider practical band around ±0.20–0.30 mm is more realistic. If the artwork has very fine typography or tiny islands, it may be better to enlarge the artwork than to force a process that will only work in the sample room.
Match price tiers to volume, not just unit cost
Price should move with quantity, complexity, and risk. A 300-piece order usually carries a higher unit cost than a 1,000-piece run because setup, engineering time, and tooling amortization are spread over fewer units. But the cheapest tier is not always the smartest choice if the order is time-sensitive, requires special packaging, or needs extra inspection. Factories often price sample and production separately because the sample consumes engineering time, mold adjustment, and manual finishing that do not repeat cleanly in bulk.
When comparing supplier quotes, break the total into tooling, sample, unit price, packing, and freight handling. If one supplier includes a free sample but hides the cost in a higher bulk price, the landed cost may still be worse. If another supplier charges for a sample but gives a lower bulk rate, it may be the better option at annual volume. For recurring programs, compare the first order plus reorder pricing, not just the first invoice.
Use tiering that matches how factories actually absorb cost. In practice, a 100-piece order may be priced to recover setup time, a 300-piece order may begin to show more stable per-unit efficiency, and 1,000 pieces or more usually gives the best balance of tooling amortization and packing efficiency. The key is not the absolute tier; it is whether every supplier is quoting the same spec and same QC expectation.
| Quantity tier | Typical FOB range USD | What usually changes |
|---|---|---|
| 100–299 pcs | Pins and basic badges: about $0.45–$1.80 each; coins and heavier cast items: about $0.90–$3.50 each | Higher setup amortization, more manual work, less packing efficiency |
| 300–999 pcs | Pins and basic badges: about $0.25–$1.20 each; coins and heavier cast items: about $0.70–$2.60 each | Better spread of tooling and finishing costs |
| 1,000+ pcs | Pins and basic badges: about $0.12–$0.85 each; coins and heavier cast items: about $0.45–$1.90 each | Better efficiency, but the sample must be locked before bulk |
Those ranges are only useful when the quote is apples-to-apples on size, plating, enamel coverage, accessory, and packaging. A 30 mm soft enamel pin with butterfly clutch pricing is not comparable to a 45 mm hard enamel pin with printed backing card. The unit price only makes sense once the technical spec is fixed.
Control the sample like a mini production run
A sample should prove that the factory can repeat your requirements, not just make one attractive piece by hand. Ask for the same finish, same attachment, same edge treatment, and same packaging you intend to buy in bulk. If the sample is heavily hand-polished or manually touched up beyond normal production effort, it may overstate what the bulk order will look like. The goal is a realistic approval piece, not a showroom piece.
Review the sample against measurable checkpoints. For metal products, check overall size, thickness, weight feel, surface smoothness, attachment alignment, color matching, and text clarity under normal viewing distance. If the design has enamel, inspect fill height consistency and border cleanliness. If the item includes magnets, clasps, moving parts, or multi-piece assemblies, test function repeatedly rather than only once. A sample that opens and closes once is not enough for a keychain tool or lanyard clip that will be handled many times a day.
A practical acceptance window helps avoid subjective disputes. For display-facing products, many buyers use no visible plating voids on the front face, no enamel bleed past the border, no loose parts, and no misaligned accessories visible at arm’s length. For retail programs, define what arm’s length means in writing; 30 cm is common for close inspection, while 1 m is more realistic for shelf presentation. The farther the item sits from the customer, the more important surface consistency becomes relative to micro-variation.
| Sample checkpoint | What to verify | Why it matters |
|---|---|---|
| Dimensions | Finished size within agreed tolerance, often ±0.2–0.5 mm depending on product type | Prevents fit and layout issues |
| Thickness | Measured thickness matches spec within about ±0.1–0.2 mm for most promo items | Keeps the product weight and feel consistent |
| Surface and plating | Even coverage, no dull patches, no edge burn, no exposed base metal | Affects appearance and tarnish risk |
| Color | Match to approved Pantone or physical master under neutral light | Avoids batch-to-batch mismatch |
| Assembly | Attachment centered, secure, and aligned; moving parts cycle cleanly | Reduces returns and breakage |
| Packaging | Card, bag, tray, or box matches the packing spec | Prevents shipping damage and confusion |
For plated items, a thin decorative layer is not the same as a wear-resistant finish. If the product will be handled frequently, specify whether flash plating is acceptable or whether you need a thicker finish with better abrasion resistance. Typical decorative flash may be around 0.03–0.08 microns, while heavier decorative or semi-durable finishes can run around 0.5–1.0 microns, depending on process and substrate.
Use a sample approval checklist that can stop the order
Once the sample arrives, approval should be a controlled decision, not a quick yes in chat. Assign one reviewer for artwork, one for function, and one for packaging if the item will ship retail-ready. If any reviewer flags a mismatch, write down the exact deviation and whether it is acceptable as-is, acceptable with correction, or unacceptable. That prevents the classic problem where everyone assumes someone else already approved the weak point.
- Confirm the approved artwork version number
- Measure size, thickness, and key alignments
- Compare color against the stated reference under neutral light
- Check attachment strength and function after repeated handling
- Verify carton count, inner packing, and label content
- Record all sample notes before giving bulk release
If you want a stronger gate, use a formal approval note with three lines: approved, approved with correction, or rejected. Add a photo of the sample beside the signed spec sheet. That small discipline cuts down on disputes when the bulk run arrives and someone remembers the sample differently.
For better control, include defect ranking in the approval note. A major defect is anything that affects function, fit, brand mark placement, or safety. A minor defect is cosmetic variation that is visible only on close inspection and does not change use. If you do not define those terms, the factory may use a different internal standard than your receiving team.
Lock the bulk spec before the PO is released
Bulk production should not begin on a moving target. The purchase order must mirror the approved sample and spell out which details are frozen: artwork revision, size, finish, attachments, packaging, carton marks, and acceptable tolerance. If you need a second sample or a pre-production photo check, request it before the line is released. Changing the spec after tooling is built is the fastest way to create delay and a cost dispute.
This is also where quality level matters. For many promo orders, an AQL 2.5 major defect limit with AQL 4.0 for minor defects is a practical starting point, but the right level depends on the item and channel. Retail-facing orders may need tighter control on plating, print registration, and assembly. Bulk giveaways may accept slightly more cosmetic variance, but only if the buyer has written that tolerance into the spec. If you need a stricter gate, make that explicit in the inspection instruction rather than assuming the factory will choose it.
For lead time planning, ask the factory to separate sample, production, and inspection time. A simple soft enamel pin or stamped badge can often move from approved sample to bulk in about 10–15 days, while more complex items with cast construction, multiple plating steps, or special packaging can take 18–30 days or more. Typical sampling takes about 5–10 days, depending on tool complexity. Freight time is separate, so a realistic sourcing plan should include inspection buffer, export booking time, and any correction cycle if the first pre-production check is not clean.
Treat the first bulk order as a process lock, not just a purchase. Once the tooling, artwork revision, packaging spec, and QC standard are approved, keep them stable through the full run. That is the easiest way to protect margin and make reorders predictable.
What to do next
If you are starting a new custom metal promo order, build the RFQ around the sample approval path first, then request quotes from at least two factories using the same spec sheet. Do not compare prices until you have confirmed they are quoting the same build method, finish, tolerance, packaging, and inspection level. Once the sample is approved, freeze the artwork revision and bulk release conditions in writing before production starts. That is the cleanest way to reduce rework, protect margin, and keep reorder risk low.
Have a project? Send your artwork and target quantity and we’ll reply with a detailed quotation within 12 working hours.
Ready to get this made?
Send your sketch, target quantity and ship-date. Detailed quotation in 12 hours.


