Pin-on-Pin vs Printed Backer Card Sets at 100-300 MOQ
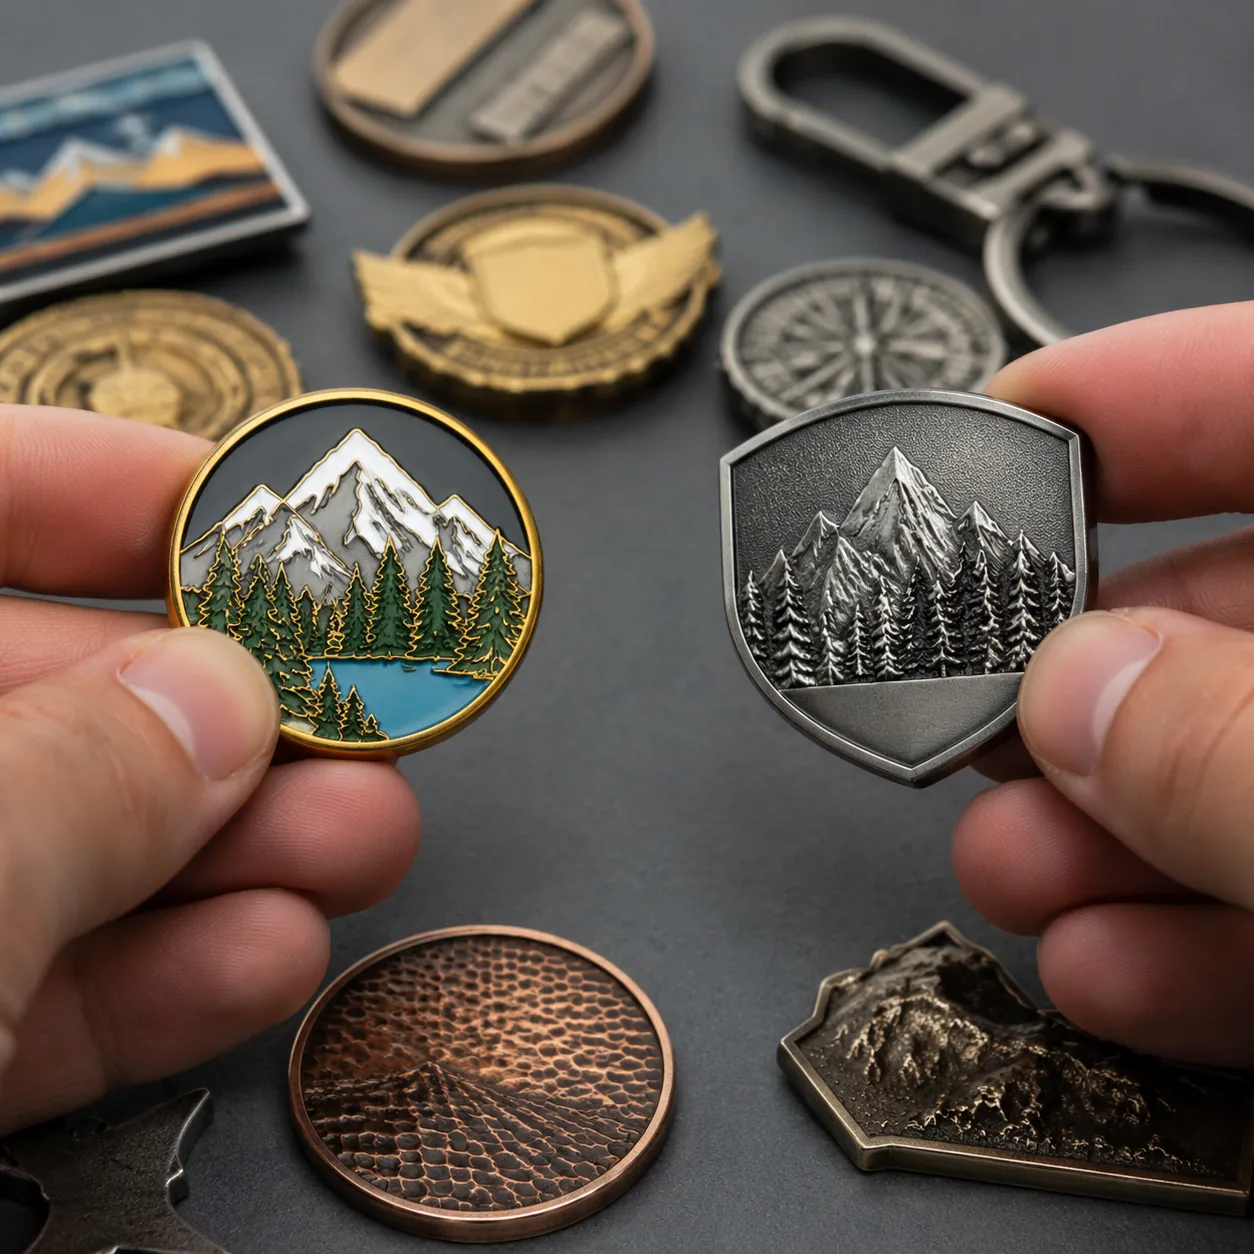
At 100-300 sets, format choice changes the manufacturing plan, not just the packaging
At 100-300 sets, presentation format is a cost and process decision made at the start, not a packaging detail added at the end. A pin-on-pin build changes the bill of materials, tooling count, assembly labor, inspection points, and scrap exposure. A printed backer card set keeps the metal simple and moves visual impact into offset print, lamination, and pack-out, where low-volume control is usually easier and cheaper.
The two options are structurally different. Pin-on-pin usually combines a 32-45 mm base pin with a 12-25 mm top emblem attached by epoxy, solder, or a mechanical post/rivet. Finished thickness is commonly 3.0-4.5 mm excluding the clutch. A printed card set uses one standard pin, typically 25-40 mm and 1.5-1.8 mm thick, mounted on a 250-350 gsm card sized around 55 x 85 mm, 70 x 90 mm, or 76 x 102 mm.
That difference matters more at low MOQ than at 1,000+ pieces because fixed costs do not dilute well. A second metal part usually means a second die or mold, separate plating exposure, more handwork, and an extra cosmetic tolerance buyers will notice immediately if it drifts. A one-piece pin on a printed card still needs quality control, but the risk sits in simpler processes with faster reprint or rework paths.
The benchmarks below assume production in China, standard decorative plating at about 0.03-0.08 micron, soft enamel or imitation hard enamel construction, and inspection to AQL Critical 0 / Major 2.5 / Minor 4.0. Typical delivered timing is about 17-30 calendar days depending on assembly complexity and whether outbound freight is express or air-consolidated.
Small-batch cost and specification comparison
| Buyer criterion | Pin-on-pin assembly | Pin + printed backer card set |
|---|---|---|
| Practical MOQ | 100 pcs possible but inefficient; 200-300 pcs is the first workable tier for labor and scrap | 100 pcs standard; 200-300 pcs usually gives the best card print economics |
| Typical finished size | Base 32-45 mm plus top layer 12-25 mm; 3.0-4.5 mm overall thickness excluding clutch | Pin 25-40 mm; card commonly 55 x 85 mm, 70 x 90 mm, or 76 x 102 mm |
| Recommended metal construction | Base 1.5-2.0 mm iron or brass; top 1.2-1.5 mm die-struck, or 2.0 mm nominal if die-cast zinc alloy | Pin 1.5-1.8 mm iron or brass; 2.0 mm if die-cast zinc alloy is needed for cutouts or relief |
| Card stock | Optional; if included, same grades as right column | 250-350 gsm C1S or art card; 300-350 gsm matte laminated stock is the common retail spec |
| Tooling requirement | Usually 2 dies, or 1 die plus 1 casting mold; alignment jig often needed | 1 die or mold for the pin; card uses artwork plus dieline and normally no separate tooling fee |
| FOB unit price at 100 pcs | USD 2.20-3.90 per set | USD 0.95-1.75 per set |
| FOB unit price at 200 pcs | USD 1.65-2.95 per set | USD 0.72-1.28 per set |
| FOB unit price at 300 pcs | USD 1.35-2.45 per set | USD 0.60-1.10 per set |
| Typical tooling charge | USD 90-180 total; higher if one layer must be cast | USD 45-90 for the pin mold; card setup usually included |
| Production lead time after approval | 14-20 working days typical; 18-22 if cast top, epoxy cure, or strict alignment sorting is required | 10-15 working days typical; simple carded sets can finish in 9-12 working days |
| Common assembly method | Epoxy bond, solder join, or mechanical rivet/post | Butterfly clutch or rubber clutch through slit or punched hole |
| Key cosmetic tolerance | Layer alignment +/-0.30 mm; top-piece tilt not visible at 30 cm | Print registration +/-0.30 mm; pin location on card +/-1.0 mm; orientation within +/-5 degrees |
| Flatness expectation | Base bow under 0.5 mm; no rocking that interferes with carding | Card warp under 3 mm across long side; pin flat enough for clean mounting |
| Typical scrap points | Top-layer drift, glue squeeze-out, plating shade mismatch, solder marks, top-piece tilt | Card color shift, slit misplacement, upside-down mounting, crushed corners, blurred print |
| Pack-out density | Lower; thicker profile reduces units per inner carton | Higher; flatter packs stack efficiently and reduce void space |
| Best-fit use case | Design needs real metal layering, separate finish zones, or shadow depth | Retail display, event merch, museum shop, DTC insert, creator drop, employee gift set |
At 300 sets, even a USD 0.75 unit gap equals USD 225 FOB before freight, duty, and local handling. In many actual quotes the gap is larger. Once assembly labor, rework allowance, and sorting are included, pin-on-pin often lands at 1.8x to 2.6x the delivered FOB cost of a standard carded pin in the same size band.
Why the economics usually favor a printed card under 300 pcs
The low-volume math is straightforward: pin-on-pin multiplies fixed costs while a printed card spreads branding across a low-risk print process. Two metal components usually mean two tool paths, two trim operations, two plating surfaces, and one visible join step. If the top emblem has undercuts, internal windows, or sculpted relief, suppliers often switch it from die-struck iron to die-cast zinc alloy. That solves geometry limits, but it adds mold cost and increases edge-polish variation.
A realistic pin-on-pin example is a 35 mm iron soft-enamel base with four PMS colors, a 16 mm raised top emblem, one butterfly clutch, and individual OPP bag packing. At 100 pcs, this commonly quotes around USD 2.20-3.90 FOB. At 200 pcs, USD 1.65-2.95 is typical. At 300 pcs, USD 1.35-2.45 is realistic if the top piece is simple and alignment can be jigged efficiently.
A comparable one-piece 32 mm soft-enamel pin on a double-sided 350 gsm matte-laminated card with euro slot and OPP bag usually lands around USD 0.95-1.75 FOB at 100 pcs, USD 0.72-1.28 at 200 pcs, and USD 0.60-1.10 at 300 pcs. Common adders are modest: OPP bag at roughly USD 0.02-0.05, spot UV at USD 0.03-0.06, foil stamp at USD 0.04-0.08, and a barcode or QR code effectively near zero if included in the existing print file.
For purchasing, the right metric is cost per delivered retail set, not cost per loose pin. A backer card adds brand graphics, collection naming, legal text, warning copy, barcode, QR code, and edition messaging without increasing metal complexity. For stores, conventions, and ecommerce mailers, that usually creates more visible value per dollar than a second metal component.
Lead time, rework options, and schedule recovery are better with one-piece pins
A standard pin-plus-card program is operationally simpler. The pin follows a normal route: tooling, strike or cast, trim, plate, color fill, bake, polish, post attachment, inspection, then carding. Card printing can run in parallel as soon as the dieline and artwork are approved. In practice, that usually means 10-15 working days in production, then about 3-6 calendar days by express or 8-15 calendar days by air consolidation depending on destination.
Pin-on-pin has more dependency points and fewer ways to recover if one stage slips. The base and top component must each pass cosmetic inspection, then move into joining, cure or solder handling, and final sorting. If the top layer is off more than about 0.30 mm, if plating tone differs between lots, or if a burr prevents flush seating, finished sets cannot ship until rework is complete. That is why nominal production is 14-20 working days, but small runs often stretch longer when the factory has little buffer inventory or spare labor assigned to the order.
Rework economics also differ sharply. If the pin is good but the backer card has the wrong barcode, copy error, or registration drift, the factory can usually reprint cards in 2-4 working days without remaking metal. If a pin-on-pin unit is visibly off-center, poorly bonded, or heat-marked from soldering, the defect sits in the core product. Salvage is slower and the scrap cost is higher.
For fixed launch dates, simple metal plus stronger print finishing is usually the safer commercial choice. A 1.5 mm soft-enamel pin on a double-sided 350 gsm card with matte lamination and spot UV logo often ships faster, photographs better, and inspects more consistently than a rushed two-piece build trying to force the same premium effect into metal.
Visual impact is real, but so are handling, tolerance, and freight penalties
Pin-on-pin does create a genuine dimensional effect. A top emblem raised about 0.8-1.5 mm above the base gives a true shadow line, better edge separation, and a clean physical break between finishes such as polished gold and matte black nickel. For heraldic crests, framed logos, shield-on-field graphics, or mounted banner layouts, that is a legitimate product feature, not empty embellishment.
The tradeoff is mechanical risk. Projections narrower than roughly 1.0-1.2 mm are easier to bend during bagging and carton transfer. Adhesive-bonded parts can tilt if the glue line is uneven, and excess epoxy can flash out at the edge if fixture pressure is inconsistent. On bright nickel, imitation gold, or rose gold, slight plating-tone mismatch between the two parts is visible immediately, especially if they were processed in separate lots. Thickness also increases, which lowers pack-out density and slightly raises freight cost per delivered set.
Printed card sets are mechanically cleaner. The pin remains flatter, the card protects the post and clutch area, and the larger print surface helps a 28-32 mm pin read as a complete retail item rather than a loose accessory. This matters in museum shops, convention booths, band merch tables, employee welcome packs, and subscription boxes where the product sits beside larger packaged items.
The card also solves information density. Collection title, edition number, launch date, social handle, warning text, and barcode can sit on the card instead of being forced into microtext on metal, where fine copy below about 0.25 mm line width becomes unreliable after plating and enamel fill.
The PO specifications that prevent most low-MOQ failures
At this order size, weak specifications cause a large share of quality problems. Terms like 'premium finish,' 'good alignment,' or 'retail ready' are too vague to enforce. With only 100-300 sets, there is not enough surplus quantity to sort around a poorly written PO, so tolerances need to be stated numerically.
For pin-on-pin, minimum written requirements should include layer alignment within +/-0.30 mm from approved artwork, no visible adhesive from the front at 30 cm under neutral light, top-piece seating level with no visible tilt, and plating tone matched across both parts. If epoxy is used, require at least 24 hours cure before final pack-out and a sample bond check such as manual twist-and-pull testing on inspection samples. If solder is used, specify no front-edge overflow, no discoloration on visible plated surfaces, and no solder spike on the reverse.
For pin-plus-card sets, specify the card as tightly as the metal. Card size tolerance should be within +/-0.5 mm, critical logo registration within +/-0.3 mm, slit or hole position within +/-0.5 mm, and mounting orientation within +/-5 degrees unless the design is strongly directional. If foil, spot UV, or lamination is used, state whether it applies to one side or both sides and whether minor cracking at a scored fold line is acceptable.
AQL Critical 0 / Major 2.5 / Minor 4.0 is standard for branded goods, but many buyers at this volume should also require 100% front-face visual sorting before packing. The added labor is small relative to the cost of close-up defects in ecommerce photos or on retail pegs. Useful reject definitions include scratches visible at 30 cm, enamel underfill greater than 0.2 mm, color contamination across metal lines, bent posts, card print blur, crushed card corners, and upside-down mounting.
When pin-on-pin is justified, and when it is paying for the wrong thing
Pin-on-pin is justified when removing the second layer would materially weaken the design. Good examples are a raised shield over a background field, a separate metal frame around an inner icon, a mounted nameplate over textured metal, or artwork that depends on two finishes being physically separated rather than only color-blocked. In those cases, the extra die, assembly step, and inspection burden purchase a visible and defensible product feature.
It is usually not justified when the second layer exists mainly to signal 'premium' in concept art. If the artwork still reads clearly as a one-piece pin, a layered build often adds 40-120% in unit cost while also increasing lead-time and scrap risk. At 100 pcs, one remake cycle or one missed hand-assembly day can wipe out the margin on the entire run.
For retail tests, event giveaways, employee gifting, and creator merch drops, the stronger engineering choice is often a conventional enamel pin paired with a better card. Upgrading from a plain insert to a double-sided 350 gsm matte-laminated card with foil logo, spot UV mark, or custom die-cut silhouette usually creates more visible retail value than upgrading the metal from one piece to pin-on-pin while leaving the packaging basic.
Buyer checklist and a practical decision rule under 300 MOQ
- Define the real objective before requesting quotes: collector-grade depth, stronger retail display, gifting presentation, or lowest-risk on-time delivery.
- Quote 100, 200, and 300 pcs separately because assembly labor scales differently from print cost.
- For pin-on-pin, confirm whether the top layer is die-struck or die-cast and whether joining is epoxy, solder, or mechanical rivet/post.
- Ask for FOB pricing broken out by unit price, tooling, packaging, and finishing adders such as foil, spot UV, deluxe clutch, or individual bagging.
- Name the plating finish exactly and state whether both metal parts must run in the same plating batch.
- Write tolerances directly on the PO: layer alignment, card size, print registration, slit location, pin orientation, and acceptable bow or warp.
- Approve one golden sample that includes final metal, final card, final clutch type, and final individual packing.
- Hold schedule buffer of at least 5 working days for pin-on-pin and at least 3 working days for carded one-piece sets when the launch date is fixed.
The practical decision rule is simple. Quote the same artwork both ways: one as a standard enamel pin with printed backer card, and one as a pin-on-pin assembly, keeping plating, clutch type, and finished presentation size as close as possible. Then compare three things in order: delivered unit cost, schedule resilience, and whether true metal layering is essential to the design.
If the launch cannot absorb a remake, or if most customers will see the item carded rather than loose in hand, the printed backer card set is usually the better commercial format. If the design genuinely depends on layered metal depth and the budget can absorb roughly a 1.4x-2.3x unit premium plus added schedule risk, pin-on-pin is justified. For most buyers at 100-300 pcs, the answer is consistent: choose pin-on-pin only when the layered construction is itself the product feature; otherwise, keep the metal simple and spend the budget on the card.
Have a project? Send your artwork and target quantity and we’ll reply with a detailed quotation within 12 working hours.
Ready to get this made?
Send your sketch, target quantity and ship-date. Detailed quotation in 12 hours.