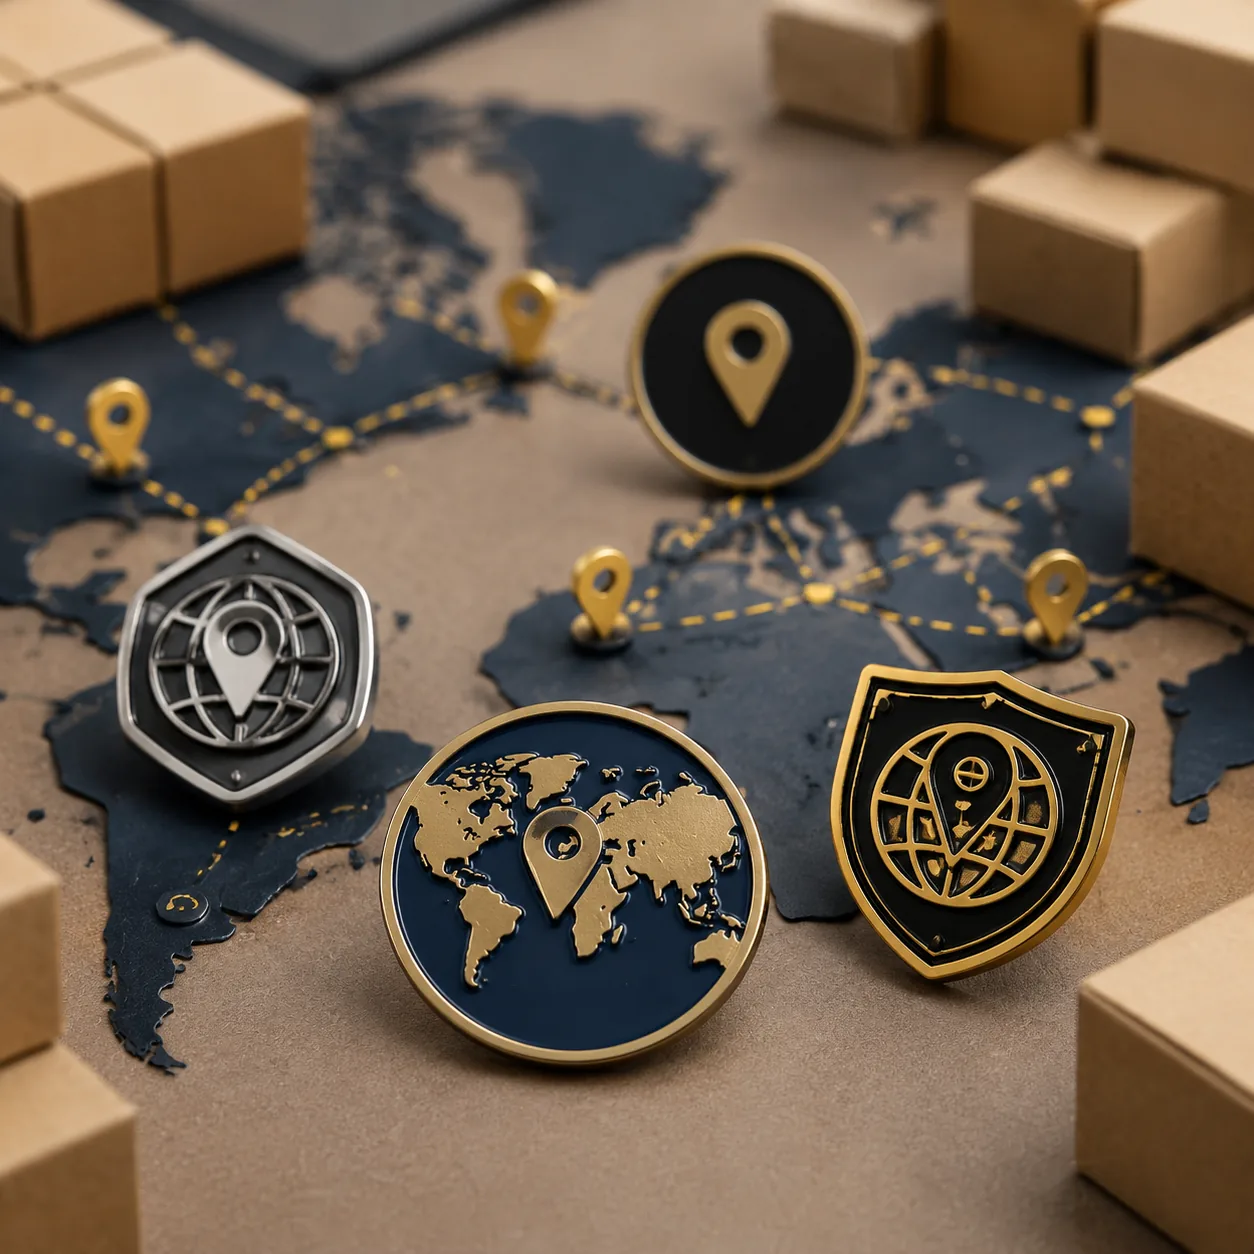
How to Write a Custom Metal Badge Spec Sheet
Why vague badge briefs fail
Most badge rework does not begin with a bad factory. It begins with a buyer brief that leaves too many decisions open: “make it durable,” “keep it premium,” or “match our brand.” Those phrases do not define metal, thickness, finish, or acceptance criteria, so the supplier fills the gaps with assumptions. A spec sheet closes those gaps before tooling starts and before the first sample becomes a source of argument.
For custom metal badges, the most common failure points are not the obvious ones. They are the details buyers often skip: base metal, plated color versus surface sheen, thickness, edge quality, attachment hardware, and tolerance on size and cutouts. Write those items down in a controlled format and you reduce sample cycles, avoid quote confusion, and make reorder production much safer.
A strong spec sheet also improves pricing discipline. A supplier quoting brass with polished nickel plating, a lacquer topcoat, and a magnetic back is not pricing the same part as a supplier quoting iron with standard nickel and a butterfly clutch. If the sheet is precise, you can compare quotations on a like-for-like basis instead of comparing different assumptions.
Define the product identity first
Start with the fields that define what the part is, not how it looks. Use a unique item name, intended use, wearer type, and whether the badge is for uniforms, retail, corporate gifting, events, or membership programs. That context matters because a daily-wear staff badge needs stronger retention and smoother edges than a one-time event badge, while retail packaging often demands better cosmetic consistency.
Then lock the physical identity fields: finished size, overall shape, face orientation, and attachment type. For lapel-style badges, common finished sizes fall between 20 and 50 mm across, with 25 to 35 mm being a frequent sweet spot for uniforms and brand badges. If the badge is larger than about 40 mm, weight and garment pull become more important, especially when the part is cast or uses a heavy plated stack.
State whether the badge is pin-backed, magnetic, clip-backed, or brooch-style, and whether the attachment must resist rotation. That last point matters more than buyers expect. A badge that spins on a shirt placket can pass a visual sample review and still fail in use, so rotation control should be written into the spec if the badge has an asymmetrical shape.
Lock the base metal and build method
The base metal determines cost, weight, detail sharpness, and plating behavior. Brass is usually the premium choice for crisp edges and better finishing consistency. Iron is lower cost and works well for higher volumes where weight control matters. Zinc alloy fits more sculpted or 3D badge forms, but it is generally not the best choice for very fine flat-line artwork or ultra-thin features.
A practical spec line should name the base metal and forbid substitutions without buyer approval. Example: “Brass base, finished thickness 1.2 mm, no alloy substitution without written approval.” That single sentence protects against a quote that looks competitive only because the factory quietly switched to a cheaper metal with different stamping behavior and wear performance.
The build method should also be stated, because it changes what tolerances and details are realistic. Stamped badges usually support cleaner outlines and lower unit cost at scale. Die-cast badges support raised relief and more sculpted surfaces. Photo-etched or printed metal badges can reproduce very fine graphics, but they are not interchangeable with stamped or cast parts when the design needs depth or a premium tactile feel.
If your order will be repeated, note whether the tooling must remain dedicated to the part. Tool retention matters for reorder stability. If a supplier can reuse the same die or mold, later production is more consistent and usually less expensive than starting from a revised interpretation of the artwork.
Specify size, thickness, and tolerance
Finished size should always be written as a nominal dimension plus tolerance, not “about 30 mm.” For small metal badges, a practical general tolerance is ±0.3 mm for simple stamped shapes. For cast parts, multi-layer constructions, or pieces with heavy polishing, ±0.4 to ±0.5 mm may be more realistic depending on geometry and tooling method. If the design has a mating component, such as a frame or insert, define the corresponding fit requirement explicitly.
Thickness should be tied to use, not just aesthetics. A 1.0 mm badge can be adequate for light logo pieces, but 1.2 mm is a safer baseline for most uniform and corporate badges because it improves rigidity and reduces edge distortion. For larger badges, cutout-heavy designs, or pieces with raised borders, 1.5 mm is often more stable. If the badge must sit flat on fabric or a mounting card, specify an allowable warp limit as well, because thin metal can bow during stamping, plating, or cooling.
Use a measurable tolerance for shape features too. If the part includes cutouts, define minimum line width and minimum web thickness between openings. A practical starting point for stamped metal badges is 0.25 to 0.30 mm for the narrowest visible line, but the true limit depends on size, base metal, and whether the badge is filled, plated, or left bare. For very small text, avoid assuming the factory will “figure it out”; define the smallest readable stroke width and minimum gap.
If the design includes multiple layers, state the stack order and whether layer overlap may vary. Even a 0.2 mm shift can create a visible shadow line on a premium badge. That is especially important when one layer is enamel-filled and another is polished metal, because thickness variation affects how the finished part catches light.
Finish, plating, and color control
Plating is the metal layer; surface finish is the visual texture on top of it. Buyers often ask for “gold” when they actually mean two separate things: the plating color and the sheen level. If you want a mirror look, say polished gold plating. If you want a softer corporate look, specify matte or antique gold. If the badge is meant to look modern and clean, polished nickel is often more stable visually than bright chrome-like finishes on complex shapes.
Plating thickness should be stated in microns when the badge will be handled regularly or stored for long periods. For decorative badges, standard plating is often around 0.1 to 0.3 microns for light-duty promotional work, while more durable builds may be 0.5 microns or higher depending on the finish and substrate. If the badge will be touched daily, ask about a clear lacquer or anti-tarnish coating, because untreated plating can age differently in humidity, cardboard storage, or shipping conditions.
Do not mix up color approval and finish approval. A polished nickel badge, a satin nickel badge, and an antique silver badge can all be “silver,” but they are not the same product. If your design has enamel, printed color, or colored resin, specify the color standard used for approval, such as a Pantone reference or an approved physical sample. If the badge has no colored fill, require a finish sample or photo reference that shows sheen, texture, and edge treatment.
| Finish line item | Good spec-sheet wording | What it prevents |
|---|---|---|
| Plating color | Polished nickel plating, no substitution | Silver-gray confusion and quote drift |
| Plating thickness | Nickel plating 0.1-0.3 microns minimum | Early wear and discoloration complaints |
| Surface effect | Gloss finish, no sandblasted texture | Unexpected matte appearance |
| Protection | Clear lacquer allowed only with approval | Unexpected feel and color shift |
If a premium retail appearance matters, ask for the surface control method. The supplier may use barrel plating, rack plating, polishing, brushing, or tumbling, and each method leaves a different visual result. That matters because buyers sometimes approve a sample based on color and miss the fact that the back face is rougher, darker, or more matte than expected.
Detail geometry, edges, and relief
Edge quality is one of the clearest indicators of factory control. If the design has openwork, internal holes, or sharp contours, define the minimum line width, the minimum space between cutouts, and whether the edges must be polished, beveled, or square. For badges worn on clothing, rounded or beveled edges reduce snag risk and make the part feel more finished in hand.
Surface detail should be described in a way the factory can measure. Instead of saying “make the logo pop,” specify whether the relief is flush, recessed, or raised, and state the target depth where it matters. For small cast badges, relief height around 0.3 to 0.8 mm is common. For stamped work, the visible depth is usually subtler, so if the design depends on tactile contrast, request a physical sample or close-up proof before production.
Text is the first place fine detail fails. If the badge includes small lettering, define the minimum font height and minimum stroke width. As a rule of thumb, engraved or raised text under 1.0 mm tall becomes hard to reproduce cleanly on many metal badge processes, especially if the part will be plated or polished after forming. Tightening that requirement on the drawing saves arguments later about whether the artwork was “too small to make.”
Backside finish also belongs on the sheet if the badge is visible in use or packed separately. Some buyers are fine with tool marks on the back, but retail-facing products often require a smoother back face. If the back is hidden by a clasp or mounting card, you can allow a lower cosmetic standard and save cost.
- State minimum line width for all text and borders
- State minimum gap between cutouts or internal holes
- State whether edges must be polished, beveled, or square
- State whether any sharp points are allowed on the final part
- State if the back side may show tooling marks or must be smooth
Attachment hardware and wear performance
Attachment failures create returns even when the badge face is perfect. The spec sheet should name the attachment type, pin length, clasp style, magnet size if used, and any anti-rotation requirement. A butterfly clutch is common for light badges, rubber clutches are easier on clothing, and magnetic backs reduce fabric damage but add cost and can fail on thick garments or when the magnet is undersized.
If the badge is for uniforms, weigh the badge and the garment together, not the badge alone. A heavier metal badge can pull at knitwear or thin woven fabric even if the clasp holds. As a practical benchmark, once a badge becomes heavy enough to tilt or sag during normal wear, consider dual posts, a stronger clasp, or a magnetic system with enough holding force for the textile weight. For reusable staff badges, it is usually better to accept a higher hardware cost than to save a few cents and create daily-use failures.
For magnets, specify the magnet diameter or pull-force target if the supplier can provide it. A vague “magnetic back” leaves too much room for weak hardware. For high-frequency wear, ask for corrosion-resistant hardware and confirm whether the back plate is plated or raw. On humid routes or long shipping cycles, poor back-side protection can create staining or oxidation that only shows up after delivery.
If the badge will be pinned through delicate fabric, define any safety requirement for the clasp point and tip geometry. That matters for school programs, hospitality uniforms, and retail staff where users may handle the badge repeatedly during a shift.
Inspection, sampling, and acceptance criteria
A good spec sheet defines how the factory knows the order passed. State the acceptable quality level, the inspection focus, and which defects are critical, major, or minor. For many promotional metal products, AQL 2.5 for major defects and 4.0 for minor defects is a common starting point. Premium retail programs may tighten that to AQL 1.5 major and 2.5 minor, while lower-risk giveaway items may accept the standard 2.5/4.0 combination.
List the checks that matter most: finished size, plating uniformity, color match against the approved sample, no visible pits on the front face at normal viewing distance, secure attachment hardware, and clean edges with no burrs. If the badge uses enamel or printed color, specify the approval method for the color reference. “Looks close” is not a testable standard; a Pantone code, master sample, or approved digital proof is better.
Sampling should be tied to the stage of risk. Ask for a pre-production sample if the part has tight geometry, mixed finishes, or a new attachment method. Ask for a golden sample if you plan to reorder. For complex orders, require a clear revision number on the sample record so later batches do not drift from the approved version.
| Inspection item | Suggested spec | Typical buyer risk if missing |
|---|---|---|
| Size | Nominal with ±0.3 mm tolerance | Over- or undersized badges |
| Plating | Approved finish sample or Pantone reference where relevant | Color disputes |
| Edges | No burrs visible by touch or normal sight | Fabric snag complaints |
| Hardware | Attachment must hold under normal garment use | Returns from broken clasps |
| Appearance | No front-face pits visible at arm’s length | Premium-look rejection |
For high-value programs, add a simple defect priority table. Critical defects include missing hardware, broken parts, or plating that flakes. Major defects include visible burrs, size out of tolerance, and mismatched color. Minor defects include small back-side marks that do not affect use. That structure helps the factory sort defects the same way you do, which reduces subjective disputes after shipment.
Use a quote-ready spec sheet format
The best spec sheets are boring in the right way: every line can be copied into a quote, a sample sheet, or a production order. Keep the format stable so your sourcing team can compare suppliers on the same basis every time. If one supplier answers in polished nickel and another answers in nickel plate, but your sheet only said “silver,” you are comparing two different products, not two different prices.
A useful quote-ready sheet separates appearance, structure, and hardware into different rows. That makes it easier to control remake risk because the factory knows exactly which element changed when a revision happens. It also helps when you reorder months later and need the same badge to match an old run without re-litigating the whole design.
A practical commercial benchmark helps too. For simple custom metal badges, FOB pricing often falls around USD 0.40 to 0.90 per piece at 1,000 to 3,000 pcs, USD 0.25 to 0.60 at 5,000 to 10,000 pcs, and lower on repeat orders when tooling is already in place. Complex cast work, magnets, or premium plating can push pricing higher. Typical MOQ tiers are 100 to 300 pcs for simple stock-like jobs, 500 pcs for standard custom runs, and 1,000 pcs or more for best pricing. Lead time is commonly 10 to 15 days for samples and 15 to 30 days for production after sample approval, depending on finish complexity and order size.
| Spec field | What to write | Why it matters |
|---|---|---|
| Product name | Custom metal badge for staff uniforms | Defines use case |
| Base metal | Brass or iron, no substitution | Controls cost and detail |
| Size | 32 mm x 28 mm, ±0.3 mm | Prevents fit issues |
| Thickness | 1.2 mm finished | Controls rigidity and weight |
| Plating | Polished nickel, 0.1-0.3 microns | Controls appearance and wear |
| Attachment | Butterfly clutch, dual post if needed | Controls retention and fabric damage |
| Inspection | AQL 2.5 major, 4.0 minor | Sets acceptance standard |
If you are comparing suppliers, ask each one to quote against the exact same rows and to note any exceptions in writing. The point is not just to get a price; it is to prevent a cheap-looking quote from hiding a change in metal, finish, or hardware. That is how buyers end up paying twice.
Turn the brief into a repeatable buying tool
Take your current badge idea and rewrite it into a one-page spec sheet before asking for quotes. Start with product identity, then lock the base metal, size, thickness, plating, attachment, and inspection criteria in that order. If a field affects cost or function, it belongs on the sheet; if it is only a preference, mark it flexible so the factory knows where substitutions are allowed.
If you already have artwork, compare it against the spec sheet instead of the other way around. That habit prevents late-stage changes that increase tooling cost, extend lead time, and create sample disputes. For most buyers, the fastest path to a clean badge order is not a better drawing; it is a better spec line by line.
- Use the same spec template for every reorder
- Attach one approved master sample or reference photo
- Record revision numbers for all changes
- Confirm MOQ, lead time, and FOB terms before sample approval
- Reject any substitution that changes metal, finish, or hardware without written sign-off
Have a project? Send your artwork and target quantity and we’ll reply with a detailed quotation within 12 working hours.
Ready to get this made?
Send your sketch, target quantity and ship-date. Detailed quotation in 12 hours.


