How to Specify Surface Protection for Custom Metal Giveaways
Why surface damage is the first silent failure
Most custom metal giveaways are approved on color, shape, and logo placement, then fail later on the finish. The first complaint from distributors is usually not that the item is structurally broken, but that it arrives scratched, dull, fingerprinted, or already showing edge wear. That is a specification problem, not a luck problem. If you do not define surface protection clearly, each supplier will choose a different interpretation of what is acceptable.
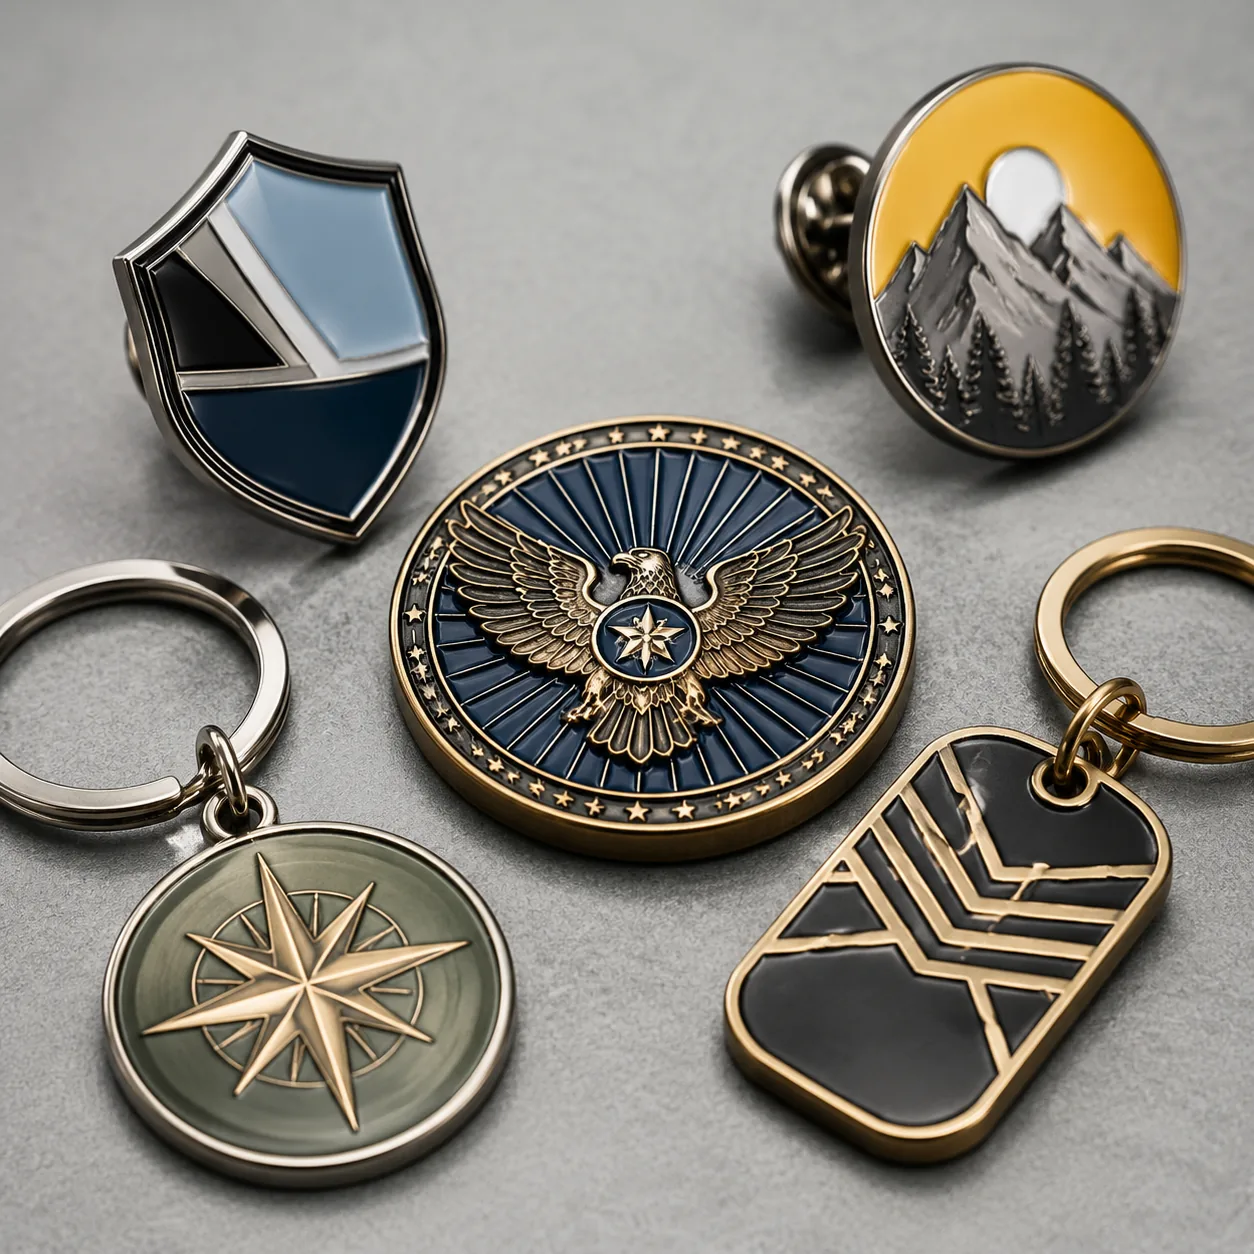
This matters most for items that get handled before the end user ever sees them: enamel pins, challenge coins, keychains, badges, and fridge magnets. A matte black pin can survive minor scuffs better than mirror polish, but it may also show oily marks sooner. A soft enamel coin can hide micro-abrasion in recessed areas, while a polished raised field can show every carton rub mark. The right spec depends on how the product is used, packed, and shipped.
At ZheCraft, we usually separate surface protection into four layers: base finish selection, post-finish sealing, individual packing, and transit protection. Buyers often think one coating solves everything. In practice, the best results come from combining moderate abrasion resistance with correct packaging and handling rules. That is how you reduce returns without overpaying for a finish your item does not need.
Choose the finish based on handling risk
The more reflective the finish, the more it exposes defects. Mirror gold and mirror nickel look premium, but they are less forgiving than antique finishes, sandblasted textures, or brushed surfaces. If your item will be inserted into gift boxes, distributed at events, or carried loose in pockets, choose a finish with some visual noise or texture. It will still look sharp, but it will hide micro-scratches much better.
Plating thickness matters, but it is not the only factor. For decorative metal giveaways, common decorative plating is around 0.03 to 0.05 microns for color layers on top of the base plate, while more durable systems may use around 0.1 to 0.3 microns depending on finish and process route. These are not armor-like thicknesses, so buyers should not expect plating alone to resist carton abrasion. If the supplier cannot explain what protects the top surface after plating, ask for a clearer process description.
| Surface choice | Best use case | Main trade-off |
|---|---|---|
| Mirror plating | Premium presentation, short handling chain | Shows scratches and fingerprints fastest |
| Antique finish | Coins, pins, badges with relief detail | Less bright, more classic appearance |
| Brushed finish | Corporate gifts and frequent handling | Directional grain can show mismatch if inconsistent |
| Matte or sandblasted | Event giveaways and lower-risk brand items | Less luxury feel, but better scratch hiding |
Use coatings only where they solve a real problem
Epoxy dome, clear lacquer, and protective topcoat are not interchangeable. Epoxy dome gives height and gloss, but it can trap bubbles, yellow over time, and is not ideal for very fine line work or tight edges. Clear lacquer or transparent protective coating is thinner and better for preserving the plated surface, but it will not hide under-plate marks. If the item already has a polished surface, coating helps mostly with fingerprints and light scuffing, not heavy abrasion.
A good buyer spec should say why the coating is needed. If the goal is scratch resistance, define a target use environment, such as individual polybag plus inner tray plus outer carton. If the goal is appearance retention, specify no visible peeling, clouding, or edge lift after the agreed handling test. For enamel pins and keychains, overcoating can also slightly soften crisp edges, so do not add it automatically.
When coating is appropriate, ask for the process type and coverage zone. Full-face coverage is different from spot protection on logo areas only. For recessed metal textures, ask whether the coating will bridge fine cuts or fill line work, because some coatings reduce sharpness. ZheCraft typically recommends a sample comparison when buyers are deciding between naked plating and coated plating, because the same design can look better or worse depending on relief depth and line spacing.
Define the abuse test before production starts
Surface quality fails in transit, storage, and retail handling, so your test should match those conditions. A supplier-side polish inspection is not enough. Ask for an agreed abrasion standard, carton rub test, and visual defect limit. If you do not define the test, the factory may use a very mild internal check that does not reflect real shipment conditions.
For practical buyer specs, a simple approach works well. Ask for 10 to 20 manual rub cycles with clean cotton cloth, then 10 to 20 rub cycles with standard packaging contact material, followed by visual inspection under neutral light. For more demanding programs, add a drop or shake test for blister packs and a packed-carton vibration check. The point is not to over-engineer it; the point is to make the failure mode visible before mass production.
- State whether the test is for surface gloss loss, coating peel, or visible scratching
- Specify the viewing distance, usually 30 cm for close inspection and 50 cm for retail inspection
- Define the lighting condition, ideally neutral white light with no strong side glare
- Set an accept/reject rule such as no scratch longer than 1 mm on the main logo area
- Require photos of the sample before and after the test using the same angle
Packing is part of surface protection, not an afterthought
A perfect finish can still fail if the products rub together in bulk packing. Loose pin-on-pin contact, stacked coin faces, and keychains sharing the same bag are common causes of micro-scratches. For polished surfaces, individual polybags are usually the minimum sensible option, and soft inserts or divider trays are better when the outer finish is highly reflective. If the shipment is long-distance or humid, add desiccant and make sure the packing does not trap moisture against the metal.
The choice between bulk packing and individual packing is often a cost trade-off, not a technical one. Bulk packing may save a small amount per unit, but it increases the chance of surface marks and repacking labor at destination. Individual packing adds labor and material cost, yet it lowers rejection risk and makes counting easier. For distributor orders and retail-ready presentations, that usually pays back quickly.
| Packing method | Surface protection level | Typical buyer fit |
|---|---|---|
| Loose bulk carton | Low | Very low-cost giveaways, not recommended for polished items |
| Individual polybag | Medium | Most standard promo orders |
| Polybag plus tray/divider | High | Coins, badges, premium pins, gift sets |
| Retail box or carded pack | High | Retail, executive gifts, collector items |
Inspection rules should match the finish
A defect that is acceptable on antique brass may be unacceptable on mirror silver. Buyers should not use one universal AQL rule for every surface. If the product is highly reflective, tighten the visual inspection standard for scratches, pits, and haze; if it is textured or antique, focus more on plating coverage, color uniformity, and edge wear. The supplier needs to know where the eye will go first.
A practical internal inspection setup is simple: inspect at standard light, from normal reading distance, with one movement to catch reflections. Use the same viewing angle for each batch if possible. For premium items, ask for AQL 2.5 for major surface defects and AQL 4.0 for minor surface marks, then tighten if the item is retail-facing. That does not replace your own approval logic, but it gives the factory a measurable target.
If you buy from China, make sure the inspection language is clear enough to survive translation. Terms like “no obvious scratch” are too vague unless you define obvious. Better wording is “no scratch visible at 30 cm under neutral light on the primary display face.” ZheCraft often helps buyers translate this into a production note so the QC team, plating line, and packing team all work from the same standard.
A spec table for common surface-protection choices
Different products need different protection levels, and the wrong finish can add cost without adding real value. Use the table below as a starting point, then adjust for your artwork, relief depth, and destination market. These are buyer-side planning ranges, not fixed factory rules, but they are useful when comparing quotes and deciding what to request on the RFQ.
| Item type | Recommended protection | Buyer note |
|---|---|---|
| Standard enamel pin | Nickel or gold plating with individual bag | Good balance of cost and appearance |
| Premium collector pin | Clear coat or protected packaging tray | Use only if handling risk is high |
| Challenge coin | Antique finish or brushed field with tray packing | Great for hiding minor handling marks |
| Keychain | Harder topcoat or protective film plus bag | Edges and ring areas need extra care |
| Badge or badge set | Tight packing and face-to-face separators | Large flat areas scratch easily |
How to write the order note without ambiguity
A strong surface-protection note tells the factory what to protect, how to test it, and what packing method to use. Keep the instructions short but measurable. State the display face, the acceptable defect type, the target viewing distance, the packing method, and whether protective coating is allowed. That is usually enough to avoid the most common misunderstandings.
Here is the structure we recommend: product name, finish, target surface condition, test method, packing method, and acceptance rule. For example, a buyer might specify: mirror nickel pin, primary face must be free of visible scratches at 30 cm, individual polybag with card insert, no peeling or haze after manual rub test, and no metal-to-metal contact in carton. That is much stronger than saying “protect surface well.”
- Name the primary display face and any secondary faces
- State whether fingerprints are acceptable before packing
- Specify if coating is allowed, optional, or prohibited
- Choose individual bag, tray, or divider packaging
- Require pre-shipment photos of packed units and carton arrangement
What to do next
If you are preparing a new order, start by choosing the finish based on how the item will be handled, not just how it looks in a render. Then decide whether the risk comes from shipping abrasion, storage contact, or retail handling, and write the protection spec around that risk. Do not add coatings or premium packing unless they solve a defined problem, because unnecessary steps add cost and can create new appearance issues.
For your next RFQ, send the factory one clear surface-protection paragraph plus one packing instruction. If you want, ZheCraft can help turn that into a production-ready spec for pins, coins, keychains, badges, or other metal promo items, including finish choice, packing structure, and inspection wording that is easier for the factory to follow.
Have a project? Send your artwork and target quantity and we’ll reply with a detailed quotation within 12 working hours.
Ready to get this made?
Send your sketch, target quantity and ship-date. Detailed quotation in 12 hours.


