How to Specify Artwork Files for Clean Production
Why Artwork Specs Control Production Yield
Most rework in custom pins, coins, keychains, patches, magnets, medals, and lanyards starts before a mold, die, or screen is opened. The root cause is usually not poor factory execution; it is ambiguous artwork. A buyer sends a screenshot, a low-resolution PNG, or a vector file with no note on finished size, minimum line weight, font handling, color breakup, or which details may be simplified. The factory then guesses. Each guess can become a shifted border, unreadable text, color bleed, or a proof that does not match the brand intent.
The commercial impact is measurable. For a typical soft enamel pin order of 1,000–3,000 pieces, one avoidable artwork revision can add 1–2 business days before sampling. A remade mold can add 5–8 days and USD 40–150 in tooling cost depending on size and complexity. For woven patches, a late change to thread count or border construction can delay sampling by 3–5 days. On time-sensitive promotional campaigns, those days matter more than the small cost of preparing proper production art.
The goal is to convert design intent into manufacturing data. A clean artwork specification defines geometry, scale, colors, separations, tolerances, and inspection criteria. It tells the supplier what cannot change and where production adjustments are allowed. When that information is available at RFQ stage, quotes are more accurate, proofs require fewer cycles, and the mass-production rejection rate stays within the agreed AQL instead of being argued case by case.
Start With Vector Files, Scale, and Layers
For toolmaking and die work, the production master should be a vector file: AI, EPS, or editable PDF. SVG can work with some prepress teams, but compatibility is less predictable across factories, especially where older Adobe Illustrator versions are used. A flattened PDF proof should always accompany the source file so the supplier can compare the editable geometry against the approved visual target. For photo-based decoration, gradients, or sublimation, include a 300–600 dpi raster file at actual print size, but do not use raster art as the master for metal lines, cut paths, or embroidery shapes.
Scale should be stated in millimeters and should not be left to visual interpretation. Submit the art at 1:1 whenever possible, such as 38 mm wide for a lapel pin, 50 mm for a challenge coin, or 100 mm for an embroidered patch. If the artwork is drawn at another scale, label it clearly, for example: “Artwork 2:1; finished size 50 mm wide.” Without this note, line weights and negative spaces can be resized incorrectly. A 0.25 mm enamel dam drawn at 2:1 becomes only 0.125 mm if a prepress operator scales the file without compensating.
Layers should be named by function, not by designer habit. Use labels such as cut line, raised metal, recessed enamel, screen print, laser engraving, backing card, and no-print guide. Delete unused layers, hidden logos, old color trials, and clipping masks that can confuse separation. For coins and medals, show front and back as separate artboards. For patches, show stitch area, merrow border or laser-cut edge, backing type, and any heat-seal or hook-and-loop outline.
Set Minimum Detail Limits by Process
Detail limits vary by product and process. A line that is acceptable in etched brass may fail in die-struck zinc alloy, and a small gap that holds in screen print may close in embroidery. The supplier should confirm final limits based on size and equipment, but the buyer should still provide practical starting targets so the art is not engineered around impossible details.
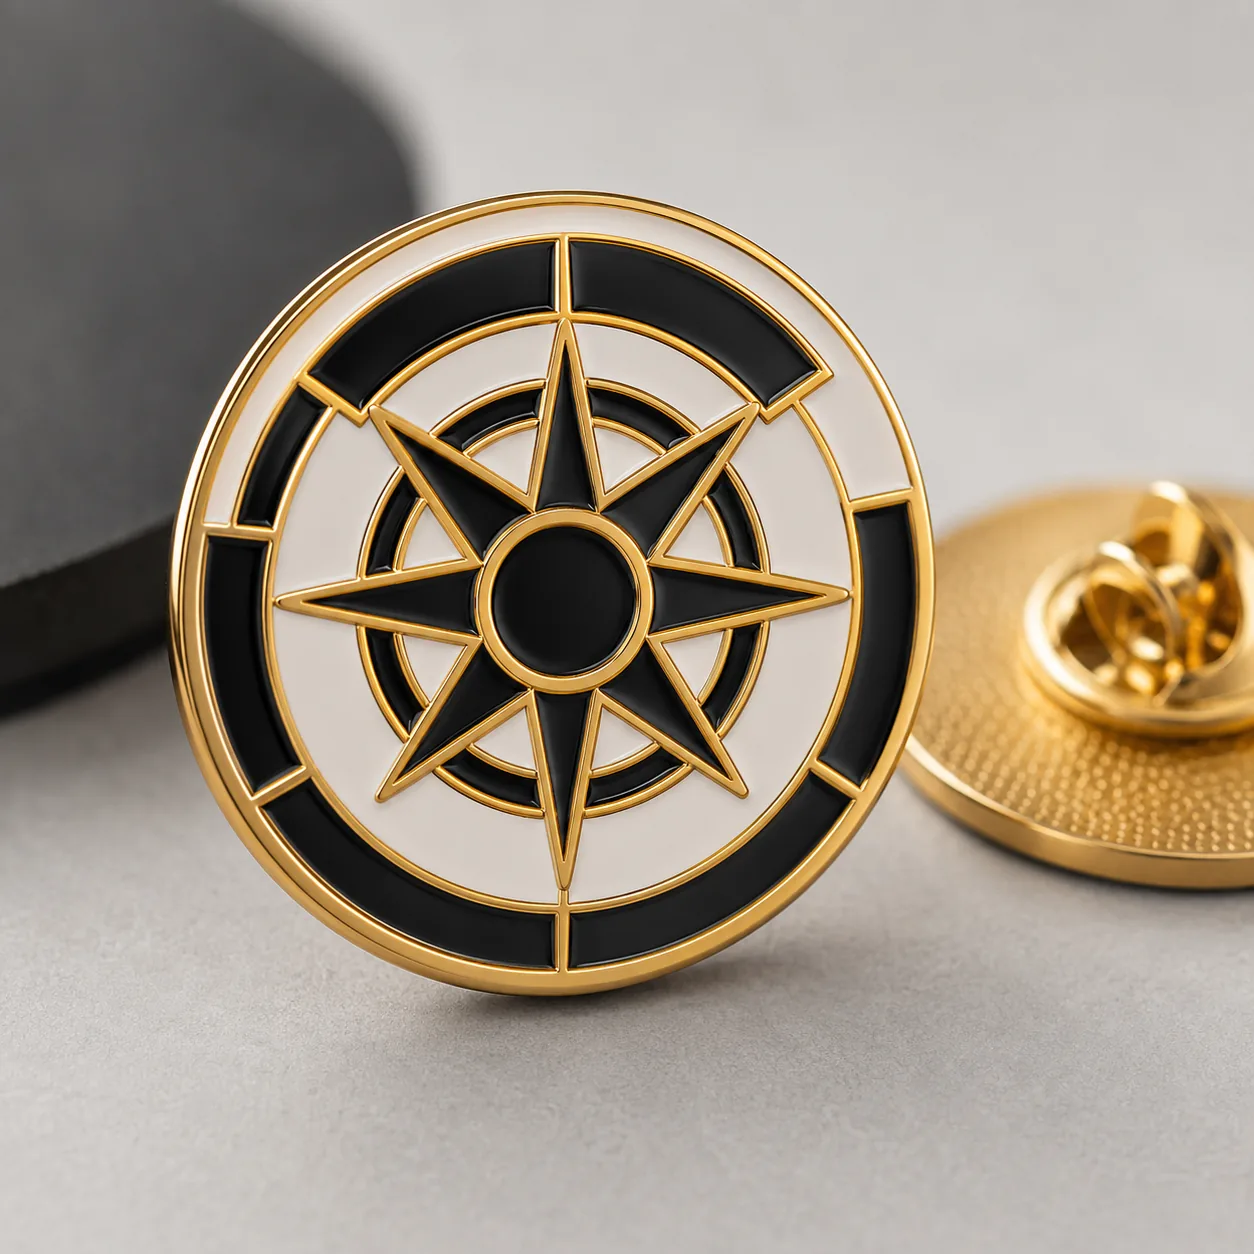
For soft enamel pins, raised metal lines are commonly safest at 0.20–0.25 mm, with 0.30 mm preferred for dark plating or large fill areas. Recessed enamel cells should generally be at least 0.35–0.40 mm wide so color can be filled and polished cleanly. Hard enamel can support refined edges, but polishing can soften very fine dividers; 0.18–0.22 mm metal lines are more realistic than hairline strokes. Die-struck coins and medals often need 0.25–0.35 mm minimum relief lines, especially on antique finishes where contrast depends on depth and polishing.
Printed and textile products have different thresholds. Screen-printed lanyards typically need 0.30–0.40 mm minimum strokes and 5–6 pt bold text for consistent ink transfer. Dye-sublimated lanyards can reproduce gradients and smaller type, but edge sharpness depends on polyester weave and heat transfer control. Woven patches should avoid text below 7–8 pt unless the patch is large and the yarn count is fine. Embroidered patches usually need bolder shapes: 1.0 mm stroke width is a safer floor, and very small counters in letters such as “e,” “a,” and “R” may need to be opened.
| Product/process | Safer minimum line | Safer minimum gap | Text guidance | Typical artwork tolerance |
|---|---|---|---|---|
| Soft enamel pin | 0.20–0.25 mm raised metal | 0.35–0.40 mm enamel cell | 6–7 pt bold sans serif | ±0.10 mm on line placement |
| Hard enamel pin | 0.18–0.22 mm metal line | 0.30–0.35 mm color cell | 6 pt minimum; 8 pt preferred | ±0.08–0.10 mm after polishing |
| Die-struck coin | 0.25–0.35 mm relief detail | 0.30 mm recessed channel | 7 pt for rim text | ±0.10 mm on relief edges |
| Screen-printed lanyard | 0.30–0.40 mm ink stroke | 0.30 mm clear space | 5–6 pt bold text | ±1.0 mm print registration |
| Woven patch | 0.40–0.60 mm woven detail | 0.50 mm clear space | 7–8 pt minimum | ±1.0–1.5 mm overall size |
| Embroidered patch | 1.0 mm stitch feature | 0.80 mm open space | 8–10 pt bold text | ±1.5–2.0 mm overall size |
Specify Color by Decoration Method
Color should be specified according to the process, not copied from a digital brand guide without adjustment. RGB values are for screens and are not enough for production. For enamel products, Pantone Solid Coated references are the practical standard because factories mix enamel to a spot target. For screen print, Pantone Solid Coated is also useful, while CMYK percentages apply to process printing. For woven or embroidered patches, thread charts such as Madeira, Gunold, or factory polyester thread references may be more accurate than Pantone alone.
A color target should also include finish context. Pantone 186 C in glossy enamel will not look identical to Pantone 186 C printed on matte fabric or woven with polyester thread. Plating changes perception as well: black nickel makes adjacent colors appear deeper, while shiny gold can warm nearby reds and creams. If brand consistency is critical, identify one item as the color master and define acceptable visual deviation for the others. For example: “Enamel pin is master target; woven patch may be up to one shade darker but must not shift toward orange.”
For tighter programs, request a physical color drawdown or pre-production swatch before mass production. This is especially useful when the order includes 5,000+ pieces, retail packaging, or repeat replenishment. A reasonable tolerance is visual match under D65 daylight or light booth conditions, with no obvious hue shift at arm’s length. For printed packaging, some buyers specify Delta E below 3.0 for brand colors, but that level of measurement is uncommon for enamel fill and thread matching. Use it only when the supplier has the instruments and agrees before quotation.
Define Text, Fonts, and Production Adjustments
Fonts must be controlled before the file leaves the design team. Outline all text in the production vector file and keep one editable backup internally. If live text must remain editable, state the exact font family, weight, and version. Font substitution can change tracking, stroke width, and counter shape enough to make text overflow a coin rim or become unreadable on a small badge. This risk is higher for non-Latin scripts, where rendering differences may alter stroke balance and character spacing.
Avoid ultra-light type, hairline scripts, compressed serifs, and fine decorative swashes when the final piece will be stamped, cast, polished, woven, or embroidered. These styles often need to be thickened or simplified. That adjustment is not a defect if it is documented and approved. The artwork note should say whether the supplier may widen strokes, open counters, merge tiny islands, or remove micro-detail below the agreed limit. Without that permission, prepress may either leave impossible features in place or make silent changes that surprise the buyer at proof stage.
For legal marks, QR codes, and serial numbers, specify function as well as appearance. A QR code on a coin or keychain should be tested at final size before tooling; many codes need at least 15–20 mm square when printed and more when engraved or cast. Fine laser-engraved serial numbers can work at 1.2–1.5 mm character height on metal, while raised or recessed molded numbers usually need 2.0 mm or more. If scannability is required, state the scan distance and device type rather than assuming any QR code will read after finishing.
Connect Artwork Specs to MOQ, Cost, and Lead Time
Artwork quality affects price because it changes tooling, proofing, and production risk. A clean vector file with clear separations usually supports faster quotation and standard tooling. Poor art may require factory redraw, which can be free for simple shapes but often costs USD 15–80 for complex logos, mascots, or multi-item adaptation. If the file requires manual reconstruction from a screenshot, expect an extra 1–3 business days before a reliable quote or proof.
Typical MOQ and FOB ranges vary by product, size, finish, and market conditions, but practical planning numbers help buyers frame the RFQ. Custom soft enamel pins commonly start at 100 pieces, with stronger pricing at 300, 500, and 1,000 pieces. A 25–40 mm pin may quote around USD 0.45–1.60 FOB China at 500 pieces, excluding mold, depending on plating, colors, backing, and packaging. Challenge coins often start at 100 pieces, with 45–50 mm zinc alloy or brass coins ranging roughly USD 1.80–5.50 FOB at 300–500 pieces. Embroidered patches may start at 100 pieces and range USD 0.35–1.80 FOB depending on size, thread coverage, backing, and border.
Lead time should be stated in calendar or business days with approval milestones. For pins and coins, digital proofing usually takes 1–3 business days after clean art is received. Sampling commonly takes 5–10 days after proof approval. Mass production is often 10–18 days for 500–3,000 pieces, longer for complex plating, epoxy, offset print, glow pigment, or retail packaging. Woven and embroidered patches often sample in 5–7 days and produce in 8–15 days after approval. These estimates assume artwork is complete; unclear files can consume the same time as a physical sample.
| Item | Common MOQ tiers | Typical FOB range | Sampling lead time | Mass lead time after approval |
|---|---|---|---|---|
| Soft enamel pin, 25–40 mm | 100 / 300 / 500 / 1,000 pcs | USD 0.45–1.60 at 500 pcs | 5–8 days | 10–15 days |
| Hard enamel pin, 25–40 mm | 100 / 300 / 500 / 1,000 pcs | USD 0.70–2.20 at 500 pcs | 6–10 days | 12–18 days |
| Challenge coin, 45–50 mm | 100 / 300 / 500 / 1,000 pcs | USD 1.80–5.50 at 300–500 pcs | 7–10 days | 14–20 days |
| Woven patch, 70–100 mm | 100 / 300 / 500 / 1,000 pcs | USD 0.45–1.60 at 500 pcs | 5–7 days | 8–15 days |
| Printed polyester lanyard | 300 / 500 / 1,000 / 3,000 pcs | USD 0.35–1.20 at 1,000 pcs | 4–7 days | 8–14 days |
Use a Pre-RFQ Artwork Checklist
A strong RFQ includes more than a logo attachment. It tells the supplier the finished size, product type, color system, finish, inspection expectations, packaging, and which details are critical. This improves quote accuracy and prevents the supplier from pricing a simple version while the buyer expects a premium construction.
- Provide AI, EPS, or editable PDF source plus a flattened 1:1 PDF proof.
- State finished size in millimeters and confirm whether artwork is drawn at 1:1.
- Outline all fonts or specify exact font family, weight, and version.
- Mark Pantone, CMYK, thread, or plating references by individual color area.
- Call out minimum line, gap, and text requirements that cannot be simplified.
- Identify details that may be thickened, merged, or removed for manufacturability.
- Specify finish, backing, attachment, packaging, and any retail compliance needs.
- Define inspection level, such as AQL 2.5 major / 4.0 minor for visual defects.
- Request the supplier to flag risks before tooling, not after the first sample.
For visual inspection, separate major and minor defects. Major defects include wrong logo shape, wrong plating, missing color, unreadable required text, broken attachment, or size outside agreed tolerance. Minor defects include small dust marks, slight polishing variation, or tiny enamel bubbles that are not visible at normal viewing distance. For many promotional products, buyers use AQL 2.5 for major defects and AQL 4.0 for minor defects, but premium retail programs may require tighter limits. Put the AQL requirement in the purchase order so the factory knows how the goods will be judged.
Approve Proofs With Measurable Notes
Proof approval should not be a casual “looks good.” The proof is the bridge between the buyer’s file and the factory’s production method. Check final dimensions, plating, color separations, attachment placement, edge style, backing card, and packaging before signing off. For two-sided products, verify orientation: a coin flip, keychain hole, or lapel pin post can easily be placed in a way that looks correct on screen but wrong in use.
Use measurable approval notes where possible. Instead of “make border thicker,” write “increase outer border from 0.25 mm to 0.35 mm.” Instead of “logo must be centered,” write “logo centerline aligned to product centerline within ±0.30 mm.” For patches, define acceptable size tolerance, such as ±1.5 mm for a 90 mm embroidered patch. For metal products, size tolerance of ±0.3–0.5 mm is common depending on process and shape, while print registration may be looser on flexible materials.
Before the next order, audit the artwork as if you were the production engineer. Confirm that the file is vector where it needs to be vector, every color has a manufacturing reference, text is outlined, minimum details are realistic, and proof notes are measurable. If the program includes pins, coins, patches, keychains, magnets, and lanyards, create one master artwork specification sheet and adapt it by process. The product changes, but the rule stays the same: define what must match exactly, what may be simplified, and what tolerance will be accepted at inspection.
Have a project? Send your artwork and target quantity and we’ll reply with a detailed quotation within 12 working hours.
Ready to get this made?
Send your sketch, target quantity and ship-date. Detailed quotation in 12 hours.


