How to Read a Custom Enamel Pin Spec Sheet Line by Line
Why the spec sheet is the real purchase order
Most pin defects start before tooling. If artwork, size, plating, fill, backing, packaging, and acceptance criteria are not written line by line, the factory will default to its standard process and standard tolerances. That is how buyers receive pins that match the render only in concept, then arrive too thick, too small, too dark, or too loose on the garment.
A strong spec sheet is not a marketing brief. It is the control document the supplier quotes against, samples against, and inspects against. For custom enamel pins, the safest format is one line per critical feature: finished size, base metal, process, plating, color count, attachment, packaging, and defect limits. That is what keeps quotation, sampling, and bulk production aligned.
Commercially, many standard programs fall into predictable ranges. Soft enamel at 25 to 30 mm often starts around USD 0.60 to 1.20 FOB per piece at 1,000 pcs, hard enamel commonly lands around USD 1.20 to 2.50 FOB at the same volume, and 3D cast, glow, glitter, dual-plated, or mixed-process pins can exceed USD 3.00 FOB. Typical MOQ is 100 to 300 pcs for simple soft enamel, 300 to 500 pcs for hard enamel or mixed-process work, with sample lead times of 12 to 18 days and bulk production of 18 to 30 days after sample approval, depending on plating and packing complexity.
Dimensions and profile: size, thickness, and edge rules
Start with finished size, measured at the outermost points of the design. Do not write “about 1.25 inch” or “small badge.” Use exact dimensions in millimeters and state whether the measurement includes the cutline. For example: 32 x 28 mm finished size, measured including outermost cutline. If the shape is circular, write the diameter. If it is irregular, define width and height separately so the supplier cannot reinterpret the outline during tooling.
Most standard soft enamel pins are 1.2 to 1.5 mm thick. Hard enamel pins are usually 1.5 to 1.8 mm thick, while heavy die-cast or 3D pieces may run 2.0 to 2.5 mm depending on relief depth and hardware load. If the design must feel substantial on a jacket, specify a minimum thickness rather than leaving it to the factory. If it must sit flat against fabric, also define whether the back is smooth, recessed, or has a textured cast surface.
Tolerance language matters because pin factories do not control size like a molded plastic part. A practical target is ±0.3 mm on finished size up to 30 mm and ±0.5 mm above 30 mm, with a wider allowance only for highly irregular silhouettes. For cut edges, require smooth deburred borders, no sharp burrs, and no exposed points that could snag fabric. If the design uses fine outlines, specify a minimum border width of 0.2 to 0.25 mm so the tooling survives polishing and plating.
| Spec line | Good buyer wording | Why it matters |
|---|---|---|
| Size | 32 x 28 mm finished size, measured including outermost cutline | Prevents disputes on irregular outlines |
| Thickness | 1.4 mm base thickness, excluding plating | Sets rigidity and weight |
| Edge | Polished outer edge, no sharp burrs, radius at cut points | Reduces snags and returns |
| Tolerance | ±0.3 mm on finished size | Gives the factory a measurable target |
Metal build: base metal, process, and relief depth
The metal choice drives detail, cost, and finish quality. Zinc alloy is the usual choice for complex outlines, 3D shapes, and lower tooling cost on medium-size runs. Iron is better for flat stamped pins with crisp line definition and lower unit cost. Brass gives the cleanest strike and strongest premium feel, but it costs more and is usually reserved for tighter detail, better polishing, or higher perceived value orders.
The spec should name the process, not just the material. Write stamped soft enamel, stamped hard enamel, die-cast, or etched and filled. If the pin has raised and recessed zones, define the relief depth or the factory will decide it for you. A common soft enamel build has raised metal lines around 0.25 to 0.35 mm above the fill, while hard enamel is polished flatter and may end with only a subtle ridge after finishing. For 3D cast work, state the highest point and deepest recess so polishing does not erase the intended form.
Text and micro-features need explicit limits. A minimum raised line width of 0.2 mm is the practical floor for simple production, while 0.25 to 0.3 mm is safer for small lettering or dense logos. For tiny copy, keep finished text at 3.0 mm high or larger whenever possible; below 2.5 mm, legibility falls quickly. If the back face must be smooth for comfort, write that directly instead of assuming it is standard.
- State the base metal: iron, zinc alloy, or brass
- State the process: stamped, die-cast, or etched and filled
- State the relief: flat, semi-3D, or full 3D
- State the minimum line width for text and borders
- State whether the back must be smooth or textured
Plating line: finish, thickness, and wear expectations
Plating is one of the easiest places for a quote to look better than the actual part. If the spec only says gold or silver, the supplier may use a generic finish that photographs well but scuffs quickly. Write the visual finish and the intended wear level. Polished gold, antique gold, shiny nickel, matte black, black nickel, and dual-plating are different processes with different appearance, consistency, and scratch visibility.
For decorative pins worn occasionally, some factories will quote thin decorative plating around 0.03 to 0.05 microns, but that is not a durability target. For retail or daily-wear programs, ask for the supplier’s standard production plating thickness and require uniform coverage on front faces, edges, back edges, and cut lines. If the buyer expects repeat orders, match to a retained master sample and require the same plating code on all reorders.
Use finish language that matches the visual target. Polished gold suits awards and recognition pieces. Antique gold hides minor polish variation and fits vintage styling. Shiny nickel gives a cleaner contemporary look but can show dulling if control is weak. Black nickel delivers strong contrast, but it must be matched carefully between batches. If the piece is handled often, ask the supplier to confirm adhesion and finish retention in writing, even if it is only a process declaration rather than a formal lab report.
| Plating finish | Best use case | Trade-off |
|---|---|---|
| Polished gold | Corporate gifts, recognition pins | Shows fingerprints and micro-scratches |
| Antique gold | Vintage or heritage styles | Less reflective, lower shine |
| Shiny nickel | Modern brand marks, sharp contrast | Can dull if finish control is weak |
| Black nickel | Dark branding, strong contrast | Harder to match on reorders |
Enamel fill: color count, finish, and special effects
Color control should be written as a numbered list, not as a loose art note. State how many colors are in the design, identify each one with Pantone references when possible, and say whether the pin is soft enamel or hard enamel. Soft enamel leaves the recessed areas textured and visible. Hard enamel is filled and polished flat, which looks cleaner but leaves less room for surface effects and tiny color separations.
A practical soft enamel fill depth is about 0.25 to 0.4 mm below the metal line. That keeps the color seated in the recess and preserves the raised border. For hard enamel, the face is usually polished flush after curing, so the final surface should be nearly level across colors. If adjacent colors sit too close together, specify a minimum separating metal line of 0.2 mm to reduce bleed and edge collapse during polishing. For designs with fine gradients, ask whether printing or screen fill is required instead of full enamel.
Special effects need to be isolated from standard color instructions. Glitter, glow-in-the-dark, translucent enamel, pearl, UV-reactive fill, and screen-printed details should each be called out separately. If the design uses both solid enamel and printed details, list the print layer, print color, and alignment target. Otherwise the factory may substitute standard opaque fill and treat the artwork as a simpler build. If a color must match a brand standard, say whether the acceptable reference is Pantone or an approved physical sample under neutral D65 light.
Shade variation is another area that needs written control. For repeat orders, define whether the acceptable variance is match-to-master sample or match-to-Pantone under neutral light. If a project tolerates small batch variation, say so in advance; if it does not, the sample should be approved as the visual master and retained with the purchase record. Without that reference, reorders tend to drift in hue before anyone notices.
- List each color separately with a Pantone or approved visual sample
- State soft enamel or hard enamel explicitly
- Name special effects separately: glow, glitter, translucent, pearl
- Ask for a flatness expectation if using hard enamel
- Define whether minor shade variation is acceptable between batches
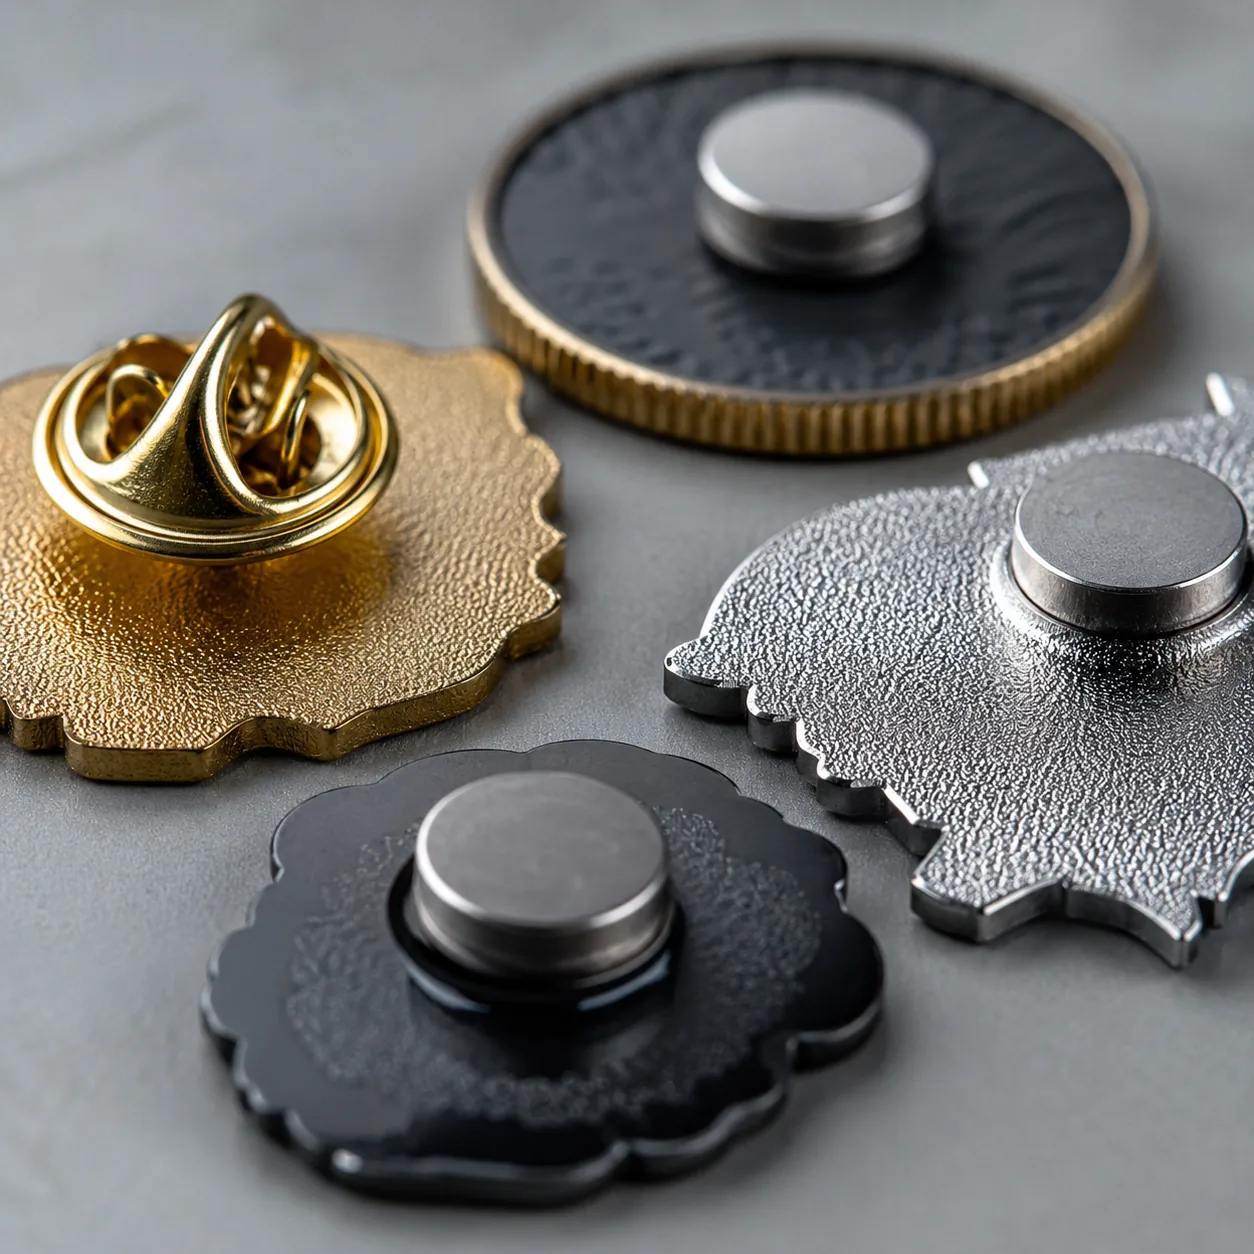
Back side and attachment: what touches the garment
Hardware determines whether the pin stays on the garment or becomes a complaint. Specify the attachment type and match it to the intended fabric weight. A small event pin for a T-shirt can use a butterfly clutch, but a heavier blazer pin often needs a stronger clutch, two posts, or a brooch-style fastening. If the front size exceeds about 30 to 35 mm or the pin has a heavy cast body, one post is often not enough to stop rotation.
Common back options include butterfly clutch, rubber clutch, deluxe clutch, magnetic back, safety pin, and brooch clasp. Butterfly clutches are low cost and standard for promotional orders. Rubber clutches are easier to handle and more comfortable, but they are not the strongest choice for thick fabric. Magnetic backs are useful when the garment cannot be pierced, but they only work if the pin weight is controlled. Brooch-style backs are better for large or premium pieces because they spread the load and reduce spin.
Also specify the back finish. Plain metal, sandblasted, laser-marked, and backstamp are all valid, but they affect cost and reorder consistency. If you want branding on the back, say whether the stamp must include the logo, country of origin, or edition number. If you do not want any marking, write plain back, no logo stamp explicitly so there is no misunderstanding.
| Attachment | Best for | Limitations |
|---|---|---|
| Butterfly clutch | Low-cost promo pins | Can loosen over time on heavier pieces |
| Rubber clutch | Comfort and easy handling | Less secure on thick garments |
| Magnetic back | No-penetration wear | Limited holding force on heavier designs |
| Brooch pin | Large badges and heavier forms | Higher cost, more hardware complexity |
Artwork control: line width, text size, and cutout rules
Artwork is where vague requests turn into expensive corrections. The spec should set a minimum text height, minimum stroke width, and a rule for micro-details. As a practical guide, finished text below 3.0 mm in height is risky on most enamel pins unless the font is bold and the line structure is simple. Very small serifs, thin script lettering, and hairline icons often disappear during polishing or fill. For reliable production, ask for strokes no thinner than 0.25 mm in the final metal artwork.
Cutouts need equal precision. If the design has inner holes, floating islands, or openwork sections, state whether bridges are allowed and whether the factory may thicken narrow connectors to protect the part. A 1 mm bridge may look clean on screen but be too weak in metal. If the artwork includes hanging or moving parts, define whether the moving component is separate hardware or part of the same die. That determines tooling, assembly time, and defect risk.
It helps to say what may be simplified. For example: micro stars may be omitted if below 0.3 mm, or all exposed edges must remain smooth even if line art is simplified. That reduces disputes when the workshop has to protect manufacturability. The goal is not to preserve every pixel. The goal is to preserve the design intent in metal, enamel, and plating.
- State minimum text height and preferred font weight
- Define the smallest visible symbol or icon detail
- Mark every inner cutout and bridge requirement
- Say whether the factory may simplify micro-details
- Require smooth edges on all exposed cut lines
Inspection language: what passes, what fails, and what to sign off
A spec sheet should always include pass-fail language. Without it, sample approval becomes subjective and every buyer ends up debating impressions instead of measurements. For color, require a match to the approved sample or Pantone reference under neutral light. For plating, define whether minor tonal variation is acceptable or whether a visible mismatch is a reject. For hardware, state that posts must be centered, straight, and firmly attached, with no looseness after standard handling.
If you use AQL, write the defect classes in plain terms. A common setup for enamel pins is AQL 2.5 for major visible defects and a stricter internal rule for critical defects such as broken posts, missing clutches, sharp burrs, exposed base metal, or incomplete fill. Minor defects may be tolerated within a limited percentage, but only if that percentage is written in advance. The supplier should know exactly what happens when a sample fails, not after the shipment arrives.
A practical acceptance check should include size, plating uniformity, enamel fill, edge finish, and back hardware in the same inspection round. If the fill is centered but the border is shifted, that is still a defect. If the color is correct but the clutch is weak, that is still a defect. For mass production, many buyers also request a simple tolerance table: finished size within ±0.3 mm for parts under 30 mm, plating coverage complete, and no critical defects allowed in any approved carton sample.
| Inspection item | Acceptable example | Reject example |
|---|---|---|
| Color | Matches approved sample under neutral light | Obvious mismatch to master sample |
| Plating | Uniform finish with normal minor variation | Peeling, dark spots, or bare metal |
| Attachment | Clutch fits firmly and holds under handling | Loose, bent, or missing hardware |
| Edges | Smooth with no sharp burrs | Sharp point or cut edge |
What to do next before you order
The next step is to turn the spec into a one-page approval document before asking for production pricing. Send one version-controlled file that locks finished size, thickness, base metal, process, plating, enamel type, attachment, and packaging. If you are ordering multiple SKUs, keep the shared variables identical and vary only the artwork fields that genuinely change. That makes quoting cleaner and prevents production drift across variants.
For a first order, request a pre-production sample against the written spec and compare it line by line under the same lighting you will use for approval. A good supplier should be able to restate the requirements in production terms without ambiguity. If not, the order is still too vague. The lowest-cost rework prevention happens before tooling starts, when the buyer forces the spec to become measurable instead of interpretive.
- Freeze one spec version before quoting
- Request a sample against the written spec, not just the artwork
- Check size, plating, fill, backing, and edge finish together
- Approve only after documenting any acceptable deviations
- Carry the same spec forward for reorders to avoid drift
Have a project? Send your artwork and target quantity and we’ll reply with a detailed quotation within 12 working hours.
Ready to get this made?
Send your sketch, target quantity and ship-date. Detailed quotation in 12 hours.


