How to Audit a Custom Pin Sample Before Mass Production
Why Sample Audit Matters
For custom enamel pins, brooches, keychains, patches, and similar promotional items, the pre-production sample is not a formality. It is the first physical proof that the supplier understood your artwork, dimensions, finish, and attachment requirements. If you approve a weak sample, the same problems usually multiply in mass production.
A good sample audit saves money in three places: rework, freight, and missed launch dates. It also gives procurement teams something objective to compare across suppliers, especially when multiple factories claim they can produce the same specification.
What To Confirm Before You Inspect
Start with the order details, not the object in your hand. The sample should be checked against the approved RFQ, final artwork, and confirmation sheet. Many disputes happen because the buyer reviews the sample against a mental picture instead of the agreed specification.
Before opening the parcel, verify the obvious paperwork. You want the same item code, finish, size, quantity, and attachment notes that appear in the purchase order. If the sample includes revisions, make sure those revisions were approved in writing.
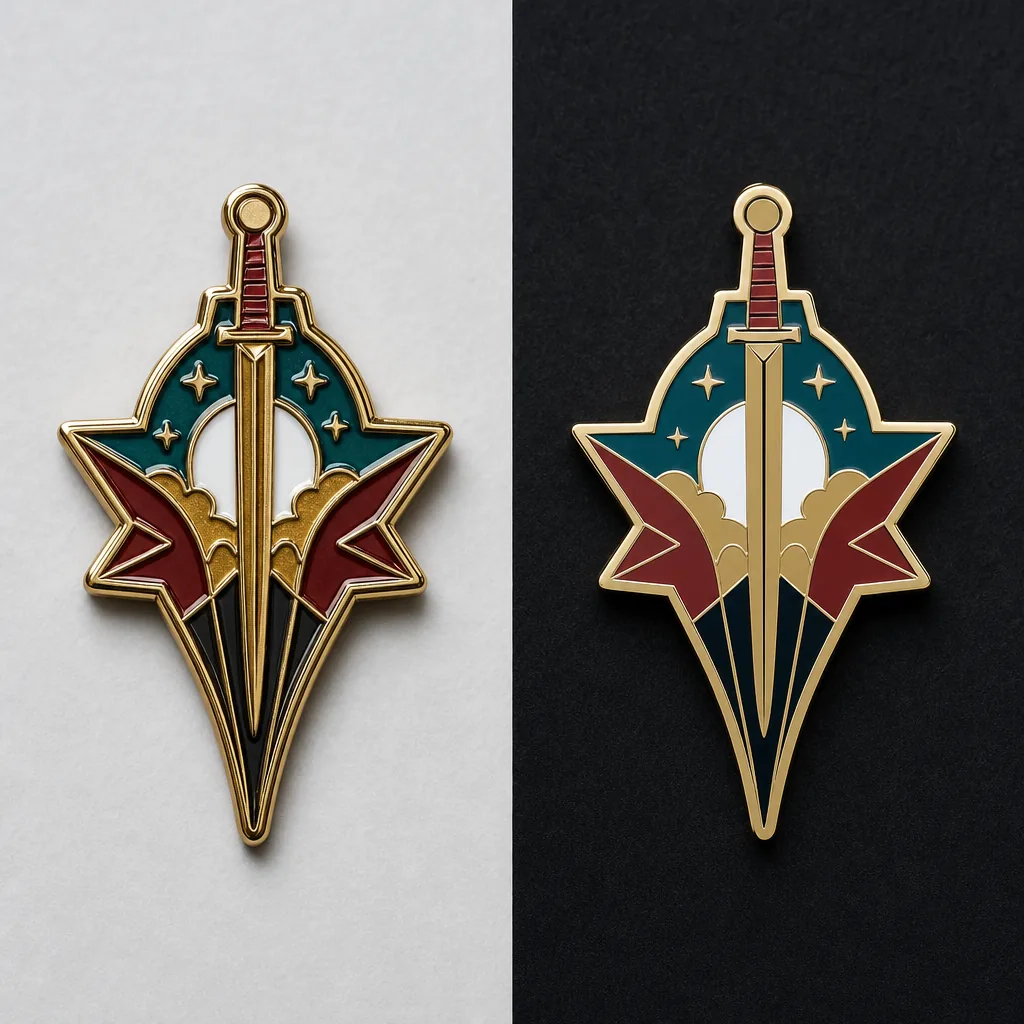
- Product type and exact size, with tolerance ideally within ±0.5 mm for small metal items
- Plating finish, color codes, and any special surface effects
- Attachment type, packaging, and accessory count
- Approved artwork version and revision date
- Target unit price and production MOQ if the sample is for a commercial run
Check Dimensions And Proportions First
Measure the sample before judging appearance. A pin that looks acceptable at a glance can still fail if the size is off by 1 mm to 2 mm, because that can change text readability, logo balance, or how the item sits on packaging.
Use calipers for metal items and a flat ruler or template for softer products like patches or PVC pieces. Compare width, height, thickness, and key internal spaces such as cutouts, holes, or recessed lines. For products with multiple components, verify each component separately.
Watch for proportion drift. Common issues include logo elements becoming too thin, border lines widening, or text moving closer to the edge than planned. These errors are often caused by tooling shortcuts rather than artwork changes.
Inspect Surface Quality Under Strong Light
Surface defects are easier to catch under bright, neutral light. Rotate the sample slowly and inspect it from several angles. A sample that looks fine on a desk may reveal scratches, speckling, uneven plating, or polish marks once the light hits it correctly.
For enamel pins and brooches, check color fill level, edge cleanliness, and whether the metal line height is consistent. For challenge coins, inspect both sides and the edge. For keychains and fridge magnets, check the reverse side too, because buyers often overlook the back even when it is visible in use.
Look for these frequent defects: rough edges, pinholes, bubbles, uneven paint fill, cloudy clear coat, oil residue, and color bleed between compartments. Any one of these can be acceptable only if it sits within the supplier’s agreed quality standard, which should be written down before production.
Test Functional Parts, Not Just Appearance
A sample can be visually correct and still fail in daily use. Test every functional part by hand. Open and close clasps, pull on chains, flex joints, and check whether the attachment holds under light pressure. For badges and brooches, confirm the pin post sits straight and does not wobble.
If the product includes magnets, verify the pull strength and the orientation. If it uses rubber clutches or butterfly clutches, make sure the fit is firm but not overly tight. For lanyards, inspect the stitching, swivel clips, buckles, and print alignment. For patches, test the backing adhesion or stitching consistency depending on the attachment method.
A simple functional test checklist is enough for most buyers: attach, detach, shake, bend lightly, and re-check alignment. If the sample fails one step, ask the factory to explain whether it is a one-off issue or a process risk.
Compare Sample To Approved Artwork
This step sounds obvious, but it is where many approvals go wrong. Print the approved artwork at actual size if possible and compare it directly to the sample. Do not rely only on a screen preview, because colors and line thickness can appear different on each device.
Focus on the elements that are hardest to correct later: font shape, line weight, logo spacing, border thickness, and tiny text. If your design includes serial numbers, small icons, or micro lettering, check whether they remain legible at the real production size. If they do not, redesign before mass production.
If the sample differs from the artwork, decide whether the change is intentional and useful or simply a factory interpretation. Good suppliers will note the reason for any adjustment and tell you whether it affects tooling, cost, or production lead time.
Use A Clear Acceptance Standard
A sample should not be approved based on vague language like looks good. Write a simple accept-or-revise decision using measurable criteria. That makes the approval traceable and reduces future arguments when mass production starts.
For most buyers, a practical acceptance standard includes size tolerance, plating consistency, color match, visible defect limit, and function test results. If the order is for a high-visibility campaign or retail program, tighten those limits. If it is a low-cost giveaway item, you can allow slightly broader cosmetic tolerance, but still define it.
- Accept: matches artwork, functions correctly, no critical defects
- Revise: fixable cosmetic issue, but dimensions and function are acceptable
- Reject: wrong size, wrong color family, broken attachment, or unreadable details
- Hold: unclear whether issue is process-related, request factory explanation and new sample
Request Revisions Without Delaying The Order
If the sample is not acceptable, keep the feedback specific and limited. Send photos with marked-up annotations and list the changes in priority order. Avoid sending a long paragraph of mixed comments, because factories may fix the wrong item first.
The fastest revision cycle usually comes from separating critical issues from optional improvements. Critical issues include size, logo accuracy, color mismatch, and failed function. Optional issues include surface smoothness, subtle brightness changes, and packaging presentation. Treat them differently so the factory knows what must be corrected before production release.
Ask the supplier to confirm three things after revision: what was changed, whether the change affects tooling, and whether the updated sample is still representative of production. That final question matters because some factories send a hand-finished sample that cannot be replicated at scale.
Red Flags That Deserve Extra Caution
Some sample problems are warning signs of bigger process control issues. If the supplier cannot explain the defect, cannot repeat the sample, or keeps changing small details without approval, stop and review the factory’s capability more carefully before placing the full order.
Common red flags include inconsistent plating across samples, very different results from the same artwork, vague answers about tolerance, or a sample that looks better than the factory’s quoted price should realistically allow. Those cases often point to hidden outsourcing, unstable process control, or rushed pre-production work.
The safest approach is to treat the sample as evidence, not reassurance. If it matches the approved spec, performs correctly, and can be reproduced, you are ready to move forward. If not, fix the issue while the order is still small. That is the cheapest point in the process to discover a problem.
Have a project? Send your artwork and target quantity and we’ll reply with a detailed quotation within 12 working hours.
Ready to get this made?
Send your sketch, target quantity and ship-date. Detailed quotation in 12 hours.


