Edge Safety Specs for Custom Metal Giveaways
Why Bulk Orders Develop Sharp Edges
Edge complaints usually appear after the order is already packed: 5,000 zinc alloy keychains scratch phone cases, staff pins pull threads on uniforms, or challenge coins feel sharp around a decorative rim. The artwork, enamel colors and plating may all match the approved sample, but the product still feels unsafe or low-grade in hand. Edge safety is a separate manufacturing requirement, not an automatic result of good tooling.
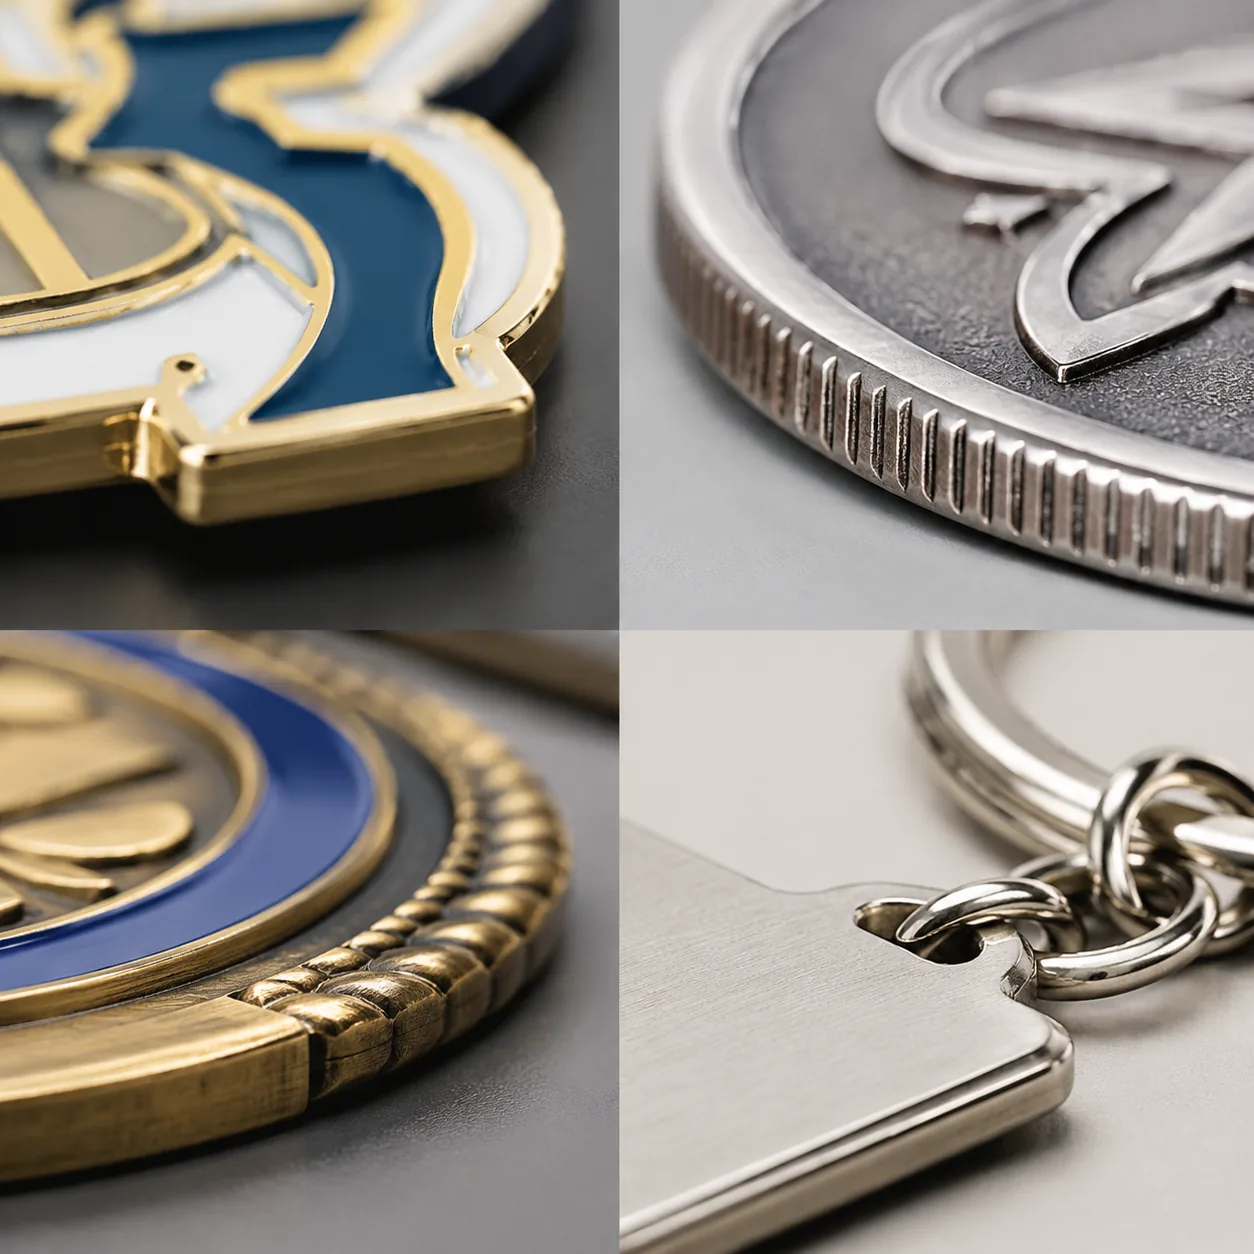
For custom enamel pins, brooches, keychains, fridge magnets, challenge coins and metal badges, the risky areas are predictable: outer profiles, cutouts, jump-ring holes, bottle-opener mouths, coin rims, pin posts, brooch bars, magnet recesses and laser-engraved pockets. At ZheCraft, most edge claims trace back to thin protrusions below 1.2 mm, inside corners tighter than R0.3 mm, rough zinc alloy parting lines, or polishing that cleans the front face but leaves the back edge unfinished.
A useful RFQ does not simply say “smooth edges.” It defines the user, the contact surface and the reject limit. A collector coin can keep a crisp milled rim if it does not cut or snag. A school keychain needs a larger safety margin because it rubs against hands, bags, zippers and painted surfaces. The goal is controlled edge feel without losing the brand shape.
Set Risk Level Before Tooling
Classify the product by contact risk before choosing the edge specification. A 30 mm lapel pin worn on a jacket has limited hand pressure and short contact time. A 65 mm bottle-opener keychain has repeated leverage, hard metal-to-metal contact and a higher chance of scratching phones or keys. A 40 mm badge for school use, or a magnet handled by children, should be treated more conservatively.
For adult promotional items, a practical baseline is no visible burr at 30 cm under normal light and no sharp feel when a cotton glove is drawn across the perimeter with light pressure. For retail, youth or high-contact items, specify a minimum exposed edge radius of R0.2 mm to R0.4 mm where the artwork allows it. Reject raised metal spikes, plating nodules, loose flakes, rough gate scars and unfinished cutout bridges.
Do not over-round artwork that depends on crisp geometry. Small text, skyline logos, gear teeth and architectural marks can lose definition if every corner is softened after casting or stamping. In those cases, keep visual corners sharp in the die but require burr removal, controlled polishing and a cloth-snag test instead of a large radius.
| Product use | Typical size | Suggested edge requirement | When to tighten spec |
|---|---|---|---|
| Lapel pin or brooch | 20 to 45 mm | No tactile burrs; outer edge R0.1 mm minimum where possible | Thin fabric, scarves, uniforms, retail cards |
| Keychain or bottle opener | 45 to 80 mm | Outer edge R0.2 to R0.4 mm; holes and opener mouth fully deburred | Phone-case contact, pocket carry, retail sale |
| Challenge coin | 38 to 60 mm | Rim burr-free; reeded or diamond-cut edge crisp but non-cutting | Loose pocket carry, no capsule, collector handling |
| Fridge magnet badge | 40 to 90 mm | Back edge smooth; magnet recess free of flakes and raised adhesive | Painted refrigerators, children handling |
| School or youth giveaway | 25 to 60 mm | No exposed points below R0.4 mm; protrusions at least 1.5 mm wide | Ages under 14, bag use, apparel use |
Design Features That Create Burrs
Edge safety starts in the vector file. Any protruding point narrower than 1.0 mm at the tip is difficult to polish evenly and may become sharp after plating. For youth-facing giveaways, use at least 1.5 mm tip width and R0.4 mm outside radius where possible. Inside cutouts below 1.2 mm wide trap polishing media and plating solution, so the edge can feel rough even when the front face looks clean.
For stamped brass or iron pins, keep bridges between cutouts at least 1.0 mm. For zinc alloy casting, use 1.2 mm to 1.5 mm because cast metal needs more material around gates, parting lines and polishing pressure. Jump-ring holes should be at least 3.0 mm diameter for small keychains under 60 mm and 3.5 mm to 4.0 mm for heavier pieces. A hole that is too small will cut into the split ring and shed plating dust during use.
Hard enamel and imitation hard enamel receive more surface polishing than soft enamel. That improves flatness but can expose edge problems if metal lines are too thin. Standard enamel line width is often 0.25 mm to 0.30 mm, but edge-sensitive areas should use 0.35 mm to 0.50 mm at outer points, corners and hardware holes. If the pin is only 1.2 mm thick, avoid deep recesses next to thin walls; the polishing wheel can roll the edge unevenly.
- Avoid outer spikes below 1.0 mm tip width for adult items and below 1.5 mm for youth giveaways.
- Use R0.3 mm inside corners on cutouts unless the logo requires a square corner.
- Keep jump-ring holes at least 3.0 mm diameter, or 3.5 mm to 4.0 mm for heavy keychains.
- Leave at least 1.2 mm metal between a cutout and the outer edge on zinc alloy parts.
- Request a side-view drawing when thickness changes exceed 1.0 mm between adjacent raised and recessed areas.
- Mark bottle-opener mouths and coin rims as functional edges with their own deburring check.
Match Material And Process To Edge Risk
Stamped iron and brass usually produce cleaner perimeter edges than low-cost zinc alloy casting, but they are less suitable for deep 3D relief or thick sculpted forms. Stamped parts can hold common outer-profile tolerance of ±0.15 mm to ±0.25 mm on pins under 50 mm, with burrs controlled by die condition, tumbling and back-side polishing. Zinc alloy casting is economical for 3D keychains and thick badges, but parting lines, gate marks and air-vent traces must be removed manually before plating.
Photo-etched brass has a different problem: thin sheet edges can feel sharp even when no burr is visible. For etched badges at 0.6 mm to 0.8 mm thickness, specify edge softening or mount the item on a backing card if it will be handled loose. For premium pins, 1.2 mm to 1.5 mm base thickness feels safer and more substantial than ultra-thin etched stock.
Plating changes edge feel. Nickel, gold, rose gold, black nickel and antique finishes typically add 3 to 8 microns of total metal deposit, depending on the layer system. Premium corrosion-resistant builds may reach 8 to 12 microns, but heavy plating can build nodules on points if rack position and current density are not controlled. Barrel plating is cost-efficient for small simple parts; rack plating gives better control on larger badges, cutouts and mixed-height surfaces.
| Process | Edge risk | Typical control method | Common trade-off |
|---|---|---|---|
| Stamped iron or brass | Die burr on back edge | Tumbling plus back-side polishing before plating | Fine points may round off |
| Zinc alloy casting | Parting line, gate scar, rough cutout | Manual deburring plus vibration polishing | Extra labor on complex 3D shapes |
| Photo-etched brass | Thin sheet feels sharp | Edge softening or thicker stock | Less crisp ultra-thin profile |
| Die-struck challenge coin | Rim burr after trimming | Rim polishing before plating | Can soften reeded or rope detail |
| Laser-cut acrylic | Micro-chip or heat mark | Controlled cutting speed and flame polish | Polished edge may look glossier than face |
Use Measurable RFQ Specs
A measurable RFQ line is stronger than a general instruction: “All exposed metal edges burr-free to touch; no burr over 0.05 mm height; outer perimeter lightly rounded to R0.2 mm where artwork permits; no cotton-cloth snagging on outer edge, cutouts or hardware holes.” This gives production a target and gives QC a reject condition.
Use practical tolerances instead of laboratory tolerances that the process cannot hold. For pins and badges under 50 mm, specify outer dimensions at ±0.20 mm. For keychains and coins from 50 mm to 80 mm, use ±0.30 mm. For stamped thickness, use ±0.15 mm; for cast zinc alloy, use ±0.25 mm. Functional areas need separate limits: bottle-opener mouth width, magnet pocket depth, spinner clearance, screw-post fit and coin capsule diameter should not rely on a general drawing note.
Define edge defects by severity. A cutting burr, sharp plating nodule, unfinished gate scar on a touchable surface, or hole edge that damages a split ring should be a major defect. A slight polish mark on a hidden back edge may be minor if it matches the approved sample and does not affect use. For child-facing products, treat sharp exposed points as critical because the harm potential is higher.
- RFQ wording: no cutting burrs, plating nodules, loose flakes, rough gate marks or sharp cutout bridges.
- Radius target: R0.2 mm for standard adult keychains; R0.3 mm to R0.4 mm for youth or high-contact items.
- Burr limit: no visible burr at 30 cm and no tactile burr over 0.05 mm on perimeter, holes or backs.
- Plating target: 3 to 8 microns standard decorative plating; confirm 8 to 12 microns only when corrosion resistance justifies it.
- Cutout check: cotton cloth wipe test must not snag on internal windows, logo gaps or jump-ring holes.
- Sample approval: golden sample must include side, back, hole and attachment photos, not only front artwork photos.
Sample The Edge, Not Only The Artwork
A pre-production sample should be handled like the final product. Put the keychain on a split ring and rub it against a coated phone case or painted card for 30 cycles. Pin the brooch to the actual fabric type, then remove it and check for pulled threads. Slide a coin in and out of a pocket sample or pouch to feel the rim, especially if it has reeded, rope or diamond-cut decoration.
For remote approvals, request macro photos of the outer edge, cutout edge, hardware hole, back attachment area and any gate or sprue location. A front-only photo hides most edge problems. For black nickel, antique gold, antique silver and matte finishes, request oblique lighting photos because burrs, flakes and raised plating beads show better at a low angle than under flat overhead light.
The approved sample should become the edge reference, not just the color reference. If the buyer approves Pantone colors and front artwork but does not mention hand feel, the bulk team may not know that a softened edge was expected. Record the approved edge condition in the sample approval email and purchase order: “Approved sample dated May 12 controls edge radius, back polishing and hole deburring.”
Inspect Bulk With AQL And Field Tests
For most B2B promotional orders, use ANSI/ASQ Z1.4 general inspection level II. A common setting is critical defects AQL 0, major defects AQL 2.5 and minor defects AQL 4.0. Edge defects that can cut skin, snag fabric badly or scratch normal use surfaces should be major or critical depending on the market and end user. Cosmetic dullness on a safe hidden edge may be minor if it remains within the golden sample range.
For a 5,000-piece lot at general level II, the normal single-sampling code is typically L, meaning 200 pieces inspected. Under AQL 2.5, the lot is normally accepted at 10 major defects and rejected at 11; under AQL 4.0, it is accepted at 14 minor defects and rejected at 15. Critical sharp-edge defects should use accept 0, reject 1 when the item has skin, child or apparel contact.
Simple field tests catch most edge failures. Use a cotton cloth wipe test around the perimeter and cutouts, a nitrile-glove touch test around holes and backs, and a tape pull near plated edges to check for flakes. Rotate each keychain split ring ten times to see whether the hole scrapes plating. For magnets, slide the back edge across a coated metal panel to check for scratching. If defects cluster by carton, cavity, tray, polishing operator or plating rack position, ask the factory to sort by batch instead of remixing all pieces.
| Defect | Suggested classification | Reject example | Possible factory action |
|---|---|---|---|
| Sharp outer burr | Major or critical | Cuts glove or catches cloth repeatedly | Re-tumble, manual deburr, remake severe pieces |
| Rough jump-ring hole | Major | Ring scrapes plating or cannot rotate smoothly | Ream hole, polish, replace hardware |
| Plating nodule on point | Major | Raised sharp bead on exposed edge | Strip and replate if feasible, sort rejects |
| Uneven softened edge | Minor | Visible polish variation but safe to touch | Accept if within approved sample range |
| Gate mark on back | Minor or major | Hidden smooth mark, or exposed rough scar | Polish or reject depending on exposure |
Price, MOQ And Lead-Time Impact
Edge control has a real commercial impact. For a 30 to 45 mm enamel pin, basic deburring is normally included, with FOB China pricing often around USD 0.45 to 1.20 per piece at 500 to 1,000 pieces depending on size, plating, enamel fills and backing. Extra hand-softening of multiple points may add USD 0.03 to 0.08 per piece at 1,000 pieces. For zinc alloy keychains with internal cutouts, FOB pricing often ranges from USD 0.90 to 2.60 at 500 to 1,000 pieces, with manual deburring adding USD 0.05 to 0.15. For 45 to 50 mm challenge coins, common FOB ranges are USD 1.40 to 3.80 at 300 to 1,000 pieces, and extra rim polishing may add USD 0.08 to 0.25 per coin.
MOQ also affects the finishing method. At 100 to 299 pieces, most factories rely on manual sorting and may charge higher unit prices because tooling and polishing setup are spread across fewer units. At 300 to 999 pieces, standard tumbling plus selective hand deburring is common. At 1,000 to 5,000 pieces, the supplier can justify better fixtures, batch QC and more consistent rack plating, but edge defects can still cluster if one cavity or operator is weak.
Typical lead times are 5 to 7 days for digital proof and tooling setup, 7 to 10 days for a physical sample, and 12 to 18 production days after sample approval for standard pins. Complex cast keychains, spinner coins, bottle openers or items with extra edge finishing usually need 18 to 25 production days. Add 2 to 4 days if a second sample is needed to confirm hand feel. Rush orders increase edge risk because polishing, drying and inspection are the steps most likely to be compressed.
Add An Edge Block To Every PO
Before sending the next RFQ, add an edge safety block beside size, thickness, plating, color, attachment and packaging. State the end use, contact risk and reject standard in plain terms. If the item will touch fabric, phones, children, painted appliances or retail packaging windows, say so before tooling because the best fix may be a wider bridge, larger radius, thicker base or different process.
A practical purchase-order line is: “Exposed edges burr-free; outer profile lightly rounded R0.2 mm where artwork permits; no burr over 0.05 mm; jump-ring holes and cutouts fully deburred; no cotton-cloth snagging; decorative plating 3 to 8 microns; inspect to general level II, critical 0, major 2.5, minor 4.0.” Ask the supplier to confirm whether this is included in the quoted FOB price or charged as extra finishing.
When comparing factories, request one close-up side photo of an existing similar item before paying tooling. A supplier that cannot show clean holes, backs and rims on previous work may struggle with tight cutouts or sharp logo geometry. ZheCraft can review artwork for edge risk before sampling and suggest profile changes, radius adjustments or process changes that reduce returns while keeping the brand shape intact.
Have a project? Send your artwork and target quantity and we’ll reply with a detailed quotation within 12 working hours.
Ready to get this made?
Send your sketch, target quantity and ship-date. Detailed quotation in 12 hours.


