Edge Radius Specifications for Custom Metal Badges and Keychains
Why edges fail after the front artwork is approved
Many custom metal products are approved from a front-view rendering, then rejected when the buyer handles the sample. The logo, enamel colors and plating may match the artwork, but the outer edge feels sharp, the back edge scratches the backing card, or plating rub appears on raised corners after a few handling cycles. These problems are rarely random. They usually come from missing edge-radius, deburring and inspection requirements.
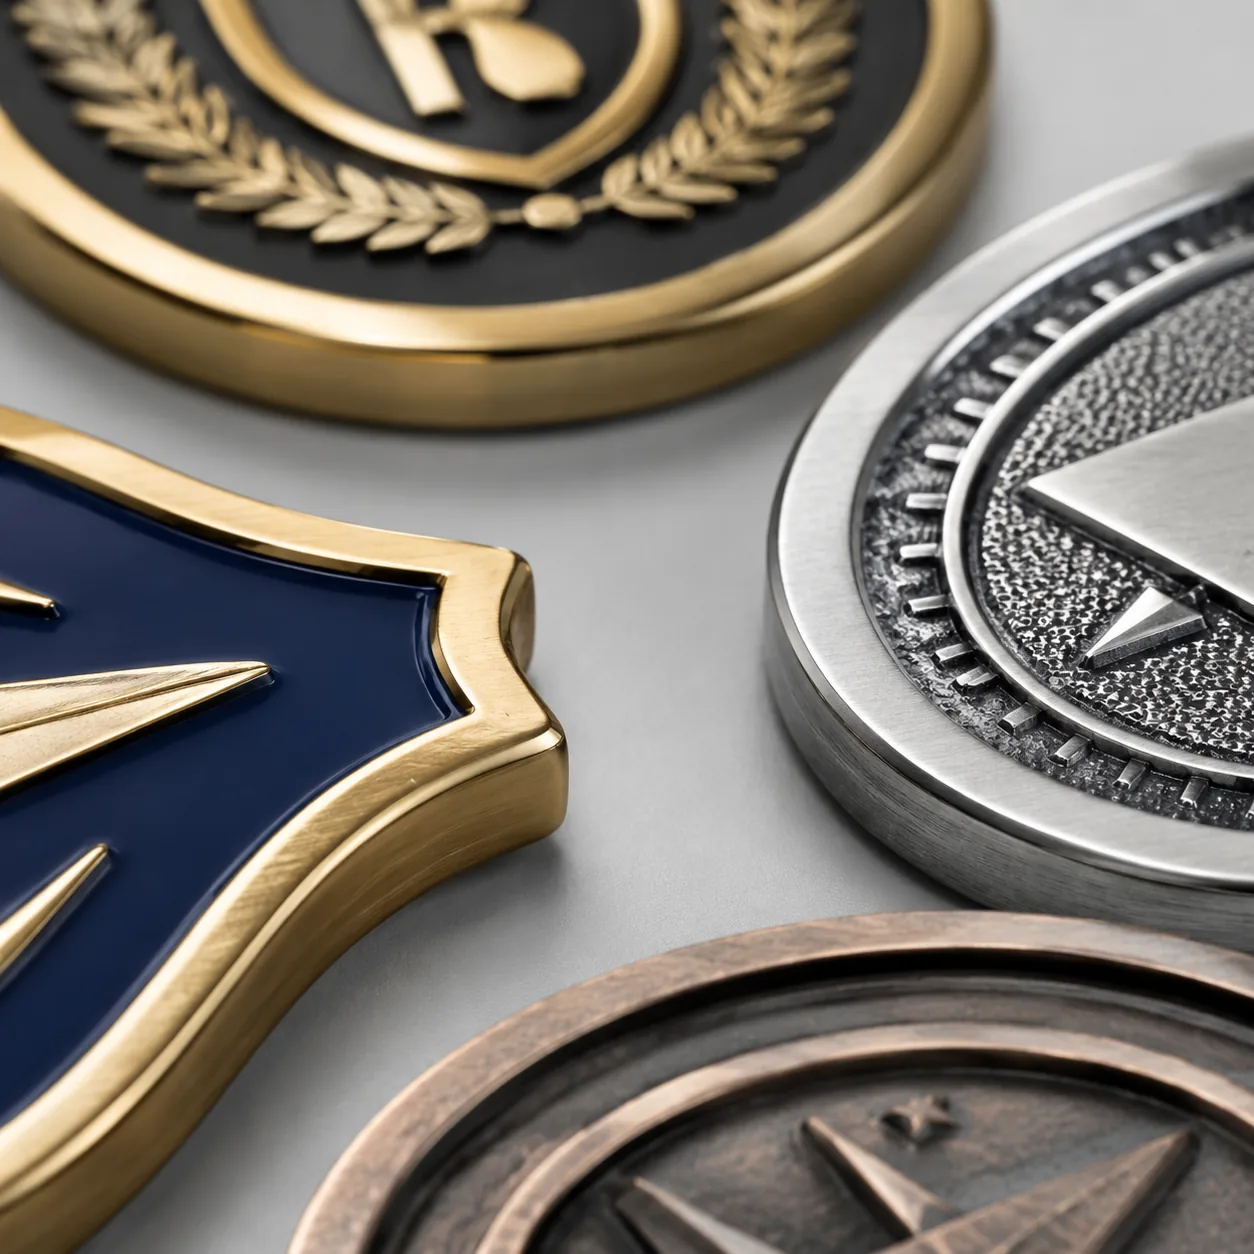
For custom pins, badges, challenge coins, metal magnets and keychains, edge geometry affects safety, perceived value, plating life and packing loss. A change from R0.15 mm to R0.35 mm can make a 30 mm pin feel more finished without visibly softening the outline. On heavier 3.0-5.0 mm keychains and coins, the wrong edge can make the product feel cheap, unsafe or over-polished.
Treat the edge specification like Pantone color, attachment type and plating finish. Once a mold, stamping die or casting tool is cut, changing edge behavior often means extra polishing, re-cut tooling or accepting a different silhouette. The safest approach is to define outer edges, back edges, internal cutouts and raised details in the RFQ before sampling starts.
Use measurable edge terms in the RFQ
Buyers often write “smooth edge” or “no sharp edge.” Those phrases are not enough for production because factories can interpret them as basic deburring, tumbling, hand polishing, beveling or a fully rounded edge. Each option changes tooling, finishing time, rejection rate and price.
For flat pins and badges below 2.0 mm thickness, a light polished radius of R0.15-R0.30 mm is common. It removes the harsh shear edge while keeping the outline crisp. For challenge coins, medals and heavy keychains from 3.0-5.0 mm thickness, a straight bevel of 0.4-0.8 mm at 30-45 degrees is usually more controllable than a full radius. For zinc alloy die-cast keychains with organic curves, an outside radius of R0.3-R0.6 mm is realistic if the artwork leaves enough metal around holes and narrow tips.
Internal cutouts need their own line item. A bottle-opener keychain with a 12-16 mm working opening may need R0.5-R1.0 mm internal corners for comfort and strength. A decorative openwork badge may only support R0.25-R0.4 mm on small holes. If the CAD file shows perfectly square internal corners, assume the factory will round them unless the requirement is engineered and quoted.
| Edge term | Practical specification | Best use | Production trade-off |
|---|---|---|---|
| Light radius | R0.15-R0.30 mm | 1.2-2.0 mm pins, badges and magnets | Keeps the outline sharp but may still feel crisp on thick parts |
| Soft outside radius | R0.3-R0.6 mm | Die-cast zinc keychains, brooches and thick badges | Improves hand feel but can soften fine silhouettes |
| Straight bevel | 0.4-0.8 mm wide at 30-45 degrees | Challenge coins, medals and heavy keychains | Looks premium but requires tighter polishing control |
| Decorative rim | 0.8-1.2 mm rope, wave, reeded or text edge | Coins and commemorative badges | Strong visual value but needs edge tooling and artwork clearance |
| Square edge with deburr | Burr below 0.05 mm; no cutting edge | Flat etched tags and low-cost stamped parts | Lowest cost but unsuitable for child-facing or pocket-use items |
Match radius to metal and process
Iron, brass, stainless steel and zinc alloy behave differently during stamping, casting, cutting and polishing. A stamped iron pin at 1.5 mm thickness usually has a cleaner front edge than back edge because the die shears in one direction. If the back edge is not deburred after stamping, it can catch fabric, cut a polybag or scratch printed cards during transit.
Brass and copper alloys polish more smoothly than iron and are preferred for premium corporate badges, awards and hard enamel work. A brass badge with R0.2-R0.35 mm outer edges, a deburred back edge and 3-5 microns of nickel underplating generally feels more refined than a low-cost iron badge. The trade-off is material cost: brass can add roughly 0.08-0.25 USD per piece versus iron on a 30-40 mm badge, depending on thickness and order size.
Zinc alloy die casting is suitable for 3D keychains, irregular outlines and thicker 2.5-4.0 mm parts. The mold should include 1-3 degrees of draft and the required corner radius from the start. Polishing can remove minor parting lines, but it cannot reliably create a uniform radius on complex geometry after casting.
Stainless steel is durable but less forgiving. Laser-cut 201 or 304 stainless tags can have heat discoloration, micro-burrs and sharp internal corners unless secondary finishing is included. For 1.5-2.0 mm stainless keychains, specify thickness tolerance of ±0.10 mm, burr below 0.05 mm and either polished, brushed or passivated edges depending on the final finish.
- Stamped iron pins: 1.2-1.8 mm thickness, R0.15-R0.25 mm outer edge, deburred back edge and burr below 0.05 mm.
- Brass badges: 1.5-2.5 mm thickness, R0.2-R0.35 mm edge, polished plating-ready surface and nickel underplate.
- Zinc alloy keychains: 2.5-4.0 mm thickness, R0.3-R0.6 mm outer edge, no visible parting-line burr and 1-3 degree draft.
- Stainless tags: 1.2-2.0 mm thickness, burr below 0.05 mm, internal hole radius R0.3 mm minimum and passivated or polished edge.
- Challenge coins: 3.0-4.0 mm thickness, bevel width 0.5-0.8 mm or decorative rim width 0.8-1.2 mm.
Reduce plating wear at corners and raised details
Sharp metal edges are plating risk zones. Electroplating does not deposit evenly across all geometry: protruding corners attract higher current density, while recessed corners may receive less coverage. The result can be thin plating, dark rub marks or early tarnish, especially on bright gold, nickel, black nickel and mirror silver finishes.
For most promotional metal items, a nickel underplate of 3-5 microns is a practical baseline before gold, silver, antique, black nickel or painted color finishes. Decorative top plating is often much thinner: flash gold may be 0.05-0.10 microns, imitation gold 0.10-0.30 microns, and nickel or black nickel 0.20-0.50 microns. If the product is a keychain that will rub against keys, specify a wear test instead of relying only on plating thickness.
Edge radius also protects enamel. On soft enamel pins, narrow raised borders beside sharp outside edges can chip during polishing, plating or packing. Keep raised metal walls at least 0.25 mm wide for standard soft enamel, 0.30 mm for glitter or transparent enamel, and 0.35 mm where the wall separates two enamel colors. Avoid placing fine text, QR codes or critical logo points within 0.8 mm of the outside edge unless the factory confirms manufacturability.
| Product type | Recommended edge specification | Plating control | Avoid |
|---|---|---|---|
| Soft enamel pin | R0.15-R0.25 mm; raised wall ≥0.25 mm | 3-5 microns nickel underplate before decorative finish | Heavy bevels that reduce enamel area |
| Hard enamel badge | R0.2-R0.3 mm; polished flush face | Extra polishing can thin plating on high points | Logo tips below 0.3 mm |
| Metal keychain | R0.3-R0.6 mm or 0.5 mm bevel | 200-cycle rub test against keys, cotton or kraft card | Square edges unless it is a flat tag |
| Challenge coin | 0.5-0.8 mm bevel or 0.8-1.2 mm decorative rim | Antique finish hides minor edge variation better than mirror plating | Complex relief too close to the rim |
| Fridge magnet badge | R0.2-R0.4 mm; back flatness ±0.15 mm | Back plating must not reduce magnet adhesive contact | Back burrs that lift the magnet sheet |
Set tolerances and AQL criteria that can be inspected
Do not specify an exact edge radius that a normal promotional-products factory cannot verify. A request for R0.25 mm exactly on a low-cost 25 mm pin will create disputes. A range such as R0.2-R0.35 mm, combined with a burr limit below 0.05 mm, gives production and QC a measurable target.
Normal outer-dimension tolerance for die-struck or die-cast metal promotional items is ±0.15 mm on parts under 40 mm and ±0.25 mm on parts from 40-80 mm. Thickness tolerance is typically ±0.10 mm for stamped 1.2-2.0 mm parts and ±0.15 mm for cast 2.5-4.0 mm parts. Bevel-width tolerance should be ±0.10 mm on coins and ±0.15 mm on larger keychains. For internal cutouts that hold hardware, specify hole diameter tolerance, usually ±0.10 mm for drilled or punched holes and ±0.15 mm for cast holes.
Inspection should match product risk. For general promotional orders, AQL General Inspection Level II with 2.5 major and 4.0 minor defects is common. For child-facing products, retail programs, magnets, sharp-edge risk or high-touch keychains, use AQL II with 1.5 major and 2.5 minor, plus a defined sharp-edge check on the inspection sheet. If compliance standards apply, confirm the required lab testing separately; AQL inspection does not replace regulatory testing.
- Classify as major: edge cuts skin, burr above 0.10 mm, plating missing on edge, unsafe attachment area or sharp internal cutout.
- Classify as minor: uneven polishing, radius slightly outside range without safety risk, or dark rub mark under 0.5 mm.
- Measure at five points: top, bottom, left, right and one tight internal corner or hardware hole.
- Inspect front and back edges separately because back-side burr risk is higher on stamped parts.
- Keep one approved golden sample and one rejected edge sample to train QC on repeat orders.
Price, MOQ and lead-time impact
A softer or more controlled edge is not automatically better. Luxury brand pins, military-style badges and architecture-shaped keychains often need crisp silhouettes. Over-rounding a shield, vehicle profile or building outline can make the product look toy-like. The best specification balances safety, wear performance and visual sharpness.
Cost increases come from longer polishing, tighter fixture control, lower polishing yield and extra inspection. For a simple 30 mm stamped iron soft enamel pin, moving from basic deburring to controlled R0.2-R0.3 mm finishing may add 0.02-0.05 USD per piece at 1,000 pieces. For a thick die-cast keychain with bevels on both sides, controlled finishing can add 0.08-0.18 USD per piece because hand polishing and sorting are slower.
Lead time also changes. Standard pins and small badges usually need 12-18 production days after artwork and sample approval. Complex die-cast keychains with controlled edges usually need 18-25 days. Challenge coins with decorative edge tooling, antique plating and enamel often require 20-30 days, especially when the edge pattern must align with front and back artwork. Add 5-7 days for physical pre-production samples and 3-5 days for international courier transit if samples are reviewed before mass production.
| Order tier | Common MOQ reality | FOB edge-cost impact | Lead-time guidance |
|---|---|---|---|
| 100-299 pcs | Accepted for simple pins, coins or flat tags | 0.05-0.15 USD per piece | Use standard radius or bevel; avoid custom rim tooling |
| 300-999 pcs | Common MOQ for custom metal promos | 0.03-0.10 USD per piece | Specify radius range, burr limit and plating stack in RFQ |
| 1,000-4,999 pcs | Best balance for unit cost and QC control | 0.02-0.08 USD per piece | Approve edge photos and one physical sample before production |
| 5,000+ pcs | Efficient for retail or recurring programs | 0.01-0.05 USD per piece | Add edge checks to AQL, carton inspection and reorder control |
Put edge requirements on the drawing, not only in email
Edge requirements should appear on the technical artwork, quotation sheet and pre-production sample approval form. If the tooling engineer, plating line and final QC team work from different assumptions, the sample may look acceptable but mass production can drift.
A clear RFQ line for a badge might read: “Die-struck brass badge, 38 mm wide, 2.0 mm thick, polished gold finish, nickel underplate 3-5 microns, outer edge R0.2-R0.35 mm, back edge deburred, burr below 0.05 mm, no sharp points, AQL II 2.5 major/4.0 minor.” For a keychain, add jump-ring hole diameter, hole radius, split-ring wire thickness, pull-force requirement and expected pocket-use rub test. For a coin, define whether the edge is smooth, beveled, reeded, rope, wave or custom text.
Mixed-edge designs should be marked by zone. A bottle-opener keychain may need a soft outside edge, a stronger R0.5-R1.0 mm internal working corner and crisp raised logo detail on the front. A commemorative coin may need a reeded rim, polished bevel and antique recessed field. Marking these zones directly on the artwork helps suppliers quote the same product instead of competing on different finishing assumptions.
- Add edge radius, bevel width or decorative rim width directly to the drawing.
- Mark areas that must remain visually sharp, such as logo tips, shield corners or geometric cut lines.
- Specify burr limit in millimeters on back edges, internal cutouts and hardware holes.
- State plating stack and minimum nickel underplate if edge wear or skin contact matters.
- Request sample photos from front, back, side and one close-up internal corner before courier approval.
- Keep edge requirements unchanged on reorders unless tooling, material or thickness changes.
Pre-production approval checks before mass production
Before approving production, handle the sample as the end user will. Put a keychain on real keys, pin a badge to the intended fabric, slide a magnet-backed badge across its backing card and rotate a coin between fingers. If the edge feels uncomfortable during a 30-second handling test, mass production will not correct it.
Ask the supplier for three basic confirmations: measured thickness, close-up edge photos and burr-limit confirmation after plating. For higher-risk orders, request a 200-cycle rub test against cotton cloth, kraft card or a key bundle, plus tape testing near the plated edge. These simple checks do not replace laboratory compliance testing, but they catch many practical failures before shipment.
When preparing a new order, provide product type, size, base metal, thickness, plating finish, use environment, packing method and whether the item touches skin, fabric, paper or keys. ZheCraft can then recommend a realistic edge radius, MOQ tier, sample lead time and FOB price range before tooling starts. The main rule is simple: decide the edge standard before the mold is cut, not after the sample feels wrong.
Have a project? Send your artwork and target quantity and we’ll reply with a detailed quotation within 12 working hours.
Ready to get this made?
Send your sketch, target quantity and ship-date. Detailed quotation in 12 hours.


