Edge Quality Specs for Custom Metal Pins, Coins and Keychains
When Edge Quality Becomes a Buyer Problem
A custom metal item can pass artwork approval, color matching and plating checks, then still fail in the buyer’s hands because the edge feels sharp. This usually shows up after delivery: a lapel pin snags fabric, a keychain scratches a phone, a challenge coin has a rough rim, or a fridge magnet leaves a burr mark on packaging. Edge quality is not cosmetic only; it affects safety, perceived value, assembly reliability and return rates.
The problem is that many purchase orders say only “smooth edge” or “no sharp burrs.” Those phrases are too subjective for a factory floor. A better RFQ defines where edges must be rounded, which edges may remain crisp for design reasons, how burrs will be inspected, and what AQL level applies at final inspection.
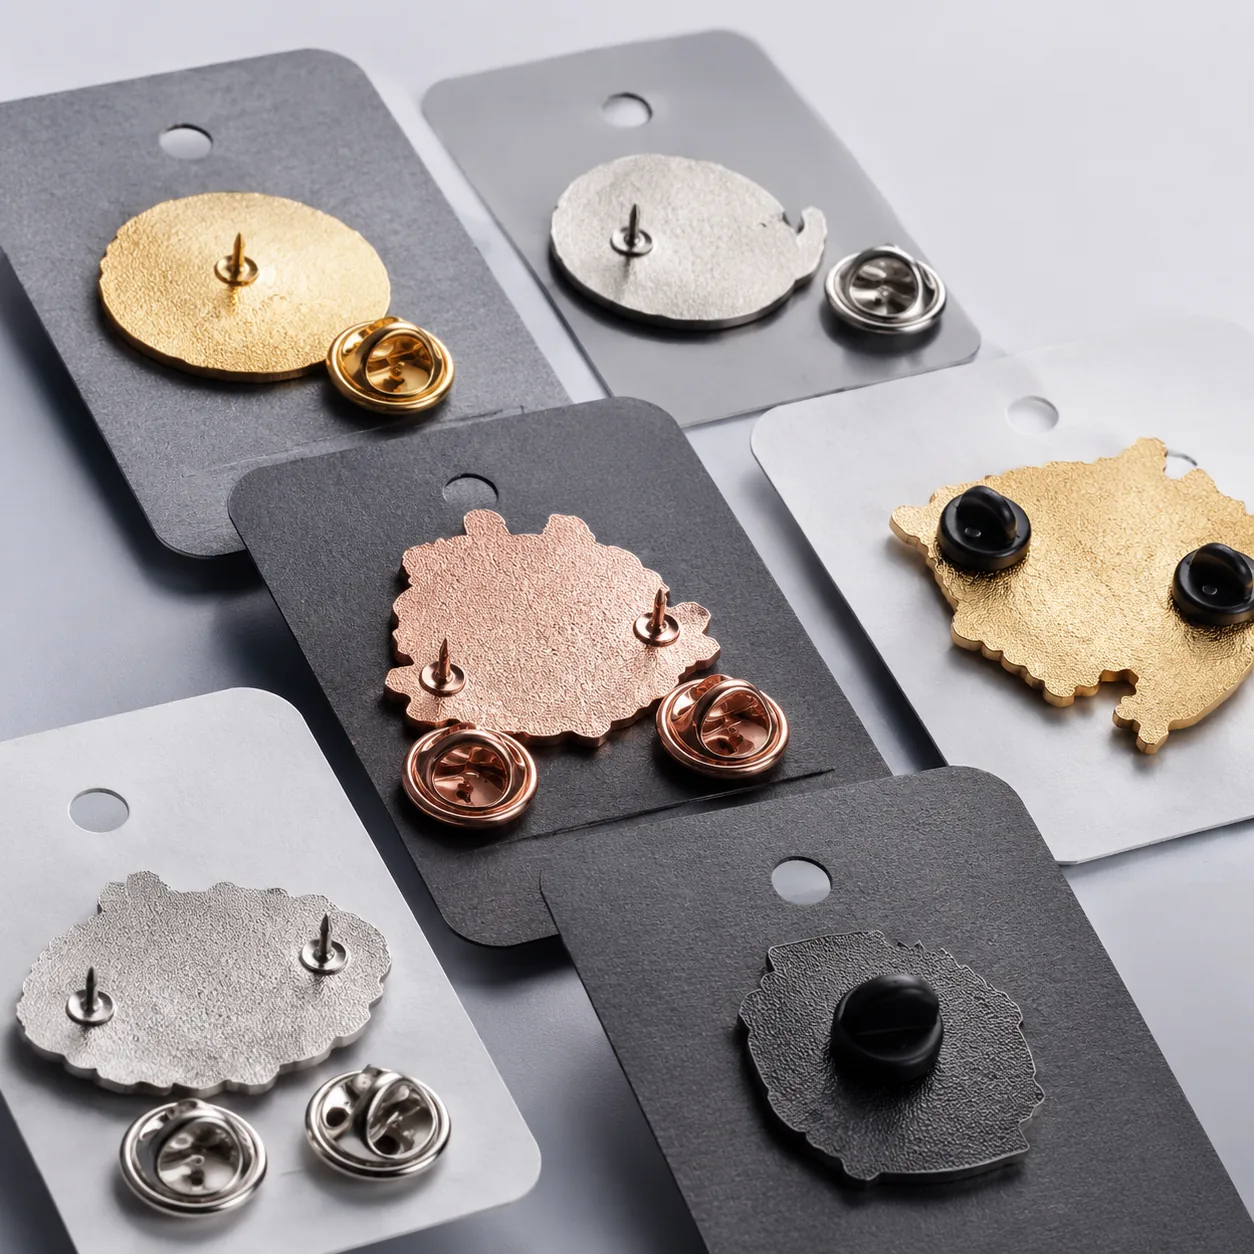
At ZheCraft, edge control is handled across die striking, casting, trimming, grinding, vibratory polishing, hand finishing and final QC. The right process depends on the product type, base metal, thickness and plating finish. A 1.2 mm brass enamel pin, a 3.0 mm zinc alloy keychain and a 4.0 mm iron challenge coin should not use the same edge specification.
Define the Edge Zones Before Quoting
Start by separating functional edges from decorative edges. Functional edges touch skin, fabric, packaging, phone cases, bags, lanyards or children’s hands. Decorative edges create visual definition, such as a raised border around enamel or a coin rim with reeded detail. If you round every edge aggressively, the item may become safer but lose detail and look over-polished.
For most pins and badges, the highest-risk zones are the outside contour, cutout openings, pin post weld area and any raised metal point above 0.6 mm. For keychains, inspect the outer contour, hole wall, split ring interface, jump ring gap and rotating hardware. For coins and medals, focus on the rim, reeded edge, recessed lettering on the edge, and any 3D relief peaks near the perimeter.
A practical drawing should mark edge zones using simple labels: Zone A for user-contact edges, Zone B for visible decorative edges, and Zone C for hidden or assembly edges. Zone A should have the strictest burr and radius requirement. Zone C can often accept lighter finishing if it does not affect function, saving cost and avoiding unnecessary polishing.
| Product area | Recommended edge requirement | Typical tolerance or limit | Common failure if ignored |
|---|---|---|---|
| Pin outer contour | Rounded, no cutting feel | Radius 0.10-0.25 mm where design allows | Snags fabric or feels cheap |
| Keychain hole wall | Deburred before plating | No raised burr over 0.05 mm | Jump ring wears or jams |
| Coin rim | Uniform chamfer or radius | Chamfer 0.20-0.40 mm, width variance ±0.10 mm | Rough hand feel, uneven plating |
| Openwork cutout | Smooth internal wall | Minimum inside corner radius 0.20 mm | Burrs trapped after plating |
| Back attachment area | Flat enough for assembly | Post tilt within 3°; weld burr under 0.10 mm | Pin rotates or scratches backing card |
Choose a Realistic Edge Radius
Edge radius is the simplest way to turn “not sharp” into a measurable specification. For small enamel pins from 20 to 35 mm wide and 1.2 to 1.8 mm thick, an outside edge radius of 0.10 to 0.20 mm is usually enough. Larger badges, brooches and keychains from 2.0 to 3.5 mm thick often need 0.20 to 0.35 mm on user-contact edges.
Do not over-specify radius on small detailed parts. A 0.40 mm radius on a 1.2 mm thick pin can soften the outline, reduce perceived metal definition and expose uneven plating at corners. For narrow text, small star points, animal ears or logo tips, ask the factory to flag any feature under 0.8 mm wide before tooling, because aggressive tumbling may deform it.
For challenge coins, edge style matters. A flat edge can use a small radius of 0.20 to 0.30 mm on both faces. A reeded or rope edge needs controlled tool geometry rather than heavy post-polishing; too much tumbling will blur the reeds. If the coin includes edge engraving, keep characters at least 1.2 mm high and avoid specifying a large radius through the text area.
Match Deburring Method to Material and Detail
Deburring is not one process. Stamped brass and iron parts often need die maintenance plus light tumbling, while zinc alloy castings may need gate trimming, hand filing and vibratory polishing. Stainless steel is harder and resists easy rounding, so finishing time is longer and tool marks are more visible if the design has sharp internal corners.
Vibratory polishing is efficient for bulk orders, especially simple contours. A typical cycle may run 30 to 90 minutes using ceramic, plastic or walnut-shell media, depending on metal hardness and detail depth. The trade-off is that small raised details, thin edges and enamel walls can be softened if the cycle is too long or media is too aggressive.
Hand deburring is slower but necessary for premium brooches, openwork pins, spinner keychains and coins with complex edge patterns. It adds labor cost and can introduce variation between workers, so the approved sample should show the target hand-feel. For orders above 5,000 pieces, ZheCraft normally recommends a written edge standard with sample photos from three angles, not just one golden sample.
| Deburring method | Best for | Typical added cost | When not to choose it |
|---|---|---|---|
| Light vibratory polishing | Simple pins, coins, flat keychains | USD 0.01-0.04 per piece | Very sharp logo points or fragile openwork |
| Extended vibratory polishing | Thicker zinc alloy keychains and medals | USD 0.03-0.08 per piece | Fine raised text under 0.5 mm line width |
| Hand filing and buffing | Premium brooches, internal cutouts, hinge areas | USD 0.05-0.20 per piece | Very low-budget giveaways or inconsistent artwork |
| Tooling adjustment | Repeated burr from die or mold edge | Usually included before mass run if found at sampling | One-off urgent orders without sample time |
| Post-plating touch-up | Local roughness after plating | USD 0.02-0.10 per piece | Deep burrs, because exposed base metal may appear |
Account for Plating Build-Up at Edges
Plating makes edges look better, but it can also make burrs worse. Nickel, copper, gold, silver, black nickel and antique finishes deposit differently on corners, recesses and high points. Raised burrs attract plating thickness and become more noticeable after finishing, especially on shiny gold or black nickel.
For most promotional metal items, a practical plating thickness range is 3 to 8 microns for decorative nickel or gold-tone finishes, with copper undercoat often used to improve leveling. Premium orders may specify 8 to 12 microns where wear resistance matters, but thicker plating is not a substitute for deburring. If the base edge is sharp, a thicker plated sharp edge is still sharp.
Antique finishes hide small scratches better than mirror finishes, but they can emphasize rough edges because dark oxide collects in burr valleys. Matte plating hides fingerprints but may show grinding direction if the edge was hand-finished unevenly. For high-polish gold or silver on large coins, request edge photos under side lighting during sample review, because front-view photos often miss plating build-up on the rim.
Set Inspection Criteria That QC Can Actually Use
A useful inspection standard includes both visual and tactile checks. Visual checks catch metal whiskers, raised burrs, plating nodules, chipped enamel near the border and uneven chamfer width. Tactile checks catch the problems customers complain about: scratchy edges, rough cutouts and sharp keychain holes.
For general promotional orders, many buyers use AQL 2.5 for major defects and AQL 4.0 for minor defects. Sharp burrs on user-contact edges should normally be classified as major defects, not minor cosmetic defects. A burr that can scratch skin, damage fabric or cut packaging should be rejected even if the front artwork looks correct.
The most practical factory-floor test is a controlled fingertip and cloth-snag check. QC should run a finger lightly around the outer contour and internal holes, then pass the item over a woven cotton cloth at normal handling pressure. For child-facing or apparel-contact items, add a tape drag test or a thin polyester fabric check, because some burrs pass cotton but catch finer fabric.
- Define major defect: any edge that scratches skin under light handling, catches cloth, or has a raised burr over 0.05 mm in Zone A.
- Define minor defect: slight roughness visible only under close inspection, no scratch feel, and no cloth snag in Zone B or Zone C.
- Inspect at normal viewing distance of 30-40 cm for visual issues, then use tactile checks for edge feel.
- Use calipers or a radius gauge for sample approval, but do not rely on gauges alone for mass inspection.
- Keep one approved edge sample and one rejected edge sample at the packing line for worker comparison.
Build Edge Specs Into the RFQ and Sample Stage
Edge quality must be priced before production, not negotiated after a complaint. If a buyer requests a low FOB price, very fast lead time and premium soft-touch edge finishing, one of those requirements may need to move. As a reference, simple metal pins at 500 to 1,000 pieces often fall around USD 0.45 to 1.20 FOB per piece depending on size and plating, while extra hand finishing can add USD 0.03 to 0.12 per piece.
MOQ affects consistency. At 100 to 300 pieces, hand finishing may be acceptable because the batch is small and QC can spend more time per piece. At 5,000 to 20,000 pieces, process stability matters more; the tooling condition, polishing media, cycle time and worker instructions need to be locked before mass production. If your launch cannot tolerate variation, approve a pre-production sample from the actual production tooling, not only a digital render.
Lead time should also include edge-risk review. Normal sample lead time for custom metal products is often 7 to 12 days after artwork approval, with mass production around 12 to 25 days after sample approval depending on quantity and finish. Complex openwork, hand-polished brooches or edge-engraved coins may add 2 to 5 days. Rush production can compress waiting time, but it rarely improves edge finishing quality.
| Order type | Suggested edge control | Typical MOQ tier | Lead-time impact |
|---|---|---|---|
| Budget event pin | Zone A no sharp burr, light tumbling | 100-500 pcs | No extra time if artwork is simple |
| Retail enamel pin | 0.10-0.20 mm outer radius, cloth-snag check | 500-3,000 pcs | Add 1-2 days for sample review |
| Premium brooch | Hand-finished points, post area checked | 300-2,000 pcs | Add 2-4 days |
| Metal keychain | Deburred hole wall, ring test after plating | 500-5,000 pcs | Add 1-3 days |
| Challenge coin | Uniform rim chamfer or controlled reeded edge | 100-10,000 pcs | Add 1-3 days for rim approval |
When Not to Demand a Fully Rounded Edge
A fully rounded edge is not always the right choice. If the product relies on crisp geometry, such as a shield badge, architectural logo, military-style coin or hard enamel pin with clean metal separations, over-rounding can weaken the design. Buyers sometimes reject a sample for feeling slightly crisp, then reject the revised sample because the shape looks soft.
You should also avoid heavy rounding when enamel walls are very thin. Raised metal walls under 0.25 mm wide can lose definition during polishing, which may cause enamel overflow or uneven color borders. For hard enamel, over-polishing after color fill may expose base metal at high spots or create wavy reflections on larger plated areas.
The best compromise is selective finishing. Specify smoother edges only where hands, fabric or attachments make contact, while allowing controlled crispness on decorative relief. This keeps the product safe without turning a detailed badge into a softened version of the artwork.
What to Do Next
Before sending your next RFQ, add an edge-quality section to the technical brief instead of relying on the phrase “smooth finish.” Include product thickness, base metal preference, plating finish, edge zones, acceptable radius, burr limits, AQL level and whether the item will touch clothing, skin, phones, bags or children’s products. These details help suppliers quote the correct process instead of hiding finishing labor inside vague assumptions.
For a practical starting point, specify Zone A user-contact edges with no sharp burrs, no cloth snag, and a target radius of 0.10 to 0.25 mm for pins or 0.20 to 0.35 mm for thicker keychains and coins. Ask for close-up sample photos of the outer contour, holes, cutouts and attachment area before approving mass production. If the design includes openwork, sharp logo points or edge engraving, request a factory review before tooling.
If you are comparing quotes, ask each supplier how they will deburr the item, not only what the unit price is. ZheCraft can review production artwork for edge-risk areas, suggest realistic radius and polishing specs, and hold approved edge samples at the QC station for repeat orders. That small step is often cheaper than replacing a batch that looks good in photos but feels wrong in the customer’s hand.
Have a project? Send your artwork and target quantity and we’ll reply with a detailed quotation within 12 working hours.
Ready to get this made?
Send your sketch, target quantity and ship-date. Detailed quotation in 12 hours.


