Die-Struck vs Printed Lapel Pins for Short-Run Campaigns
Why 100-500 piece lapel pin orders get re-quoted
Most short-run lapel pin re-quotes do not start with pricing. They start with artwork that was approved for marketing use but not engineered for manufacturing. In the 100 to 500 piece band, the first process decision is usually more important than the first unit price: should the design be built as a die-struck metal pin with real relief, or as a printed image on a metal base? That choice controls tooling cost, minimum readable detail, plating and color controls, and the odds of needing a second sample before production can start.
Die-struck and printed pins fail for different reasons. In die-struck production, risk rises when metal borders fall below about 0.20 mm, text drops below 1.0 mm finished height, or isolated enamel cells shrink below about 0.35 mm. Those conditions can cause weak walls, bridged fill, underfill, or artwork simplification at sampling. Printed pins can reproduce finer lines and tonal art, but they introduce other variables: print misregistration, visible Pantone drift, dust or microbubbles under epoxy, and face scratches after packing or transit.
For a 300-piece campaign order, the best process is usually the one with the lowest combined risk across readability, appearance, durability, and lead time. Saving USD 0.20 to 0.30 per unit is rarely a win if the first pre-production sample loses legal text, misses a brand color, or pushes ship date approval back by 5 to 7 days. Re-quote risk is highest when the pin is under 30 mm, contains gradients or mascot art, uses narrow outlines, or must visually match an existing premium metal set already in circulation.
Short-run feasibility by spec
| Spec point | Die-struck metal pin | Printed pin on metal base |
|---|---|---|
| Best MOQ band | 100 to 1,500 pcs | 100 to 2,000 pcs |
| Most economical tier | 300 to 1,000 pcs | 100 to 1,000 pcs |
| Common size band | 20 to 45 mm | 20 to 50 mm |
| Typical base metals | Iron or brass | Iron, brass, or plated iron with stainless-look finish |
| Recommended thickness | 1.2 mm standard; 1.5 mm for premium feel; 1.8 mm for large 3D look | 0.8 mm budget grade; 1.0 mm minimum; 1.2 mm preferred above 35 mm |
| Minimum practical line width | 0.20 to 0.25 mm | 0.10 to 0.15 mm |
| Minimum practical text height | 1.0 to 1.2 mm | 0.7 to 1.0 mm |
| Minimum isolated color area | 0.35 mm | 0.20 mm |
| Typical color method | Pantone enamel fill with metal separation | CMYK, Pantone spot print, or hybrid print |
| Relief / tactile feel | High | Low to medium with raised rim only |
| Decorative plating thickness | 0.03 to 0.08 microns nickel, gold, or black nickel equivalent | 0.03 to 0.05 microns if plated rim or full face |
| Overall size tolerance | +/-0.20 mm | +/-0.20 to +/-0.30 mm |
| Thickness tolerance | +/-0.10 mm | +/-0.10 mm |
| Print-to-edge registration tolerance | Not applicable | Target +/-0.15 mm; reject above +/-0.20 mm on visible edge-critical art |
| Epoxy dome variation | Not typical | Meniscus variation about +/-0.10 to +/-0.15 mm at edge |
| Typical tool charge | USD 60 to 150 | USD 30 to 80 |
| FOB unit price at 100 pcs, 30 mm | USD 1.10 to 1.90 | USD 0.75 to 1.35 |
| FOB unit price at 300 pcs, 30 mm | USD 0.70 to 1.25 | USD 0.48 to 0.90 |
| FOB unit price at 500 pcs, 30 mm | USD 0.58 to 1.05 | USD 0.40 to 0.78 |
| Pre-production sample lead time | 5 to 8 days | 4 to 7 days |
| Mass production lead time after approval | 10 to 15 days | 7 to 12 days |
| Typical total lead time ex-factory | 15 to 23 days | 11 to 19 days |
| Common inspection level | AQL Major 2.5 / Minor 4.0 | AQL Major 2.5 / Minor 4.0 |
| Main failure mode | detail loss, underfill, plating pits, burrs, weak posts | color shift, print misregister, epoxy dust, scratches, edge chipping |
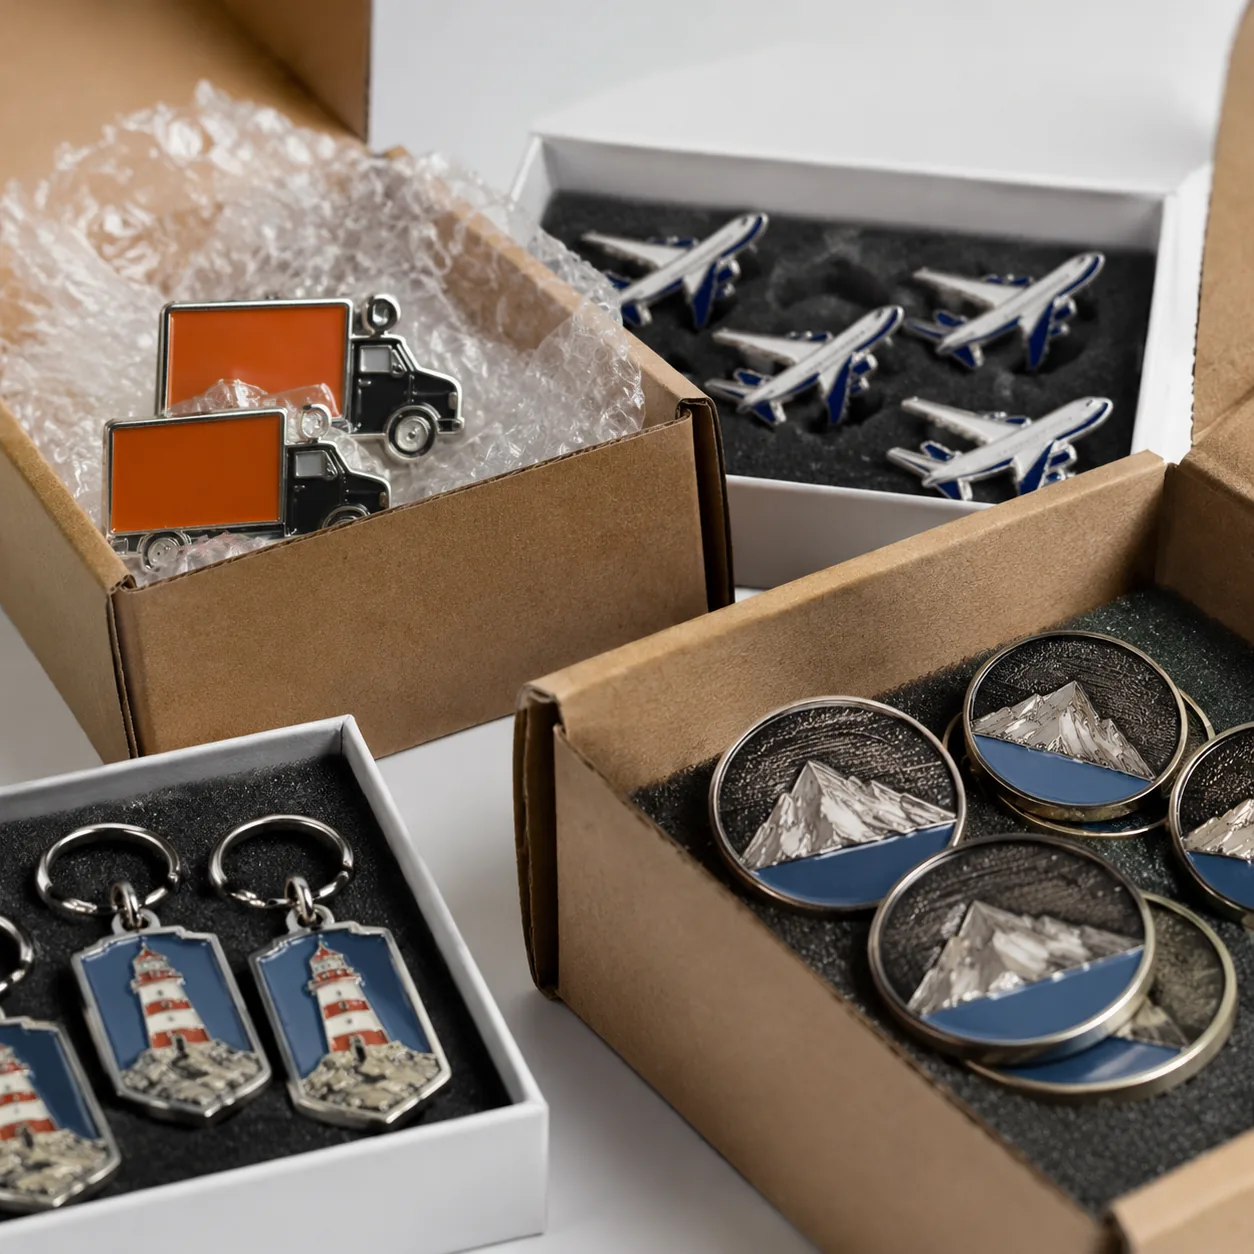
| Best use case | premium logo pins, award pins, uniform wear | graphic-heavy campaigns, gradients, mascots, event giveaways |
The same artwork can be low-risk in one process and high-risk in the other. A simple crest with polished outlines, two to four enamel colors, and a premium hand feel is usually safer as die-struck. A 28 mm event pin with facial detail, thin outlines, small sponsor text, or gradient shading is usually safer as printed. In short runs, manufacturability is not a theoretical exercise. A design can be technically possible and still be the wrong commercial choice if it creates extra proof rounds, mold correction, or unstable first-article approval.
When die-struck earns the higher unit cost
Die-struck pins justify their price when the buyer is paying for perceived value, metal definition, and better wear performance rather than graphic complexity alone. Real raised metal lines create a premium appearance that print cannot fully replicate. For association pins, member recognition, museum retail, hospitality uniforms, and executive gift sets, a 25 to 40 mm die-struck pin in 1.2 mm iron is the cost baseline, while 1.5 mm iron or brass gives a heavier hand feel and cleaner edge definition. Brass is usually the better choice when the face includes thin polished borders, because it stamps and polishes more cleanly than iron at the same nominal detail level.
The tradeoff is detail density. If the design contains narrow enclosed cells, micro text, or many adjacent color breaks, the process starts fighting the artwork. A practical planning rule is to keep all raised metal walls at 0.20 mm or wider, maintain finished text at 1.0 to 1.2 mm minimum, and avoid enclosed islands under 0.35 mm. On a 30 mm badge-style pin, that usually means limiting the art to bold shapes, not trying to force a brochure layout into a stamped part. Common sample defects when these rules are ignored include bridged enamel, weak border definition after polishing, visible color contamination between cells, and text that fills in or disappears.
The economics improve quickly once the tooling charge is diluted. A USD 90 die charge adds roughly USD 0.90 per unit at 100 pieces, USD 0.30 at 300 pieces, and USD 0.18 at 500 pieces before packaging or freight. That is why die-struck often looks expensive at the first tier but becomes reasonable by 300 to 500 pieces, especially if the alternative is a printed face that may generate appearance complaints after repeated wear. If the pin will be worn for 6 to 12 months, resold at retail, or compared side by side with existing premium metal merchandise, the higher struck cost is often easier to defend.
When printed is the smarter build
Printed pins are usually the better short-run solution when the artwork carries most of the value. They reproduce gradients, skin tones, shadows, mascot faces, thin outlines, and dense multi-color logos without converting the art into separate metal cells. At 300 pieces for a 30 mm custom shape, a printed iron-base pin with bright nickel edge, butterfly clutch, and epoxy dome commonly lands around USD 0.48 to 0.90 FOB. A no-epoxy version can save roughly USD 0.05 to 0.12 per piece, but that saving should be weighed against higher scratch visibility during packing, transit, and hand distribution.
Printed does not mean easier to control. The control points move from metal geometry to image accuracy and surface condition. Buyers should confirm whether the build uses CMYK process print, Pantone spot color, or a hybrid method. Spot color is safer for brand-critical logos with solid fields, while CMYK is better for gradients and illustrated art. On small pin faces, process print can look acceptable yet still miss the approved Pantone by a visible margin, especially in orange, purple, and dark green families. If color match matters, the RFQ should state whether approval is against Pantone references, a calibrated hard copy, or the approved production sample only.
Base thickness is often under-specified on printed builds. A 40 to 50 mm printed pin made from 0.8 mm iron can flex in transit, distort under clutch pressure, or bend during repeated use. For widths above 35 mm, 1.0 mm should be treated as a minimum and 1.2 mm is safer. For long horizontal shapes or widths above 45 mm, two posts are usually required to reduce rotation and lower the risk of bent hardware. Epoxy dome improves gloss and abrasion resistance, but it is not perfectly flat. Edge meniscus variation of about +/-0.10 to +/-0.15 mm is normal, and slight yellowing can appear after 12 to 24 months of UV exposure. That is acceptable for event giveaways and seasonal campaigns, but less suitable for collectible or archival merchandise.
Process-switch triggers to catch before sampling
The most expensive mistake in a short-run program is treating a process problem like a cosmetic problem. Certain brief changes should trigger a process switch, not another proof round. Artwork density is the first trigger. If the face includes gradients, facial shading, outlines under 0.20 mm, legal copy, QR-like geometry, or more than about 6 to 8 tight color transitions on a 30 mm face, printing is usually safer. If the design is simple, emblematic, and depends on crisp metal borders or a jewelry-like look, die-struck is the stronger option.
Timeline compression is the second trigger. Printed pins usually save several days because tooling is simpler and there is no enamel fill control stage. In practice, a printed sample can often be approved in 4 to 7 days and moved into bulk production immediately, while a die-struck sample may take 5 to 8 days and still require mold correction if narrow cells, text, or border depth do not translate well. If the in-hands date moves forward by a week, print often becomes the lower-risk decision even when the original brief asked for a premium metal build.
Claim history is the third trigger. If a previous die-struck program produced underfilled enamel, weak narrow walls, or multiple mold revisions, the root cause may be over-detailed art rather than weak factory execution. The reverse also applies. If a previous printed run generated complaints about scratches, dust under epoxy, or fading appearance after repeated wear, the right fix may be a simpler die-struck version, not just stronger packaging language. Buyers that switch methods early usually save more time than buyers that try to force a marginal design through a second or third sample.
- Move to printed when the design includes gradients, facial detail, or lines below 0.20 mm
- Move to die-struck when tactile relief, metal weight, and 6 to 12 month wear life matter most
- Specify 1.0 mm minimum base thickness for printed pins; use 1.2 mm above 35 mm width
- Use two posts above 45 mm width or on long horizontal shapes to reduce rotation
- Add epoxy dome when printed pins will be loose-packed, hand-distributed, or shipped with other hardware
- Keep inspection at AQL Major 2.5 / Minor 4.0 unless the budget supports tighter sorting
- Request matched-size comparison quotes at 100, 300, and 500 pcs before locking artwork direction
QC checkpoints should not be the same for both builds
Die-struck pins should be inspected primarily for metal integrity, enamel control, and plating appearance. Core checkpoints include overall dimensions, outline accuracy, cut-edge burrs, plating pits, fill height, contamination between adjacent cells, and post attachment strength. For most small pins, overall size tolerance of +/-0.20 mm and thickness tolerance of +/-0.10 mm are reasonable acceptance limits. Decorative plating on lapel pins is thin, typically around 0.03 to 0.08 microns, so visual consistency matters more than expecting heavy corrosion resistance. Color separation should be reviewed under consistent white light at a practical viewing distance of about 30 to 50 cm, not judged only under magnification.
Printed pins require a different inspection logic. Registration between the print and the cut line is critical, especially where artwork sits close to a raised metal rim. A misregister of 0.15 to 0.20 mm can look obvious on a 25 mm custom shape with a narrow border. Color approval should define the reference standard in advance, because a factory may pass the print visually even when it drifts from brand expectations. If epoxy is applied, inspection should check for dust, trapped fibers, microbubbles, fish-eyes, edge voids, and uneven dome spread. Packed-piece checks matter as much as line checks because printed faces show scratch damage more readily than recessed enamel surfaces.
Hardware testing also changes by build. On both types, posts should sit straight, solder joints should be clean, and clutches should engage without excessive force. On printed pins with thinner bases, bend resistance after bagging is a real risk point. A practical outbound control is to pull random finished samples from sealed cartons, verify post bond strength, inspect for clutch pressure marks, and check whether stacked hardware creates circular dents or scratches on the face. That packed-carton review catches many avoidable claims before export and is more valuable than over-inspecting loose pieces only.
Cost by quantity: unit price versus failure cost
At 100 pieces, tooling dominates die-struck economics. A simple 30 mm die-struck pin at USD 1.10 to 1.90 FOB can still be the right choice if it is sold at retail, included in an executive set, or expected to reinforce a premium brand impression. Printed pins usually win the 100-piece tier on cash outlay because tooling is lighter and graphic complexity does not trigger as many design corrections. That advantage is strongest when the artwork includes small text, mascot faces, or multiple tonal transitions that would be unstable in stamped metal.
At 300 pieces, the comparison is usually close enough that defect risk should decide. A die-struck 30 mm pin may land around USD 0.70 to 1.25 FOB, while a printed version may land around USD 0.48 to 0.90 FOB. If the design is badge-like and simple, the extra USD 0.20 to 0.35 may buy a better product. If the art depends on dense detail, the printed version can be both cheaper and safer because it avoids the most common remake trigger in this quantity band: forcing over-detailed artwork into a stamped structure that cannot hold it consistently.
At 500 pieces, die-struck becomes more competitive because the die charge is diluted, but buyers should still account for three hidden costs: sample redo cost, approval delay cost, and post-delivery claim cost. A printed pin that avoids one mold correction and saves three production days can be cheaper overall than a more prestigious struck option. The reverse is also true. If the campaign expects repeated wear on jackets, uniforms, or bags, a die-struck build may reduce surface-life complaints that printed faces sometimes generate after distribution.
What to send before asking for a revised quote
Suppliers can re-spec quickly only when the request is technical rather than general. Send final size in millimeters, custom shape or round format, quantity tiers such as 100, 300, and 500 pieces, base metal preference, target thickness, plating finish, attachment type, packaging method, required inspection level, and the exact reason the original build no longer works. If the issue is cost, give a target FOB range. If the issue is detail loss, mark the failing elements on the artwork. If the issue is timing, provide the hard ex-factory date and state whether an approval photo is acceptable or whether a physical pre-production sample is mandatory.
A strong RFQ also states acceptance criteria in production terms. For example: 30 mm printed pin, 1.0 mm iron base, bright nickel rim, epoxy dome, butterfly clutch, individual polybag, AQL Major 2.5 Minor 4.0, Pantone 186 C logo elements matched to approved proof, no visible dust under epoxy at 40 cm. Or: 32 mm die-struck soft enamel pin, 1.5 mm brass, bright nickel plating, one post, polished edge, enamel with no visible underfill or cross-color contamination at normal viewing distance, border lines not below 0.20 mm. That level of detail reduces quote variation, shortens revision cycles, and makes supplier comparisons meaningful instead of generic.
For buyers managing multiple campaign items, the fastest sourcing method is to split projects into three buckets: detail-heavy, premium-feel, and deadline-compressed. Then request side-by-side quotes on one fixed size and three quantity tiers across both die-struck and printed options, with the supplier listing the top three defect risks for each build and the sample lead time in days. That turns quoting into a manufacturability decision rather than a generic price exercise, which is exactly how short-run lapel pin programs should be managed.
Have a project? Send your artwork and target quantity and we’ll reply with a detailed quotation within 12 working hours.
Ready to get this made?
Send your sketch, target quantity and ship-date. Detailed quotation in 12 hours.


