Custom Name Badges for Staff: Factory Specs That Survive Daily Wear
Badge Failure Costs More Than a Reorder
Staff name badges fail in predictable ways: magnetic backs slide down blazer fabric, pin backs puncture shirts, UV-printed names abrade under cleaning, epoxy domes yellow, or a reusable name window cracks after a few weeks of insert changes. For hotels, airlines, banks, schools, hospitals, retailers and exhibition teams, the badge is small but constantly visible. A weak specification creates staff complaints, inconsistent uniforms and a brand detail that looks neglected.
A daily-wear badge is not just a promotional pin with a name added. It needs a defined base plate thickness, edge radius, plating stack, logo process, attachment strength, insert format, packing method and inspection plan. The same logo can be produced as a low-cost event badge, a reusable retail badge or a premium hotel badge; the cost difference comes from construction, not only artwork.
For most staff programs, practical factory dimensions are 50 to 80 mm wide and 18 to 35 mm high. Metal bodies usually run 0.8 to 1.2 mm thick; acrylic bodies are normally 2.0 to 3.0 mm thick; epoxy domes add about 0.3 to 0.5 mm. Normal dimensional tolerance is ±0.20 mm for stamped brass, iron or zinc alloy plates and ±0.30 mm for acrylic or PVC. For B2B inspection, use AQL 2.5 for major defects, AQL 4.0 for minor defects and zero acceptance for sharp, unsafe or identity-related defects.
Select the Badge Format First
The first decision is format: permanent-name, reusable-window or temporary-event. Permanent-name badges look clean because the staff name is printed, engraved or UV printed directly on the badge face. They suit stable teams, luxury hospitality, bank managers and senior retail staff. They are less efficient when turnover is high because every name change requires a new badge.
Reusable-window badges use a metal, aluminum or plastic body with a paper, PET or acrylic name insert. Common visible window sizes are 45 x 12 mm, 55 x 15 mm and 60 x 18 mm. They suit retail chains, schools, clinics, restaurants and seasonal staffing programs because store managers can replace names locally. The trade-off is more assembly, more scratch risk on the clear cover and tighter QC around insert retention.
Temporary-event badges use acrylic, PVC, printed aluminum or laminated card with a clip, lanyard or pin. They are fast and inexpensive, but they should not be specified for daily uniform wear unless the buyer accepts a shorter service life. A three-day expo badge and a twelve-month hotel badge should not share the same RFQ, even if the logo and personal name appear similar.
| Badge format | Typical construction | Best use | MOQ guide | Lead time after approval | FOB price at 1,000 pcs |
|---|---|---|---|---|---|
| Permanent metal name badge | 0.8-1.2 mm brass, iron or zinc alloy; engraved, enamel or UV logo | Hotels, banks, premium retail | 100-300 pcs | 12-18 days | US$0.75-US$1.80 |
| Reusable window badge | Metal or aluminum body with PET/acrylic cover and paper insert | Retail chains, schools, hospitals, seasonal teams | 300-500 pcs | 15-22 days | US$0.95-US$2.40 |
| Acrylic name badge | 2.0-3.0 mm acrylic with print or reverse print | Campaigns, events, low-weight uniforms | 100-300 pcs | 10-16 days | US$0.45-US$1.10 |
| Printed aluminum badge | 0.6-0.8 mm aluminum with screen or UV print | Large staff rollouts needing low unit cost | 300-500 pcs | 12-18 days | US$0.50-US$1.25 |
Specify Material, Thickness and Plating Stack
Zinc alloy is common for shaped badges because it casts cleanly, supports raised borders and works well with plated finishes. It is useful when the badge has a relief logo, rounded edge or integrated name-window frame. For a 70 x 28 mm badge, 1.0 to 1.2 mm zinc alloy gives enough stiffness without feeling heavy. Below 0.8 mm, wide badges can bend during packing or daily handling.
Brass is preferred for premium flat badges because it stamps with a crisp edge and plates evenly. Iron is economical for large programs, but exposed scratches can rust if the plating or lacquer fails. For humid coastal cities, kitchens, hospitals or outdoor service staff, specify a nickel underlayer of 5 to 8 microns before gold, silver, black nickel or imitation rhodium. Economy flash gold is typically 0.03 to 0.08 microns over nickel; thicker gold should be quoted separately because cost rises quickly.
Aluminum is light and cost-effective for printed badges, but it dents more easily than brass or zinc alloy. For aluminum, 0.6 to 0.8 mm is common for flat rectangular badges; use rounded corners of at least R2.0 mm to reduce snagging. Acrylic is lighter again and can look bright with reverse printing, but it scratches and cracks more easily. For acrylic, specify 2.0 to 3.0 mm thickness, polished or flame-smoothed edges, protective film during assembly and no sharp internal corners.
Weight matters because attachment performance changes with badge mass. A 70 x 28 mm zinc alloy badge with a magnetic bar may weigh 16 to 24 g depending on thickness and logo process. If the badge exceeds 20 g, request two posts, a full-width safety pin or a longer magnetic bar. One central post or one small magnet lets wide badges rotate.
Match the Logo Method to Wear Conditions
Soft enamel is durable and economical for solid brand colors. Raised metal borders separate each color, so the artwork must respect process limits: minimum raised metal line 0.25 mm, minimum enamel fill area 0.35 mm and no text below about 5 pt unless simplified. Soft enamel is appropriate for hotel crests, school marks and simple retail logos.
Hard enamel gives a flatter, more polished surface and better scratch resistance. It costs more because it requires repeated filling and polishing, but it is suitable for luxury retail, airline lounges and front-desk roles where the badge is part of the uniform standard. For polished hard enamel, check that thin plating is not polished through at raised edges.
UV print works for gradients, small icons, QR codes and detailed brand marks. For daily wear, protect UV print with a clear coat or epoxy dome. Specify epoxy dome height of 0.3 to 0.5 mm, no overflow beyond the metal edge, no bubbles over 0.20 mm in the logo area and no yellow cast against white artwork. Screen print is still useful for simple one- or two-color logos on aluminum, especially where low cost and fast repeatability matter.
Laser engraving is reliable for individual names, department codes and serial numbers. Contrast depends on finish: black nickel, matte silver and brushed surfaces engrave clearly, while bright gold can look subtle unless black-filled after engraving. If names are engraved, provide a locked spreadsheet and define capitalization, title line, font and maximum character count. Allow ±0.50 mm positioning tolerance because name length changes the visual center.
Choose Attachments by Uniform Fabric
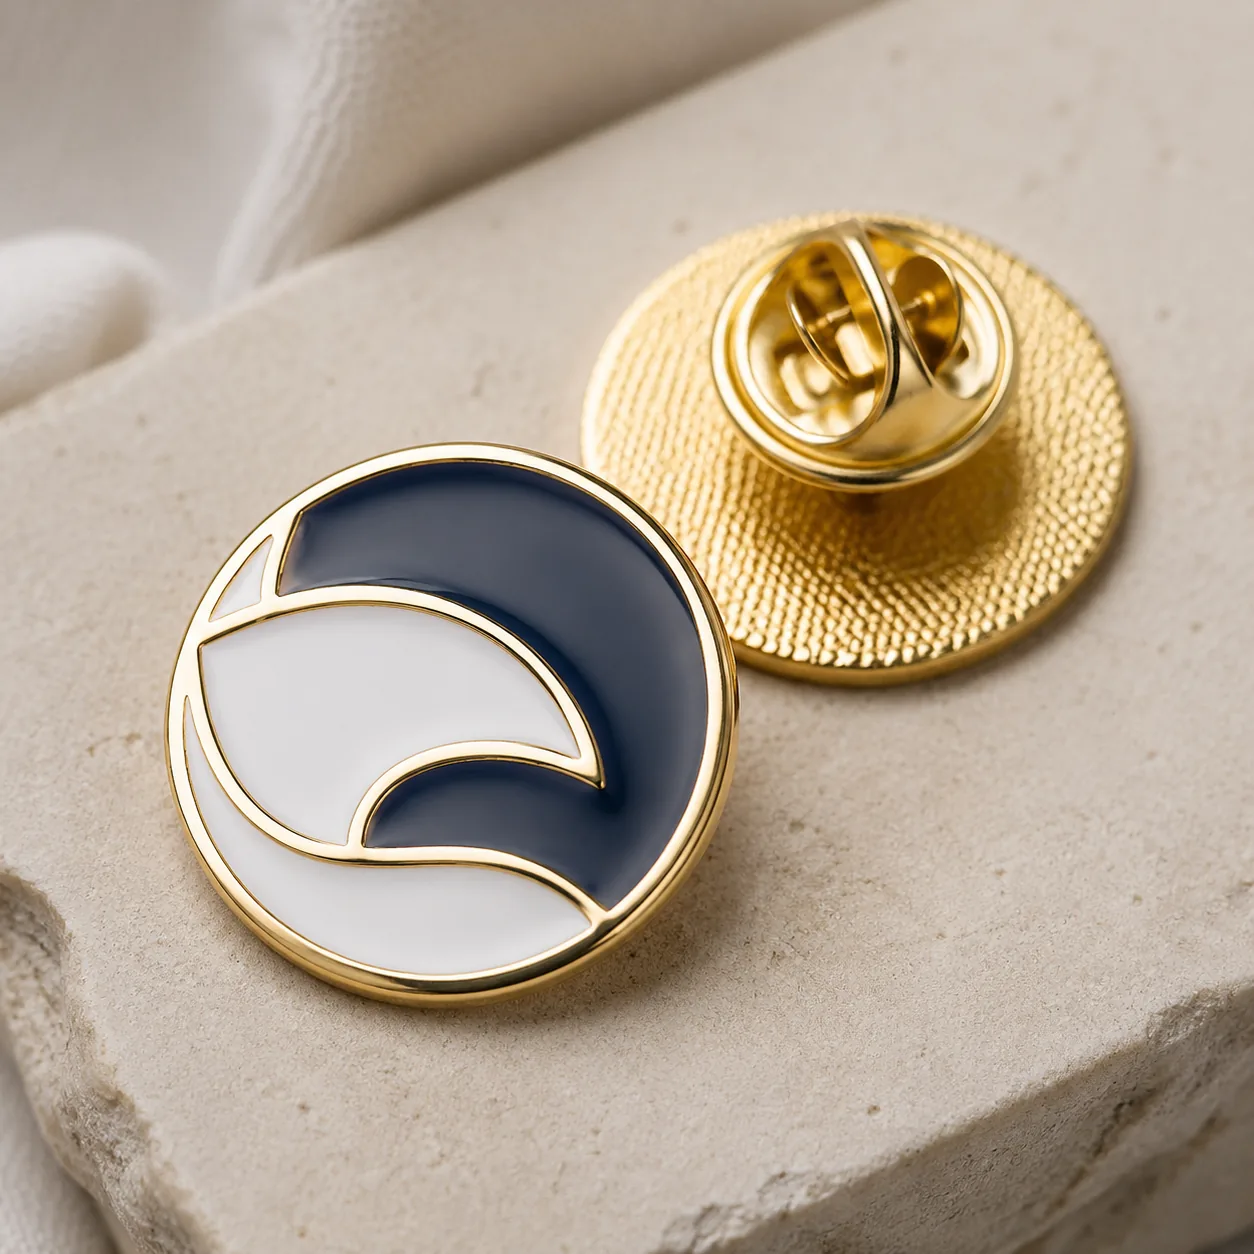
Attachment should be selected from the garment outward, not from a catalog preference. A butterfly clutch or safety pin is cheap and secure, but it punctures fabric and is unsuitable for silk blouses, thin shirts, rented uniforms or waterproof outerwear. A magnetic bar avoids holes and is preferred by many hotels and retailers, but it can slide on thick coats or structured aprons if the magnet system is underspecified.
For daily-use magnetic name badges, a practical specification is a steel back plate of 45 x 13 mm or 50 x 15 mm with two or three neodymium magnets. N35 to N42 magnets with nickel coating are common, but grade alone does not guarantee performance. Badge weight, fabric thickness, plate size and magnet spacing matter. Ask for a wear test on similar fabric: no visible sliding after 30 minutes on a vertical 2.0 mm cotton-polyester panel is a reasonable target for medium badges.
For safety pins and brooch backs, wire diameter should be 0.7 to 0.9 mm and the solder area should show full contact with no cold solder. For clutch posts, 10 to 11 mm post length is standard; thick jackets may need 12 mm. If the badge is wider than 65 mm, use two posts or a horizontal bar to prevent rotation. If magnets are used in environments with medical devices or sensitive instruments, offer a pin-back alternative and mark the packing clearly.
- Confirm the actual garment: shirt, blazer, apron, coat, knitwear or rented uniform.
- For delicate fabric, avoid sharp pin backs and use a broad magnetic contact area.
- For badges over 65 mm wide, specify two attachment points or one long magnetic bar.
- For badges over 20 g, approve the attachment only after a fabric wear test.
- For magnetic backs, check pacemaker and equipment restrictions before rollout.
- For thick jackets, request longer posts or stronger magnetic samples instead of assuming standard stock parts.
Engineer the Name Window, Not Just the Face
Reusable badges fail most often at the window. The insert must slide in smoothly, remain flat and be replaceable by a local manager without tools. A 55 x 15 mm insert is enough for most English first names and short job titles. Use 60 x 18 mm for bilingual names, longer surnames or two-line formats. Leave at least 1.5 mm text clearance inside the visible window so slightly miscut paper strips do not look crooked.
The clear cover can be PET film, acrylic strip or molded transparent plastic. PET at 0.20 to 0.30 mm is flexible and low cost, but it scratches and may curl. Acrylic at 0.80 to 1.00 mm looks better, but it can crack if the slot is too tight. For daily-use badges, require a 200-cycle insert test: remove and reinsert the name strip 200 times with no cracking, delamination, cover lift or loss of retention.
Define the local printing system before tooling. A4 perforated insert sheets are convenient for chains because stores can print many names at once, but die cutting must be accurate. Loose strips are cheaper but can look inconsistent unless the buyer controls paper, font and trimming. Practical paper weight is 180 to 250 gsm. For retail or school programs, pack 5 to 10 blank inserts per badge and consider 1 spare clear cover per 10 badges.
Window tolerances should be written into the drawing. For a 55 x 15 mm visible window, specify the actual insert size, visible opening and slot clearance separately. A typical structure might use a 58 x 17 mm paper strip behind a 55 x 15 mm visible opening. Do not leave this for interpretation; otherwise the first reorder may not accept the same inserts.
Control Cost, MOQ and Lead Time Early
Cost comes from tooling, base metal, plating thickness, logo method, attachment, individual names, insert parts and packing. Tooling for a simple metal badge is usually US$45 to US$120 per design. A reusable window structure with a custom frame or molded cover is more often US$80 to US$180. Complex 3D relief, special plating or custom magnets can push tooling higher.
MOQ depends on process. A simple printed acrylic or aluminum badge may start at 100 pcs. Plated metal with enamel or UV print is typically 300 pcs. Custom window parts, special magnetic backs, printed insert sheets or retail packing usually make 500 pcs more realistic. For mixed-name orders, also ask for the factory's minimum per name; some suppliers accept one name per badge, while others require batching to control handling cost.
At 300 pcs, a permanent metal staff badge often falls between US$1.20 and US$2.80 FOB depending on size, plating and attachment. At 1,000 pcs, the same construction often drops to US$0.75 to US$1.80 because tooling and setup are spread across more units. Individual engraving or variable UV names add about US$0.08 to US$0.25 per badge. Magnetic backs usually add US$0.18 to US$0.55 compared with a basic pin back.
Normal timing is 2 to 3 days for drawing confirmation, 5 to 7 days for a pre-production sample and 10 to 18 days for mass production after approval. Reusable window badges usually need 15 to 22 production days because assembly and scratch inspection are slower. Ocean freight timing is separate; air courier is common for small badge cartons, but urgent rollouts should still approve artwork, names and attachment samples before mass production.
QC Plan for Daily-Wear Badges
Inspection should check function as carefully as appearance. Cosmetic checks include plating shade, logo position, enamel fill, print sharpness, epoxy bubbles, edge burrs, scratches and name alignment. Functional checks include magnet holding force, pin solder strength, window insertion, insert retention, edge smoothness and packing abrasion. A badge with a perfect front surface still fails if the back detaches after two weeks.
Use AQL 2.5 for major defects such as loose attachments, wrong logo color, cracked windows, deep scratches visible at 30 cm, incorrect names, magnet polarity errors or names packed under the wrong label. Use AQL 4.0 for minor defects such as tiny polishing marks, slight plating shade variation within the approved sample range or small dust marks inside individual bags. Critical defects should be zero tolerance: sharp burrs, exposed rust, detached magnets, broken pin tips, mixed identities or unsafe sharp edges.
Useful factory tests include a 3M tape pull test on printed or epoxy-coated logos, a 48-hour room-temperature magnet adhesive hold test, a 30-cycle fabric wear trial and a 1 m carton drop test after final packing. For plated metal, specify the plating stack instead of only the color. A practical indoor standard is 5 to 8 microns nickel underlayer with the selected decorative finish. Salt spray testing can be requested for humid or outdoor use, but it should match the real service environment rather than adding cost to every indoor badge.
Packing should protect the face and keep variable names organized. Individual OPP bags prevent abrasion, but badges with epoxy or clear windows may need tissue or PET face protection. For named badges, specify one name per bag with a printed label, then group by store, department or branch. Cartons should be under 12 kg where possible to reduce drop damage and simplify branch distribution.
RFQ Details That Prevent Rework
Before asking for price, decide whether the badge is permanent-name, reusable-window or temporary-event. Then provide target size, material, thickness, plating stack, logo process, attachment, insert format, name-handling method, packing method, inspection level and expected reorder pattern. A clear RFQ lets the factory quote the intended construction instead of guessing the cheapest version.
If matching an existing program, send front, back, side and attachment photos with a ruler in each image. Include the uniform fabric and any complaint history: magnets sliding, pins damaging shirts, names scratching, windows cracking or staff losing back plates. If there is a current approved badge, send one physical sample before tooling the next order.
- Define badge type, size and use life, such as reusable window badge for 12 months.
- State material and thickness, for example 70 x 28 mm zinc alloy at 1.0 mm.
- Specify plating thickness, logo process, epoxy requirement and edge radius.
- Choose attachment based on fabric weight and badge mass, not preference alone.
- Provide name files in locked format with font, case rules and maximum character count.
- Request one approved golden sample and keep it as the reorder reference.
- Use AQL 2.5 major, AQL 4.0 minor and zero tolerance for unsafe or identity defects.
Have a project? Send your artwork and target quantity and we’ll reply with a detailed quotation within 12 working hours.
Ready to get this made?
Send your sketch, target quantity and ship-date. Detailed quotation in 12 hours.


