Custom Metal Giveaway Spec Sheet: Line-By-Line Buyer Guide
1. Define the Job Before the Object
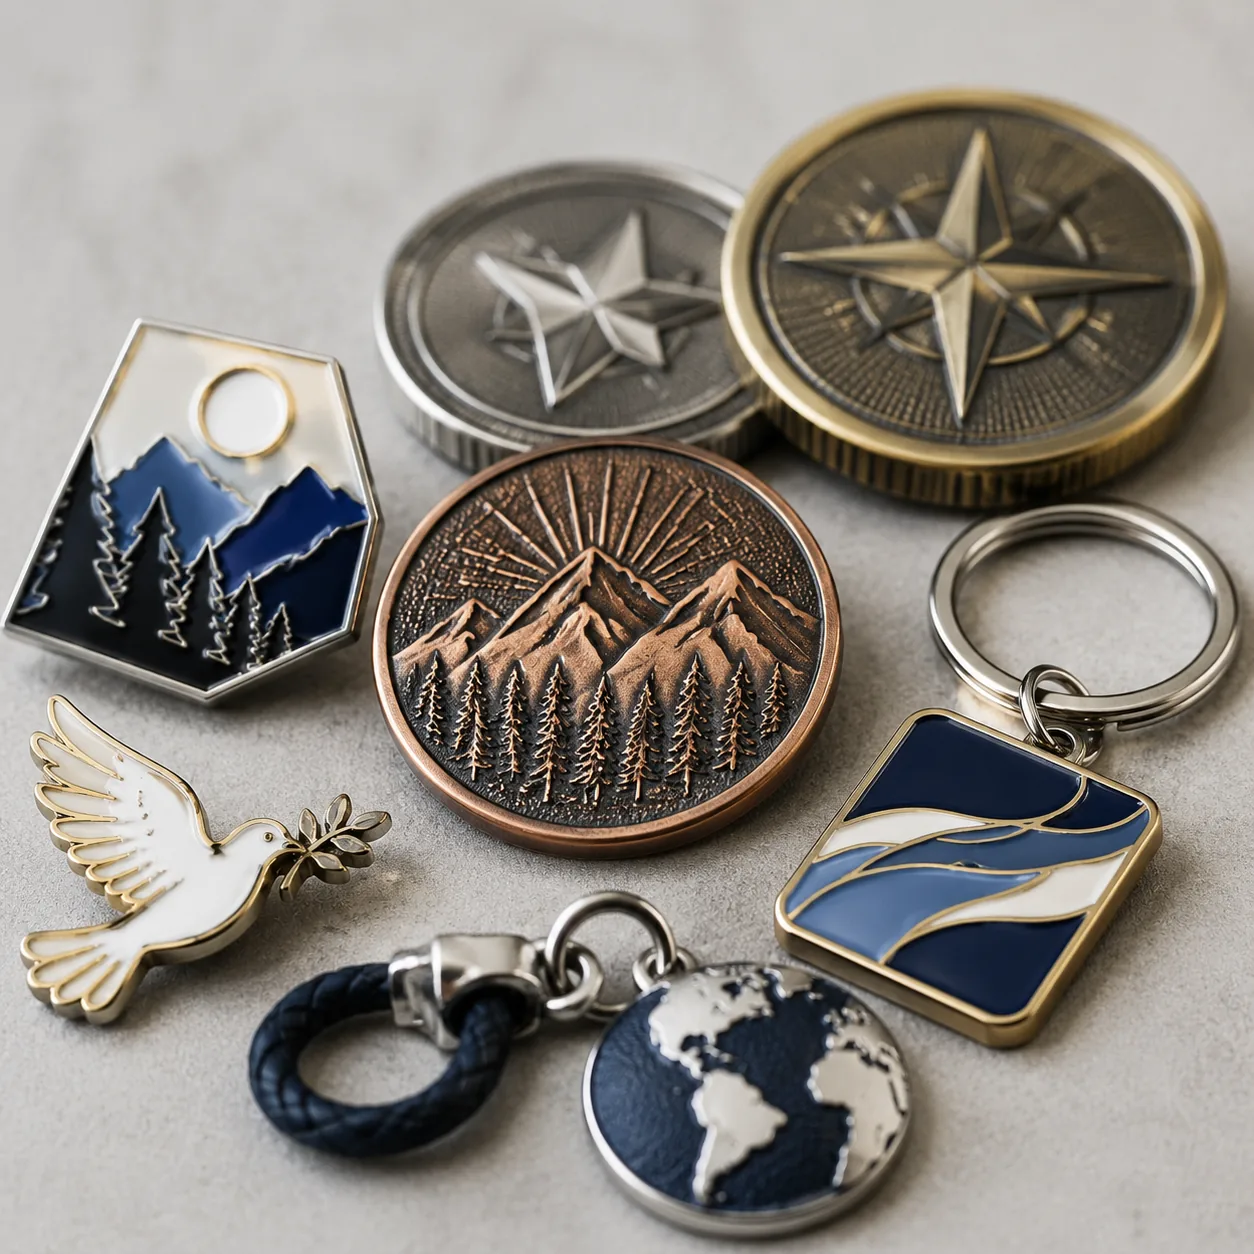
Most metal giveaway RFQs fail because the buyer names the object but not the duty cycle. A lapel pin, commemorative coin, staff badge, key tag, magnetic desk token, and retail souvenir can all be “custom metal items,” yet they fail in different ways. A jacket pin may rotate or lose its clutch. A coin may show plating rub on the rim. A key tag may fail at the jump ring. A desk magnet may look correct but slide down a painted steel cabinet. The first line of the spec should therefore define application, handling, service life, and the failure mode you cannot accept.
Use a fixed order: function, size, material, finish, artwork, attachment, inspection, and packing. That sequence prevents an attractive design from forcing the wrong manufacturing process. For example, a 35 mm soft-enamel brass lapel pin with two posts and locking clutches is a different product from a 45 mm zinc-alloy die-cast medallion with 1.2 mm raised relief, antique silver plating, and a recessed magnet. They may share artwork, but they do not share tooling, polishing time, plating behavior, or unit cost.
- State the use case in one sentence: trade-show handout, employee recognition item, retail souvenir, loyalty reward, award insert, or packaged gift set.
- Define handling: jacket wear, pocket carry, keychain use, bag attachment, desktop display, refrigerator magnet, or outdoor exposure.
- Name the top two failure modes to prevent: plating rub-off, clutch release, chipped enamel, loose chain, weak magnet, burrs, or incorrect pack count.
- State the expected service life: one-day event, 3-month campaign, 12-month retail use, or long-term keepsake.
- Confirm whether the item must match a brand standard exactly or may vary within approved tolerance and color limits.
2. Dimension Lines, Thickness, and Tolerances
Size is not only width and height. It affects die fill, flatness, post stability, polishing access, enamel cell size, and how the item sits on fabric or a surface. Specify overall size in millimeters, then separate base thickness, raised relief, recessed depth, rim height, hole size, and cutout location. If the design is asymmetrical, call out the longest point-to-point dimension rather than the artwork bounding box. For hanging items, also define hole center distance from the edge; a 1.8 mm ring hole placed 1.0 mm from an edge is a breakage risk on soft alloys.
For common custom metal giveaways, a practical drawing tolerance is ±0.20 mm for critical holes and post locations, ±0.30 mm for stamped brass or iron parts under 50 mm, and ±0.50 mm for larger or die-cast zinc-alloy pieces. Relief height is less predictable than the outer perimeter, so define it separately. Typical base thickness is 1.2–1.5 mm for lapel pins, 1.5–2.0 mm for badges and key tags, and 2.5–4.0 mm for coins or heavy medallions. If the piece touches skin or fabric, specify “no sharp burrs; edge radius target R0.2–R0.5 mm where practical.”
| Spec line | Better RFQ wording | Factory control note |
|---|---|---|
| Overall size | 35.0 x 28.0 mm measured at longest points | Avoids confusion with art-board size |
| Base thickness | 1.5 mm base, excluding raised logo | Separates structural thickness from relief |
| Raised relief | 0.5–0.8 mm raised metal on logo and rim | Improves contrast and enamel separation |
| Hole or slot | 3.0 mm hole, ±0.20 mm, center 4.0 mm from edge | Critical for key rings and chains |
| Dimensional tolerance | ±0.30 mm overall; ±0.20 mm for post position | Tighter only where function requires it |
| Edge condition | Deburred, smooth to touch, no sharp flash | Important for wearables and pocket carry |
3. Material and Process Selection by Risk
Material choice controls detail sharpness, weight, corrosion margin, and tooling risk. Brass is preferred for crisp stamped detail, clean plated edges, and premium small-format pins. Iron is lower cost for simple flat pins or badges but gives less margin on fine relief and needs good plating coverage to prevent corrosion. Zinc alloy is suitable for die-cast 3D relief, thick medallions, complex cutouts, and sculpted surfaces, but small text can soften compared with brass stamping. Stainless steel works for cut or etched pieces where corrosion resistance matters, though color-fill and plating options are more limited.
Choose the process around the artwork. Use stamped brass for clean line art, enamel pins, premium badges, and small logos. Use die-cast zinc alloy for deep 3D surfaces, 2.5–4.0 mm coins, bottle-opener shapes, and parts with undercuts or heavy feel. Use laser-cut stainless steel for flat silhouettes, industrial tags, or items requiring natural metal durability. Avoid very thin large pieces: a 60 mm badge at 1.0 mm thickness can warp during polishing or shipping, while a 35 mm pin at 1.2 mm is usually stable.
| Build option | Typical thickness | Best fit | Indicative FOB range at 1,000 pcs |
|---|---|---|---|
| Stamped iron | 1.0–1.5 mm | Simple flat badges, cost-sensitive pins | USD 0.45–0.95/pc |
| Stamped brass | 1.2–1.8 mm | Fine line pins, plated logos, enamel work | USD 0.75–1.80/pc |
| Die-cast zinc alloy | 1.8–4.0 mm | 3D medallions, cutouts, heavy tokens | USD 1.20–3.80/pc |
| Stainless steel cut/etched | 0.8–1.5 mm | Flat tags, industrial styling, corrosion resistance | USD 0.90–2.50/pc |
| Multi-part assembly | Varies | Spinner coins, magnets, layered badges | USD 2.50–6.50/pc |
4. Plating, Enamel, and Finish Stack
Finish descriptions are often too vague to compare. “Gold plated” may mean different polishing, strike plating, color tone, topcoat, and inspection standards. For decorative promotional metal, cosmetic plating layers commonly fall around 0.1–0.3 microns. For higher-wear applications, ask for thicker plating or a protective clear lacquer; for nickel, copper, or gold-tone layers, 0.3–0.5 microns is a more durable target but increases cost. If the item will be handled often, specify whether clear epoxy, lacquer, or anti-tarnish coating is required and whether gloss is acceptable.
Color fill also needs process language. Soft enamel leaves recessed color cells and raised metal borders; it is economical and durable enough for most giveaways. Imitation hard enamel is polished flatter and looks more premium, but it adds cost and can reduce crisp contrast in very small cells. Printed color is better for gradients, portraits, and photographic art but needs a clear epoxy dome or coating for abrasion resistance. For brand matching, specify Pantone Solid Coated references and an allowable tolerance, such as visual match to approved sample under D65 light or ΔE less than 3.0 where measurable.
| Finish or color line | Use when | Control point |
|---|---|---|
| Bright nickel or gold | Premium shine, ceremonial pieces | Shows scratches; require protective bagging |
| Antique silver/brass | Heritage styling, visible relief | Approve darkness by sample photo and physical sample |
| Matte black plating | Modern branding, tactical look | Rub wear exposes high points; test edges |
| Brushed finish | Industrial or understated appearance | Brush direction must be specified |
| Soft enamel | Most logo pins and badges | Minimum metal wall usually 0.25–0.30 mm |
| Imitation hard enamel | Retail or premium gifts | Flatter surface; longer polishing time |
| Printed + epoxy | Gradients, small photos, QR art | Check yellowing, bubbles, and edge coverage |
5. Attachment, Backing, and Mechanical Checks
Attachment is the most common functional failure point. For wearable pieces, specify back type, post diameter, post length, post count, and position. A standard butterfly clutch is acceptable for small light pins, but a locking clutch or rubber clutch is safer for heavier items. For pins above 25–30 mm wide, asymmetrical shapes, or weights above roughly 10–12 g, use two posts to reduce rotation. Typical pin posts are about 1.0–1.2 mm diameter and 8–10 mm long; for thick garments, confirm grip depth with the actual substrate.
For keychains, define split ring diameter and wire thickness, not just “key ring.” Common rings are 25–30 mm OD with 1.5–2.0 mm wire. For magnets, specify pull force and test surface. A 300–500 g pull force may hold a small refrigerator magnet, while heavier desk pieces may need 1.0–2.0 kgf depending on coating and contact area. For clips, define cycle testing: for example, no cracking or loss of spring function after 200 open-close cycles. For chains, specify chain length, link gauge, connector type, and whether the jump ring must be soldered or mechanically closed.
- State the substrate: suit fabric, denim, canvas bag, leather jacket, paper card, painted steel, glass, or retail blister pack.
- Specify post count and position, especially for off-center logos or hanging elements.
- Use locking clutches for heavier wearable pieces or events where loss is unacceptable.
- Define key ring size, wire thickness, and connector style for key tags.
- Specify magnet pull force in g or kgf and the test surface used.
- Require a simple mechanical check: no loose post, no ring gap above 0.3 mm, no clutch release during handling.
6. Artwork Limits: Lines, Text, QR Codes, and Relief
Artwork that looks sharp on screen can fail when reduced into metal. The critical limits are minimum line width, minimum gap, text height, enamel wall thickness, and relief depth. For stamped or enamel-filled items, a safe minimum line width is 0.25–0.30 mm, with gaps also at 0.25–0.30 mm. Text should usually be at least 1.0 mm high for raised or recessed metal and 1.2–1.5 mm if enamel fill surrounds it. Micro text below 0.8 mm may require laser marking or printing rather than stamping.
QR codes and serial numbers need a separate decision: decorative or functional. A functional QR code should be printed or laser-marked at a tested size, often 12–15 mm minimum for reliable phone scanning after coating, with quiet-zone space preserved around the code. Do not bury a functional QR code in antique recesses or low-contrast plating. For serialization, define numbering format, location, and inspection method, such as 100% visual check for sequence and legibility.
| Artwork item | Safer target | Risk if ignored |
|---|---|---|
| Minimum metal line | 0.25–0.30 mm | Broken lines or rounded detail |
| Minimum gap | 0.25–0.30 mm | Metal bridging or enamel bleed |
| Raised/recessed text | ≥1.0 mm high | Unreadable slogans or dates |
| Soft-enamel wall | ≥0.30 mm preferred | Color cells merge during filling |
| QR code | 12–15 mm printed/laser marked, tested | Scan failure after plating or epoxy |
| Relief depth | 0.4–0.8 mm for visible raised elements | Flat, low-contrast appearance |
7. Sampling, AQL, and Packing Controls
A spec sheet is not complete until it defines inspection. For decorative metal giveaways, many buyers use AQL 2.5 for major defects and AQL 4.0 for minor defects under ANSI/ASQ Z1.4 general inspection level II. Higher-risk items, retail packs, or products with functional clips or magnets may use AQL 1.5 for major defects. Major defects should include wrong artwork, plating peel, broken post, loose magnet, sharp burrs, incorrect attachment, wrong pack count, cracked enamel, severe color mismatch, and corrosion. Minor defects include small surface specks, light polishing marks, tiny enamel pits, or shade variation that matches the approved tolerance sample.
Approve a pre-production sample before mass production, then define whether bulk inspection happens after final finish, after assembly, or after packing. For finishes that scratch easily, packing is part of quality control. A common export setup is one piece per 0.03–0.05 mm polybag, 50–100 pieces per inner carton, and 500–1,000 pieces per master carton. Heavy coins should be packed by weight limit as well as count; many importers keep master cartons under 15–18 kg gross to reduce damage and handling claims. For retail-ready goods, specify barcode placement, hang card paper weight, blister material, and whether cartons must be drop-tested.
- Set AQL before production: common baseline is major 2.5, minor 4.0; tighten to major 1.5 for functional or retail-critical orders.
- Classify defects in writing with photos where possible.
- Require the factory to inspect after plating, after assembly, and before carton sealing for high-value orders.
- Specify polybag thickness, anti-scratch interleaf, inner-box count, and master-carton gross weight limit.
- Confirm carton marks match the PO, SKU, artwork revision, quantity, and destination.
- State whether units must arrive ready to hand out, retail packed, or bulk packed for local kitting.
8. Quote Format, MOQ Tiers, and Lead-Time Benchmarks
To compare suppliers fairly, require the same quote lines from every factory: process, material, size, thickness, plating stack, enamel or print method, attachment, packing, tooling charge, sample cost, MOQ, lead time, and Incoterm. A quote for “35 mm pin, gold plated” is not comparable unless it also states brass or iron, 1.2 or 1.5 mm thickness, soft or hard enamel, one or two posts, clutch type, plating tone, and inspection level. Ask vendors to confirm the manufacturing-readable spec back to you before tooling starts; this catches most misunderstandings while changes are still inexpensive.
Typical MOQ tiers vary by factory and finish. For repeat orders or simple stamped items, 100–300 pcs may be accepted, but first-time custom runs more commonly start at 300–500 pcs. Better price breaks usually appear at 500, 1,000, 3,000, 5,000, and 10,000 pcs because tooling is amortized and plating batches run more efficiently. As a practical FOB China benchmark, simple stamped iron pins may quote at USD 0.45–0.95/pc at 1,000 pcs, brass soft-enamel pins at USD 0.75–1.80/pc, standard keychains at USD 1.00–2.60/pc, and heavy die-cast coins or multi-finish medallions at USD 2.00–6.50/pc. Small orders can be 30–80% higher per piece because setup, polishing, and plating minimums do not scale down cleanly.
Lead time should be stated in calendar days after artwork approval, sample approval, and deposit. For standard metal giveaways, a realistic schedule is 2–4 days for engineering artwork, 7–12 days for tooling and pre-production samples, and 18–30 days for mass production after sample approval. Complex die-cast 3D work, imitation hard enamel, retail packing, or third-party inspection can extend production to 35–45 days. For buyers sourcing from ZheCraft, the cleanest workflow is to send a drawing or reference sample, define the use case and failure risks, then request a confirmed spec sheet before sampling. Once the spec is locked, the sample becomes a verification step, not a second design negotiation.
Have a project? Send your artwork and target quantity and we’ll reply with a detailed quotation within 12 working hours.
Ready to get this made?
Send your sketch, target quantity and ship-date. Detailed quotation in 12 hours.


