Color Separation Specs for Custom Enamel Pins and Badges
Why Good Vector Artwork Still Fails in Metal
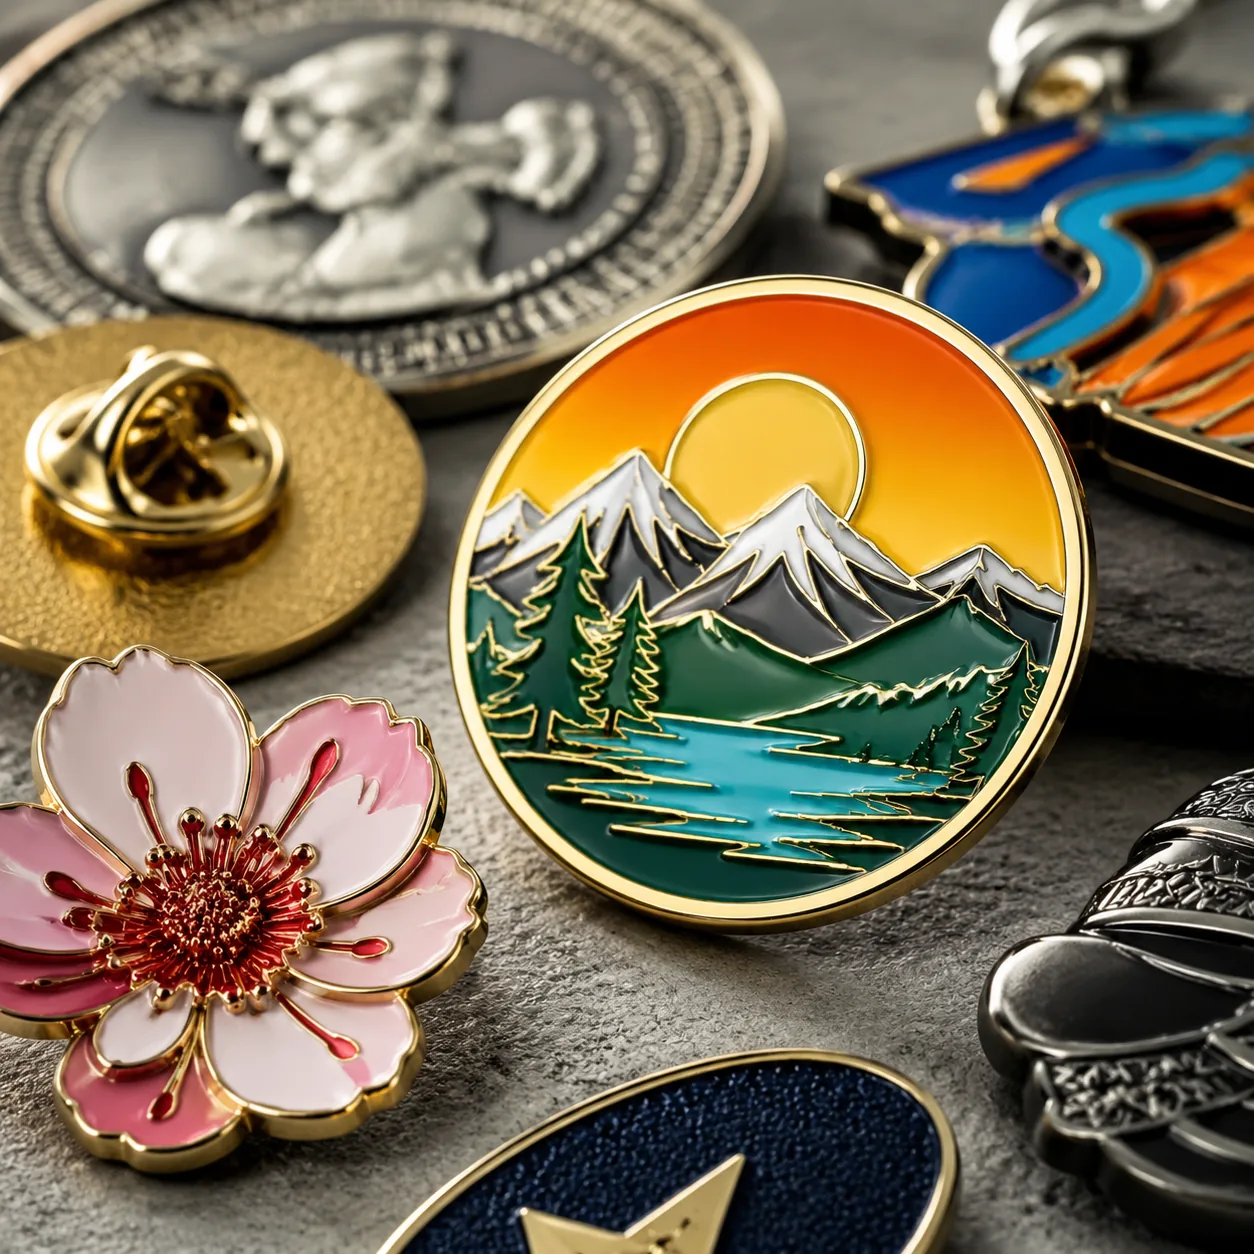
A logo can be clean in Adobe Illustrator and still be unmanufacturable as an enamel pin. The common failure is not the Pantone callout; it is the physical separation between color cells. Two brand colors bleed together, a 0.3 mm white highlight disappears, or a thin gold outline polishes away because the artwork was approved as a screen image instead of a metal part.
On soft enamel, hard enamel, etched badges, keychains and magnets, each enamel color normally sits in a recessed cell. Raised metal walls, often called dams or dividers, hold the liquid enamel before curing. If those walls are too narrow, too shallow, too close to the cut edge, or too aggressively polished, the factory must either simplify the design or accept a high reject rate.
For B2B buyers, the cost is practical: delayed pre-production samples, extra mold revisions, inconsistent reorders and disputes over whether the defect came from the artwork or the factory. Color separation must be locked before tooling because it affects die engraving, casting or etching, plating, enamel filling, polishing and final inspection.
Factory Definition of Color Separation
Color separation is the manufacturing layout that divides enamel colors with raised metal. Pantone matching defines the target color value; separation defines whether the color can be placed cleanly at the requested size. A design can have perfect Pantone references and still fail if a cell is too small to fill or a metal wall is too thin to survive finishing.
In stamped iron or brass pins, the dam is formed by the die. In etched badges, the recess is chemically etched into a thin metal sheet. In zinc alloy badges, charms and 3D coins, the dam is part of the casting or relief model. In every process, uncured enamel behaves as a liquid or paste, so it needs a real boundary and enough recess volume.
For a standard 25 to 35 mm soft enamel pin, use raised dividers of 0.25 mm minimum after finishing; 0.30 mm is safer for repeatable mass production. For hard enamel, specify 0.30 mm minimum and 0.35 mm for premium work because the surface is overfilled and polished flat. For badges under 20 mm, expect artwork simplification; forcing every logo detail into metal usually produces a crowded and less legible product.
Process Limits by Product Type
The correct separation limit depends on process, part size, base metal and finishing method. A 40 mm magnet can carry wider dividers than a 16 mm lapel pin. A 3 mm zinc alloy coin can support deeper relief than a 1.0 mm etched badge, but tiny enamel islands still need enough area for filling needles and curing consistency.
Use the table below as a quoting and artwork review baseline. These are practical production values, not decorative preferences. If a brand guide contains strokes below these limits, ask the supplier to mark which details will be enlarged, converted to metal, printed, merged into adjacent color, or removed before sampling.
| Product and process | Minimum metal divider | Minimum enamel island | Recess or relief depth | Typical thickness | Best use |
|---|---|---|---|---|---|
| Soft enamel pin, stamped iron or brass | 0.25 mm absolute, 0.30 mm preferred | 0.45 mm wide | 0.25 to 0.35 mm | 1.2 to 1.8 mm | Strong color blocks, visible metal lines, promotional volume |
| Hard enamel pin, stamped brass or iron | 0.30 mm absolute, 0.35 mm preferred | 0.50 mm wide | 0.20 to 0.30 mm before polishing | 1.5 to 2.0 mm | Flush surface, retail finish, cleaner wear resistance |
| Etched enamel badge | 0.20 to 0.25 mm | 0.40 mm wide | 0.15 to 0.25 mm | 0.8 to 1.2 mm | Thin, light badges with moderate detail |
| Die-struck badge, no enamel | 0.20 mm relief line | Not applicable | 0.15 to 0.30 mm relief | 1.2 to 2.0 mm | Fine metallic detail without color fill |
| Zinc alloy 3D badge or coin | 0.35 to 0.45 mm | 0.60 mm wide | 0.30 to 0.50 mm | 2.5 to 4.0 mm | Sculpted relief, heavy coins, dimensional charms |
| Enamel keychain charm | 0.30 to 0.40 mm | 0.60 mm wide | 0.25 to 0.35 mm | 1.8 to 3.0 mm | Higher-impact use with stronger walls and hardware |
Plating should also be specified numerically. Standard promotional nickel, gold, rose gold or black nickel plating is commonly 3 to 5 microns. Premium retail, keychain or bag-charm programs should request 5 to 8 microns, especially when the item will see abrasion. Thin dividers lose definition during pre-plating polishing and post-plating buffing, so a nominal 0.25 mm line in artwork may not measure 0.25 mm on the finished part.
Metal Dividers, Printing or Simplification
Not every color boundary should become a metal divider. Gradients, tiny facial features, shadows, halftones, QR-style patterns and thin typography become heavy or illegible when forced into enamel cells. In those cases, screen printing, offset printing, UV printing or a hybrid enamel-plus-print construction is usually more accurate.
Use metal dividers for crests, flags, mascots, icons, simple typography and brand shapes where depth and metal shine matter. Use printing for small text below 1.2 mm high, color transitions with no metal line, photographic artwork and registration marks that must remain visually exact. Use simplification when the finished item is small and must be recognizable at arm’s length rather than perfect under magnification.
A common hybrid is a stamped soft enamel or hard enamel base with printed eyes, fine lettering or sponsor names added on top, then protected with epoxy. This improves image accuracy but changes the surface feel. Printed details should be checked for adhesion and abrasion; enamel cells are more durable but cannot reproduce every fine graphic element.
RFQ Specs Buyers Should Lock Before Tooling
A strong RFQ tells the factory which elements are mandatory and which can be adjusted for production. Without that hierarchy, a supplier may protect a small internal detail while enlarging an outer border or changing a sponsor mark that your brand team considers untouchable. This is why two factories can quote the same vector file and deliver different samples.
Include final dimensions in millimeters, base metal, enamel type, plating finish, target thickness, attachment, packing, color references and whether simplification is allowed. Also state minimum metal dividers, minimum outer border, smallest acceptable text height and any no-change areas. For sets, request the same divider thickness, plating tone and enamel finish across all SKUs.
- Specify finished size, for example 30.0 mm wide by 28.0 mm high with plus or minus 0.3 mm dimensional tolerance.
- State enamel type clearly: soft enamel with recessed surface, hard enamel polished flush, or etched enamel for thinner badges.
- Set minimum raised divider: 0.30 mm for standard soft enamel and 0.35 mm for hard enamel or retail-grade pieces.
- Set minimum outer metal border: 0.40 mm for pins under 35 mm and 0.50 to 0.60 mm for keychains, magnets and charms.
- List Pantone references, but allow cell geometry adjustments where needed to meet separation rules.
- Mark no-change areas such as registered trademarks, sponsor names, official emblems and licensing text.
- Request a production proof with raised metal, recessed enamel, printing, cut line, attachment and backstamp on separate layers.
- Approve one physical pre-production sample before mass production for new molds, retail orders or event-critical deadlines.
For inspection, define acceptance criteria before production. A typical promotional standard is AQL 2.5 for major defects and AQL 4.0 for minor defects. Major defects include wrong color, missing enamel, exposed base metal in a color cell, broken divider, sharp burr, failed clutch or ring, plating peel, incorrect backstamp or wrong packing. Luxury retail programs often tighten cosmetic limits and require 100 percent front-face screening.
Failure Modes and Preventive Specs
Color bleed occurs when enamel crosses a divider or smears into an adjacent cell. It is usually caused by dividers below 0.25 mm, shallow recesses, narrow V-shaped corners or inconsistent filling viscosity. Prevention is straightforward: use 0.30 mm dividers, 0.25 to 0.35 mm recess depth for soft enamel, and internal corner radii of at least 0.15 mm where possible.
Lost detail after polishing is more common on hard enamel. The enamel is filled above the metal line and then polished flush, so weak dividers become rounded or visually uneven. If the buyer wants a luxury hard enamel finish, the design must accept 0.35 mm dividers and avoid hairline metallic strokes.
Low contrast is another frequent issue. Black nickel, antique nickel and antique brass can make narrow metal lines disappear next to dark enamel. If legibility matters, choose polished nickel, silver or gold, lighten the enamel color, increase metal line width, or convert the detail to printed artwork.
| Sample defect | Likely cause | Preventive specification |
|---|---|---|
| Two enamel colors touch | Divider too thin or recess too shallow | Minimum divider 0.30 mm and recess 0.25 to 0.35 mm |
| Tiny white highlight missing | Island too small for controlled filling | Minimum island 0.45 to 0.60 mm or convert to print |
| Uneven outer edge after plating | Border too narrow near cut line | Outer border 0.40 to 0.60 mm by product type |
| Fine text unreadable | Letter strokes below process limit | Printed text 1.2 mm high minimum; metal text usually 1.5 mm or larger |
| Hard enamel line looks rounded | Polishing removed sharp metal wall | Use 0.35 mm divider and reduce ultra-fine metal lines |
| Black nickel sample looks muddy | Low contrast between plating and enamel | Change plating, lighten enamel or thicken outlines |
| Bubbles in small color cells | Cell too narrow or enamel trapped at sharp corner | Increase island width and round internal corners |
MOQ, Price and Lead-Time Impact
Color separation affects cost, but the largest drivers are mold complexity, number of enamel colors, polishing labor, plating finish, attachment, packaging and reject rate. A clean 30 mm soft enamel pin with 4 colors, iron base, nickel or gold plating, butterfly clutch and individual polybag often falls around FOB USD 0.45 to 0.95 at 500 to 1,000 pieces, excluding international freight and duty.
Hard enamel costs more because of polishing labor and higher reject risk on fine dividers. A similar 30 mm hard enamel pin usually ranges from FOB USD 0.70 to 1.40 at 500 to 1,000 pieces. Zinc alloy enamel keychains with jump ring, split ring and individual bag commonly range from FOB USD 0.90 to 2.20, depending on thickness, plating, hardware weight and packing. Mold charges vary widely, but simple pin molds often sit around USD 40 to 90, while larger zinc alloy or 3D molds can exceed USD 120 to 250.
MOQs of 100 pieces are possible for many simple pins, but the unit price is high because mold and setup costs are spread over fewer parts. Practical B2B tiers are 300 pieces for small campaigns, 500 pieces for balanced pricing and 1,000 to 5,000 pieces for distributor or retail programs. For timing, allow 2 to 3 days for artwork engineering, 5 to 8 days for tooling and pre-production sampling, and 10 to 18 days for mass production after sample approval. Complex hard enamel, multiple attachments, custom cards or mixed printing can push total factory time to 25 to 35 days before export shipping.
QC Before Mass Production and Reorder
Do not approve a sample only from a front-view photo. Measure the smallest divider with a microscope scale or digital caliper, confirm enamel reaches corners without bubbles, and compare color boundaries against the approved production proof. A small divider increase is acceptable if it improves yield, but the change must be recorded before bulk production.
Ask the factory to keep a golden sample and dated inspection photos for every repeat order. The golden sample should lock the accepted balance of metal width, enamel fill height, plating tone, edge polishing, backstamp and attachment. Reorders drift when a new mold is cut from the original logo file instead of the approved production drawing.
For shipment inspection, use an AQL sampling plan rather than checking only the top carton layer. Inspect front surface, back surface, plating, enamel fill, attachments, sharp edges, packing count and carton labels. For keychains, add a basic pull check on rings and connectors; for magnets, check magnet adhesion and holding strength because good enamel quality does not prove functional performance.
Before requesting the next quote, review the artwork at final size. Flag every enamel island under 0.60 mm, every metal line under 0.30 mm and every text element under 1.2 mm. Decide whether each risky detail should be enlarged, printed, merged or removed. The most useful instruction to a supplier is specific: keep the trademark and sponsor text unchanged, adjust other areas to minimum 0.30 mm dividers, and show all production changes before tooling.
Have a project? Send your artwork and target quantity and we’ll reply with a detailed quotation within 12 working hours.
Ready to get this made?
Send your sketch, target quantity and ship-date. Detailed quotation in 12 hours.


