Choosing the Right Custom Promo Product Mix for One Campaign
Start with the campaign job, not the product
The most expensive mistake in promo procurement is choosing a product family before defining the job it has to do. A conference handout, sales-kit insert, internal award, and retail-style brand gift all have different success criteria, even if they share the same logo and budget. If you skip the job definition, you end up mixing items that look consistent on paper but fail in use: a pin that is too small to read, a keychain that is too heavy for daily carry, or a lanyard that feels cheap next to a premium coin.
For one campaign, decide which outcome matters most: reach, retention, perceived value, daily use, or collectability. That decision should drive every later spec choice, including material, size, finish, packaging, and quantity split across items. ZheCraft sees the cleanest projects when buyers choose one hero item and one support item, instead of forcing five products to carry the same brand story.
A practical example: a trade-show giveaway may need 500 simple lanyards at the lowest landed cost, while a dealer appreciation kit may need 100 numbered coins plus 100 matching presentation cards. The first job rewards speed and unit price; the second rewards finish quality, serial control, and presentation. Treating those as the same purchase is how campaigns miss both budget and purpose.
- If the goal is broad distribution, favor low-unit-cost items with fast replenishment.
- If the goal is perceived value, favor metal products with tighter finish control.
- If the goal is daily exposure, favor wearable or carry items over desk-only items.
- If the goal is a limited drop, favor numbered or serialized items with controlled packaging.
Decide the campaign role for each item
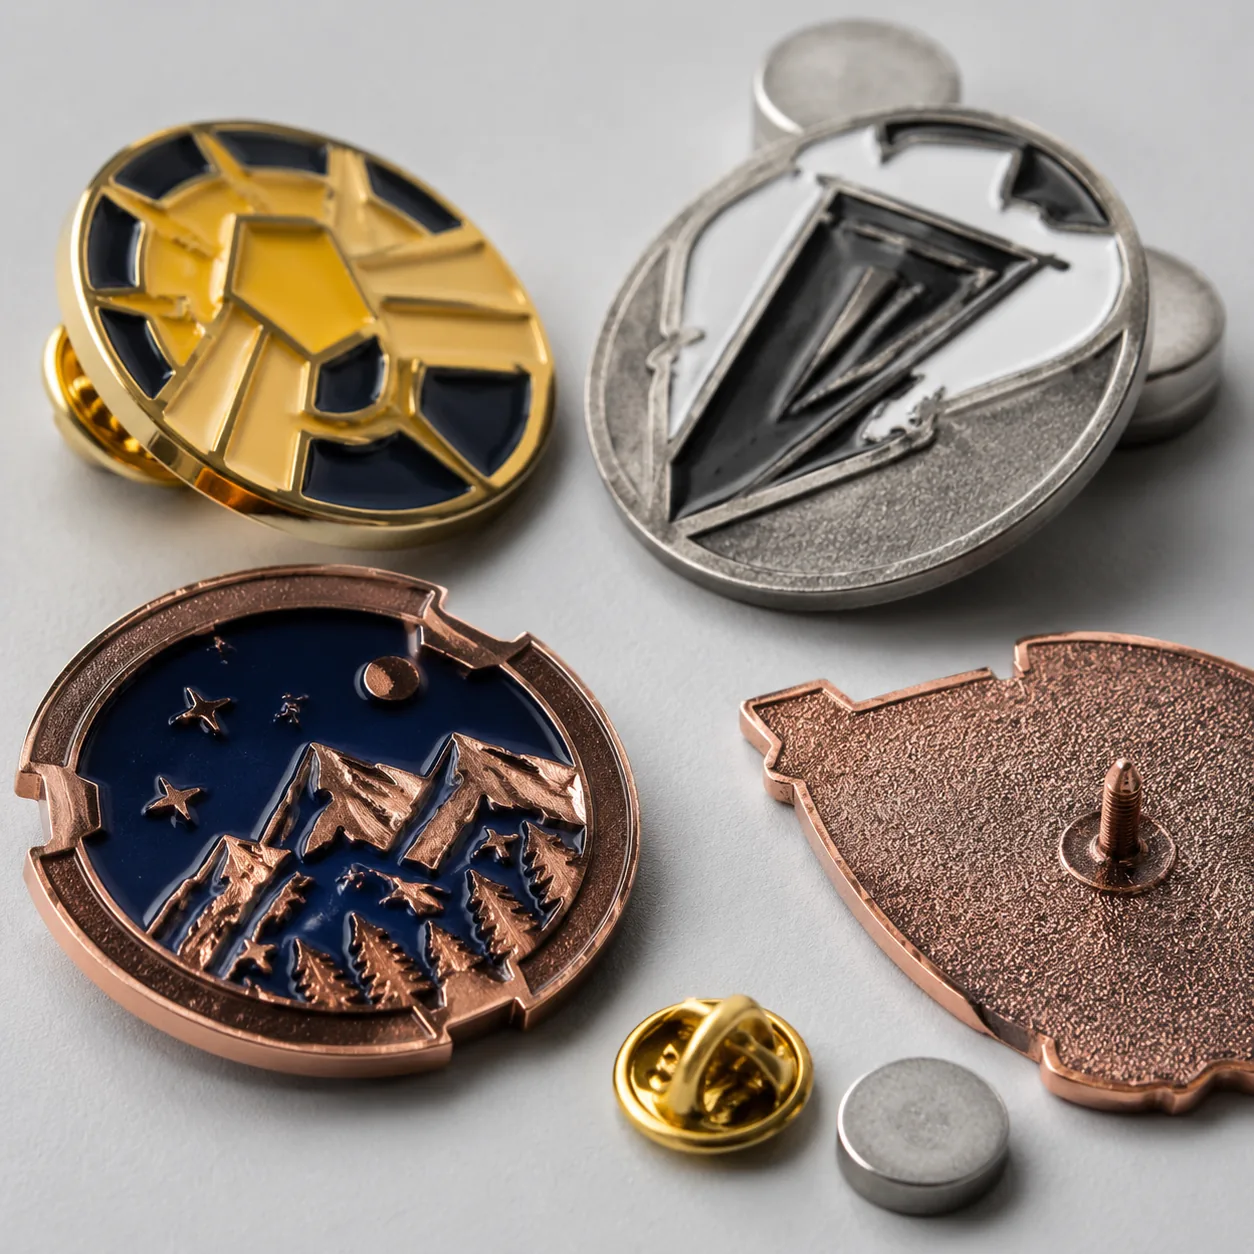
Once the job is clear, assign a role to each product: hero, support, or filler. The hero item carries the story and justifies the budget. The support item extends reach or solves a practical need, while filler items only make sense if they do not complicate MOQ, artwork, or packing. Many mixed sets fail because every item is asked to be premium at once, which raises cost without improving the campaign result.
A useful rule is to let only one SKU carry the design complexity. For example, a hero coin can support a 42 to 50 mm diameter with multi-level relief, antique plating, and numbered edge text, while a support keychain can repeat the logo in a simpler 30 to 35 mm format. A hero patch might justify woven detail and merrowed edging, while a support lanyard may only need a one-color repeat with a 10 to 15 mm repeat interval. That hierarchy keeps the set unified without forcing every product into the same decoration method or thickness target.
For campaign design teams, the biggest benefit of this split is control. One item can absorb the risk of fine detail, while the other stays simple enough to hit lead time and pricing goals. It also gives procurement a cleaner comparison point when suppliers quote different finishes, because the hero item can be evaluated on detail and the support item on throughput.
| Campaign role | Best fit | Typical spec range | When not to choose it |
|---|---|---|---|
| Hero | Challenge coin, premium pin, plated badge | 30 to 50 mm size, 1.5 to 3.0 mm thickness, 1 to 4 enamel colors | When the design needs daily utility more than display value |
| Support | Keychain, lanyard, magnet, patch | 25 to 40 mm logo area or 10 to 15 mm repeat width | When the logo is too detailed for the available surface |
| Filler | Simple magnet or basic lanyard | Single-color or low-color artwork, minimal finishing steps | When the item must carry strong brand perception on its own |
Match decoration method to design complexity
The decoration method should follow the artwork, not the other way around. Fine lines, gradients, and small text can be handled very differently across soft enamel, hard enamel, screen print, UV print, woven textile, or laser engraving. If the artwork depends on high detail, choose a process that preserves it at the actual physical size you will order, not at the design-file size on screen.
A common error is treating every product in a set as if it can share the same render. A pin can tolerate crisp metal partitions and enamel fill, but a patch may lose legibility if the line work is too fine, and a lanyard may need simplified repeating elements to stay readable at sewing scale. In mixed sets, keep one master artwork system with process-specific variants, not one identical file forced into every item.
As a rule of thumb, text below 4.5 pt equivalent usually becomes risky on woven items, and fine metal partitions under about 0.20 mm can be unreliable in die struck work. For logos with gradients or photo-like shading, UV print and full-color heat transfer are usually safer than enamel or embroidery. For serial numbers, laser engraving and debossing remain the most durable options, especially when the campaign requires traceability.
| Decoration method | Practical strength | Typical tolerance or detail limit | Main trade-off |
|---|---|---|---|
| Soft enamel | Good line clarity, flexible color use | Raised metal lines around 0.20 to 0.30 mm; recessed color fill | Color sits below metal lines; surface is not flush |
| Hard enamel | Flat, polished finish | Better at 0.25 mm+ partitions; less forgiving of micro-text | Less tolerant of very fine relief and some special effects |
| Screen print / UV print | Handles small graphics and shading | Readable text typically 1.0 to 1.5 mm cap height | Durability depends on abrasion exposure |
| Woven / jacquard | Good for repeated logos and text on textiles | Best with 3 to 6 colors; fine gradients usually blur | Very fine gradients do not reproduce cleanly |
| Laser engraving | Best for permanent marks and serials | Works well on 0.2 mm line engraving and 1 to 10 digit serials | Not suitable for colorful brand art |
Use a cost ladder, not a single unit price
A proper mixed-campaign quote should be judged as a ladder: tooling, unit price, packing, labor for assembly, and shipping by dimensional weight or carton count. Buyers often compare only the per-unit item cost and miss the fact that a cheaper item can become more expensive once it requires a second assembly step, custom backing card, or higher freight volume. The right question is not which item is cheapest; it is which combination gives the best total campaign cost for the intended result.
For small-to-mid runs, a simple metal pin may land around USD 0.45 to 1.80 FOB depending on size, plating, and enamel count; a keychain may sit around USD 0.70 to 2.50 FOB; a woven patch may range from USD 0.25 to 1.10 FOB; and a lanyard may range from USD 0.18 to 0.75 FOB before accessories and packaging. Challenge coins usually sit higher because of metal weight and finishing steps, often around USD 1.20 to 4.80 FOB for common sizes. These are planning bands, not promises, and a second plating color, epoxy dome, or custom clasp can move the price quickly.
A realistic cost check should also include pack-out. A coin in an individual polybag may add only USD 0.03 to 0.08 FOB, but a velvet pouch, insert card, and assembled gift box can add USD 0.30 to 1.20 FOB before freight. If you compare a bare product against a fully packed competitor quote, you are not comparing like for like.
- Count tooling separately from repeat production price.
- Ask whether packaging is included or quoted as a line item.
- Check whether freight is quoted by gross weight or carton volume.
- Request the same quote basis for every item before comparing suppliers.
Set the MOQ split before you approve art
Mixed promo sets create hidden MOQ problems because each product family has its own minimums, tooling logic, and color-count behavior. A buyer may think they are ordering one campaign, but the factory sees four separate production plans. If you approve artwork first and quantities later, you can end up paying for overbuilt inventory on one item and under-ordering the item that actually matters.
The safer approach is to lock a quantity split before design finalization. A common structure is 60 to 70 percent of budget on the hero item, 20 to 30 percent on the support item, and the remainder on packaging or a simple add-on. That split is easier to defend internally because it reduces rework risk and keeps the order within manageable MOQ bands for each SKU. It also prevents the set from collapsing if one item has a longer lead time or stricter packing sequence.
Typical factory planning tiers look like this: basic lanyards and woven patches often start at 100 to 300 pcs, standard pins and keychains commonly at 50 to 200 pcs, premium coins and multi-step badges at 50 to 100 pcs, and mixed sets with assembly at 100 to 500 total sets. A buyer asking for 75 total sets with four separate products may be below the efficient threshold for two of those SKUs, even if the grand total sounds reasonable.
Lead times also vary by process and revision count. A simple repeat-order lanyard can ship in 10 to 15 days after proof approval, a standard soft enamel pin or keychain usually needs 12 to 20 days, and a coin or premium badge often needs 15 to 25 days. Mixed sets with assembly, inserts, and final count verification are more commonly 18 to 30 days. Add 3 to 7 days if the order requires new tooling approval, a new plating sample, or color matching to a physical standard.
| Item type | Typical MOQ tier | Lead-time range | Common AQL target |
|---|---|---|---|
| Basic lanyard or woven patch | 100 to 300 pcs | 10 to 18 days | AQL 4.0 for minor defects, 2.5 for major defects |
| Standard pin or keychain | 50 to 200 pcs | 12 to 20 days | AQL 2.5 for major visual defects |
| Premium coin or multi-step badge | 50 to 100 pcs | 15 to 25 days | AQL 2.5 with count verification |
| Mixed set with packing assembly | 100 to 500 total sets | 18 to 30 days | AQL 2.5 on final set completeness |
Choose materials for handling, not just appearance
Material choice should reflect how the recipient will actually use the item. A desk display item can justify heavier metal and larger size. A daily carry item should stay compact, comfortable, and abrasion-resistant. If you choose a material for showroom appeal only, the product may feel great on approval sample day and fail after a week in the field.
For metal items, zinc alloy is the most flexible choice for irregular shapes and deeper relief, while iron is more cost-efficient for simpler stamped forms and thinner sections. Zinc alloy is usually preferred when the design includes undercuts, layered textures, or a softer edge profile. Iron works better when the shape is flat or lightly embossed and the buyer wants lower tooling complexity. For textile items, woven polyester works well when you need tight logo repeat and low bulk, while embroidery is better when you want tactile depth and a more premium feel.
For magnets and desk gifts, the back-side magnet should be sized to the item weight and target surface. A lightweight fridge magnet may function with a small ferrite or flexible magnet strip, but a heavier zinc-alloy piece often needs a stronger magnet or a larger contact area to stay secure. If the back is not coated or sealed properly, it can also scratch painted metal or coated appliances, which turns a low-cost item into a brand-risk issue.
As a simple specification guide, keep enamel pin thickness around 1.2 to 1.8 mm for standard work and 2.0 to 3.0 mm for premium relief. Woven patches often hold best at 1.0 to 2.5 mm thickness depending on backing and border finish. If you need a more premium tactile effect, choose a build that matches that target instead of trying to force a thin, lightweight product to behave like a display piece.
| Material / build | Best use | Typical tolerance or spec | Watch-out |
|---|---|---|---|
| Zinc alloy | Complex pins, coins, badges | Good for 0.3 mm relief and irregular outlines | Edges can look soft if the design is too thin |
| Iron | Simple stamped products | Best for flatter profiles and lower thickness | Less suitable for deep 3D relief |
| Woven polyester | Patches, lanyards, labels | Commonly 3 to 6 colors, 0.2 mm-ish readable line target | Not ideal for gradients or photo-like art |
| PVC / flexible builds | Playful shapes and soft edges | Good for rounded forms and 2 to 5 mm depth | Can look low-value for executive gifts |
| Acrylic | Lightweight display pieces | Typically 2 to 5 mm sheet thickness | More prone to scratching and cracking |
Protect the set with assembly and packaging rules
A mixed campaign often succeeds or fails at the packing table. If items are shipped loose, the set can look inconsistent even when every piece passed inspection. If items are assembled into blister packs, backing cards, or gift boxes without a clear sequence, the factory can introduce scratches, orientation errors, or missing components. Packaging is not a cosmetic afterthought; it is part of the product spec.
Define which component is inserted first, how the item is oriented, whether protective film stays on during packing, and what AQL target applies to complete sets versus individual SKUs. For promotional products, AQL 2.5 is common for major visual defects, while AQL 4.0 may be used for lower-risk accessory checks, but the exact target should depend on the campaign and the damage cost of a mistake. ZheCraft typically recommends a packing checklist that names each component, counts the pieces per set, and defines an acceptable substitute only where the buyer agrees in advance.
A practical pack-out spec should also state carton quantity, inner pack count, and whether the outer carton must pass drop-test handling for e-commerce or direct mail. If a 100-set campaign ships as 10 inner packs of 10, you reduce picking errors and simplify partial receiving. If the campaign will be distributed at a show, pre-counted tray packs can cut booth setup time by half compared with loose bulk cartons.
- Specify whether each item ships loose, bagged, carded, or boxed.
- Define the order of assembly for multi-item kits.
- State whether spare parts or backup units are allowed.
- Require a final count by set, not only by piece.
What to do next
Take your campaign and reduce it to three decisions: the hero item, the support item, and the packing format. Then write one spec sheet per item with size, material, finish, artwork limit, MOQ, lead time, and target AQL, instead of sending one vague request for a mixed set. That will give suppliers enough structure to quote accurately and warn you early if a combination is likely to cause rework.
If you are still unsure, start with one sample path: order the hero item first, approve that finish and color logic, and only then lock the secondary item and packaging. That sequencing usually saves more time than trying to finalize every SKU at once. For buyers building a campaign around pins, coins, keychains, patches, lanyards, or magnets, ZheCraft can help compare the options at factory level and separate what is visually nice from what is production-safe.
Have a project? Send your artwork and target quantity and we’ll reply with a detailed quotation within 12 working hours.
Ready to get this made?
Send your sketch, target quantity and ship-date. Detailed quotation in 12 hours.


