Choose the Right Promo Product Build in 7 Decisions
Start with the use case, not the SKU
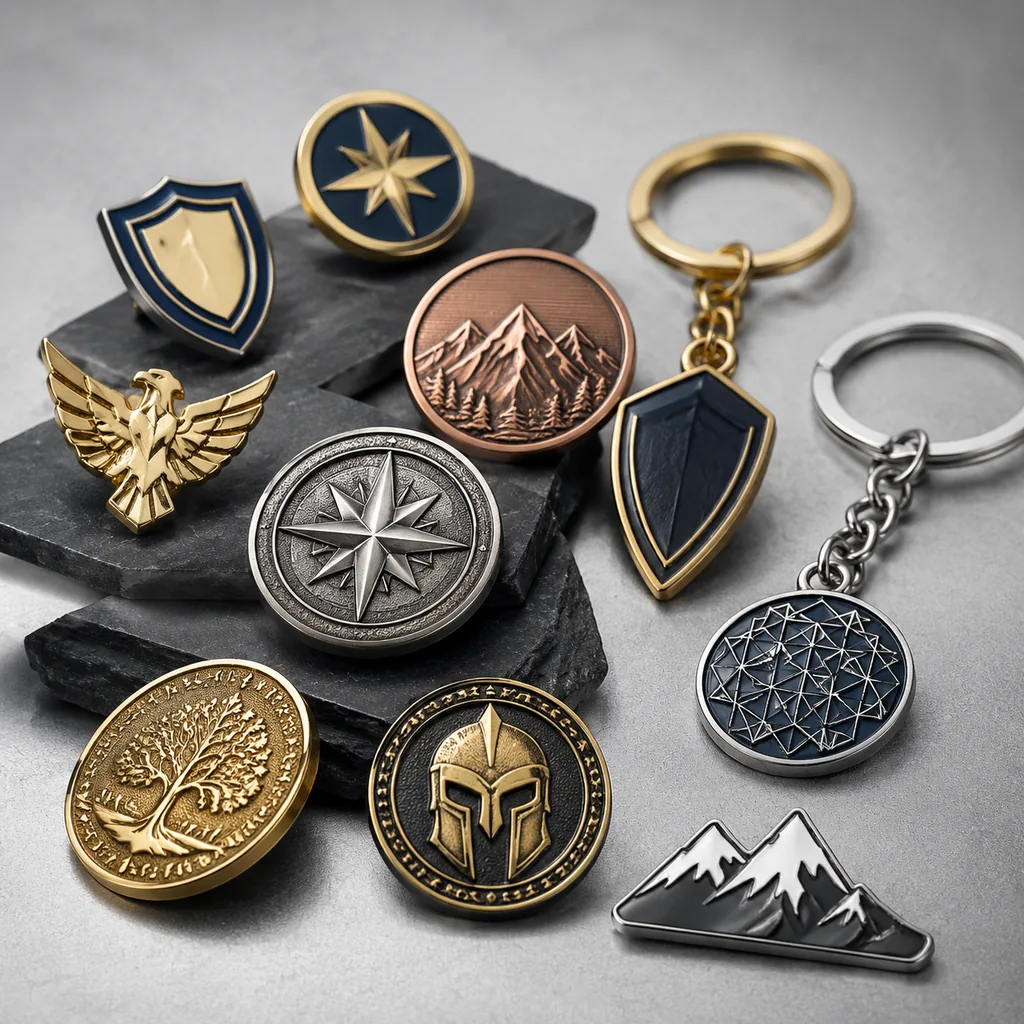
Most sourcing mistakes happen before a supplier ever prices the job. Buyers ask for a pin, keychain, patch, or coin when the real decision is whether the item will be worn, carried, mailed, collected, or displayed. That use case drives thickness, attachment, finish, packaging, and the defect level you can tolerate. If you start with the wrong product family, you usually pay later in artwork revisions, sample loops, and rejected production.
A mailer giveaway that must survive automated sorting and low-cost freight needs a different build from a retail-quality collector piece. A 1.2 mm stamped soft-enamel pin is a sensible handout format; a 3.0 mm die-cast coin with antique nickel plating is a better fit for an award or commemorative set. For standard promo programs, the best savings come from matching structure to function on the first RFQ instead of forcing one design into the wrong manufacturing process.
Before you request pricing, define three things: who handles the item, how long it should last, and how much brand-critical surface quality it needs. Those answers tell the factory whether to quote stamped metal, die-cast zinc alloy, molded PVC, embroidered fabric, or a hybrid build.
Decision 1: Is the item worn, carried, mailed, or displayed?
This is the first branch because it changes the failure mode. Worn items need comfort, low snag risk, and stable attachments; carried items need abrasion resistance and hardware strength; mailed items need compact dimensions and packaging that resists rub marks; displayed items can spend more of the budget on visual depth and finish. A lapel pin cannot tolerate the same edge sharpness as a desk coin or refrigerator magnet.
For fabric-worn items, keep the finished edge radius predictable and the profile modest. In metal parts, a practical starting spec is 1.0-1.5 mm nominal thickness for flat stamped items, with overall size tolerance of about ±0.3 mm for pieces under 50 mm and ±0.5 mm for larger formats. For carried items such as keychains, the body can be thicker, often 1.8-3.5 mm depending on whether the build is stamped, cast, or molded, because hand feel and abrasion matter more than comfort. For displayed items, buyers can usually accept more mass and more relief, which improves perceived value but increases tooling and plating risk.
If the product touches fabric, prioritize smooth backs, stable clutches, and no sharp protrusions. If it lives in a pocket or bag, prioritize plating durability, scratch resistance, and tight assembly. If it sits on a shelf or desk, you can trade portability for thicker walls, deeper relief, and premium finishing without worrying as much about garment damage or snagging.
- Worn: choose rounded edges, secure clutches, and 1.0-1.5 mm nominal thickness for flat metal parts.
- Carried: choose harder finishes, stronger closures, and abrasion-tolerant packaging.
- Mailed: choose low-profile backs, stackable shapes, and packaging that prevents rub marks.
- Displayed: choose thicker bodies, deeper relief, and richer plating or enamel contrast.
Decision 2: Should the build be flat, raised, or fully shaped?
Flat builds are the lowest-risk option for logos, simple shapes, and repeat orders. Raised builds add perceived value because the light catches the edges and improves contrast on small designs. Fully shaped or multi-level builds are the most expressive, but they also create more tooling complexity, tighter tolerance demands, and a higher chance of artwork interpretation issues.
If artwork has thin text, small icons, or multiple color breaks, stamped construction often produces the cleanest result. A common rule is to keep engraved or recessed line widths above about 0.20-0.25 mm and avoid tiny enclosed spaces that cannot be cleaned or filled consistently. If the buyer wants more weight and a collector feel, a cast body can justify the extra cost, but minimum wall thickness should usually stay at or above 0.8-1.0 mm to reduce warp and short-shot risk. For deeply dimensional designs, lock cavity depth, edge radius, and relief transitions before sampling.
The more dimensional the product, the more likely you are to see variation in surface appearance and plating build-up on corners. That is why a clean, flat logo item can be cheaper and more reliable than a “premium” shape that looks better in renderings but forces more rework in production.
| Build choice | Best for | Typical spec range | Main trade-off |
|---|---|---|---|
| Flat stamped | Logos, bulk giveaways, simple shapes | 1.0-1.5 mm thickness; ±0.3 mm size tolerance | Lower premium feel |
| Raised relief | Collector items, awards, premium branding | 1.5-3.0 mm thickness; 0.2-0.4 mm relief steps | Higher tooling and QC sensitivity |
| Shaped/cast | Mascots, 3D elements, irregular silhouettes | 1.8-4.0 mm body thickness; tighter tool control | More weight, more rework risk |
Decision 3: What finish level does the brand really need?
Finish is often over-specified. Buyers ask for the most decorative plating or the most complex print method even when the brand only needs clean logo edges and good color match. The right finish should be chosen by viewing distance, handling frequency, and expected life, not by habit or the most expensive catalog option.
For short-lived campaign items, standard nickel, black nickel, or antique brass with basic color fill is often enough. For VIP gifts and retail pieces, upgraded decorative layers of roughly 0.03-0.05 mm are more defensible because they resist wear better on high-touch surfaces. Mirror polish gives strong visual pop but shows tool marks, parting lines, and dust more readily. Antique and matte finishes hide fingerprints and minor surface variation better, but they also reduce brightness and can make small graphics look darker.
If you need print rather than enamel, define the target color method early. Pad print and UV print are usually better for fine gradients and small text, while soft enamel is better for tactile depth and a more durable, structured look. For production control, ask for a pre-production color target using a Pantone reference, and specify whether a visual match under D65 lighting or a numeric tolerance is the acceptance standard. For critical brand colors, many buyers ask for ΔE ≤ 2.0 against the approved master, with a visual check at 45° under neutral light.
A finish choice should also reflect handling frequency. A piece that will be touched daily should not rely on a delicate high-gloss surface with no protective packaging. If the item is expected to move through shipping, retail shelving, or repeated use, the finish should be selected for wear resistance first and shine second.
Decision 4: Which hardware failure is least acceptable?
Hardware is the hidden source of returns. A product can look perfect in photos and still fail if the clasp loosens, the magnet is weak, the ring opens, or the chain bends after a few uses. Buyers should define the failure they cannot accept, then set the hardware specification around that risk.
For pins, that may mean choosing between butterfly clutch, rubber clutch, safety clutch, or magnetic back. A butterfly clutch is common for low-cost programs, but it is not the best choice if the item will be removed often or shipped loose in a kit. For heavier pins, stronger backings or dual clutches can reduce spin and loss. For keychains, specify split-ring wire diameter, jump-ring closure, and swivel strength; a practical split ring is often around 25-30 mm outer diameter with wire in the 1.2-1.5 mm range for medium-duty use. For magnets, define pull force on the real mounting surface, not just on flat lab steel.
Ask for pull testing, twist testing, or opening-cycle testing depending on the hardware. A useful supplier check is to require the factory to report the failure point in a small sample run: loosening, deformation, paint crack, or detachment. If the part will hang from fabric, leather, or coated paper, the substrate matters as much as the fastener itself. For example, a magnet that holds 400-500 g on bare steel may perform far worse on a painted filing cabinet door with a textured coating.
- Define the failure that matters most: loss, rotation, breakage, scratching, or snagging.
- Match the attachment to the substrate: fabric, leather, paper, metal, or painted surfaces.
- Ask for sample pull testing on the actual use surface, not only on flat steel.
- Require a replacement threshold in writing for loose, bent, or deformed hardware.
- Avoid over-engineered hardware when the item is meant for low-cost mass distribution.
Decision 5: Which tolerance range is actually acceptable?
Tolerance is where good designs get ruined by vague instructions. If the buyer does not define acceptable variation, suppliers will interpret size, thickness, cutout width, and placement in whatever way is cheapest for the factory. That can cause uneven stacking in multi-item kits, mismatched backs, or shapes that no longer fit packaging inserts.
For most custom metal promo products, a practical outside dimension tolerance of ±0.3 mm to ±0.5 mm is common depending on process and size. Cutouts, slots, and holes usually need tighter control, often around ±0.1 mm to ±0.2 mm on functional features if they must accept a post, ring, or clip without forcing. Thickness tolerance is usually looser than buyers expect, especially on cast and filled products, where ±0.2 mm to ±0.4 mm is not unusual. The right move is not to chase zero variation; it is to identify which dimensions are functional and which are cosmetic.
If two components must fit together, such as a pin and backing-card window or a coin and capsule insert, stack-up matters more than any single dimension. Specify one critical datum first, then allow the other dimensions to float within a controlled envelope. That keeps the factory focused on what must be exact and where it can safely absorb variation.
| Specification area | Typical buyer mistake | Better approach |
|---|---|---|
| Overall size | Only sends artwork file | State finished size and acceptable deviation |
| Thickness | Assumes one number fits all | Specify nominal plus process range |
| Hole/cutout | Uses decorative size only | Define functional fit requirement |
| Multi-item set | Specs each part separately | Specify stack-up and assembly relationship |
Decision 6: How much risk should you buy down with sampling?
Sampling is not just a yes-or-no step; it is a risk-control tool. For simple repeat orders, a digital proof or pre-production photo may be enough if the same tooling and finish are already locked. For first-time projects, or anything with mixed materials, moving parts, or unusual color demands, a physical sample is usually worth the time and freight cost.
A common mistake is asking for a sample without defining what it must prove. One sample may validate shape and plating, while another is needed for hardware feel, packaging fit, or magnetic strength. If the project is seasonal or tied to a fixed event date, the key question is how much uncertainty the sample must remove before mass production starts, not whether sampling is optional.
Lead times follow that risk logic. Simple samples are often ready in 7-10 days; more complex builds, especially with multiple finishing steps or hard-to-match colors, may need 12-18 days. Mass production for standard custom metal items commonly runs 12-25 days after approval, with faster schedules usually requiring a simpler build, a higher MOQ, or a rush premium. A practical FOB buying frame is roughly USD 0.35-0.90 for basic stamped items at 500-1,000 pcs, USD 0.90-2.50 for mid-range plated or enamel items, and USD 2.50-6.00+ for complex cast or premium-finish pieces, depending on size and hardware.
For packaging, allow time for insert cards, polybags, backing cards, and barcode labels if they are part of the saleable unit. Those details can add several days to assembly and inspection even when the core item is finished on time. If the item is part of a retail launch, plan a 3-5 day buffer for final pack-out and carton inspection.
Decision 7: What price band matches the business case?
FOB price should be read as a function of structure, finish, quantity, and defect tolerance, not as a single quote comparison. Low-MOQ orders usually carry more unit cost because setup, plating, inspection, and packing are spread over fewer pieces. Larger orders reduce unit price, but only if artwork is stable and the buyer can absorb a longer schedule and a more formal QC process.
Here is a practical procurement range for common promo builds: simple stamped pins or charms at 500 pcs often sit around USD 0.40-0.95 FOB; soft-enamel or two-tone plated items at 1,000 pcs often land around USD 0.85-2.20 FOB; die-cast or highly dimensional items at 1,000 pcs may reach USD 1.80-4.50 FOB; and larger premium items with custom packaging can exceed USD 5.00 FOB quickly. MOQ tiers typically move from 100-300 pcs for very simple molded or stock-tool adaptations, 500 pcs for many custom metal items, and 1,000 pcs or more for best pricing on fully custom tooling.
The cheapest quote is often the one that excludes the controls you will later need. Extra proof rounds, special packaging, upgraded plating thickness, rush freight, and rework allowance can easily move landed cost more than a small difference in unit price. The right question is not “What is the lowest price?” but “What price buys the lowest total risk for this use case?” If a slightly higher FOB quote removes a resampling cycle or lowers defect rate, it is usually the better buy.
| Build type | Common MOQ | Sample lead time | Production lead time | Indicative FOB |
|---|---|---|---|---|
| Basic stamped metal | 300-500 pcs | 7-10 days | 12-18 days | USD 0.35-0.90 |
| Soft enamel / plated | 500-1,000 pcs | 8-12 days | 15-25 days | USD 0.90-2.50 |
| Die-cast / dimensional | 500-1,000 pcs | 10-18 days | 18-28 days | USD 1.80-4.50 |
| Premium gift build | 1,000+ pcs | 12-18 days | 20-35 days | USD 2.50-6.00+ |
What to do next
Before sending RFQs, write down seven decisions: use case, build style, finish level, hardware risk, tolerance priorities, sampling depth, and target price band. Then convert those decisions into a one-page spec sheet with finished size, thickness, plating, attachment, packaging, and the one defect you will not accept. That gives suppliers a clear path to quote apples-to-apples and cuts the back-and-forth that causes delays.
A practical checklist helps keep the request tight and comparable across suppliers.
- State the exact use case: worn, carried, mailed, displayed, or gifted.
- Define finished size, thickness, and the tolerance on critical features.
- Choose finish type and color standard, including any plating thickness target.
- Specify hardware type, attachment strength, and the failure you will not accept.
- Ask for MOQ, sample lead time, mass-production lead time, and FOB range.
- Require photos or a physical sample before approving production.
- Confirm packaging, labeling, and inspection standard before the order starts.
If you want, ZheCraft can help turn artwork into a production-ready spec, recommend the right build for the job, and flag the places where your concept is likely to create rework. The fastest orders are rarely the most creative; they are the ones with the clearest decisions upfront.
Have a project? Send your artwork and target quantity and we’ll reply with a detailed quotation within 12 working hours.
Ready to get this made?
Send your sketch, target quantity and ship-date. Detailed quotation in 12 hours.


