7 Production Failures That Ruin Custom Promo Orders
Why good artwork still fails in production
Most custom promo orders do not fail because the concept is weak. They fail because the drawing leaves too much room for interpretation: line widths are too thin for the process, colors are specified without finish context, and dimensions are written without tolerances. A factory can make a technically correct sample that still becomes a poor bulk result if the spec never defines the risky parts.
In promo manufacturing, the cost of that ambiguity is real. Typical MOQs are 100 to 300 pcs for basic pins and patches, 300 to 500 pcs for mixed-material items, and 500 pcs or more for custom packaging or multi-part kits. Sample lead time is often 7 to 15 days for simple builds and 12 to 20 days for complex builds; bulk production commonly runs 12 to 18 days after approval for repeat orders and 18 to 30 days for first-time tooling or custom packing. FOB China pricing is usually predictable by category: soft enamel pins at about USD 0.35 to 1.80 each, hard enamel pins at USD 0.60 to 2.80, die-struck coins at USD 0.80 to 3.50, embroidered patches at USD 0.25 to 1.20, woven patches at USD 0.20 to 0.90, and simple lanyards at USD 0.18 to 0.75, before shipping and add-ons.
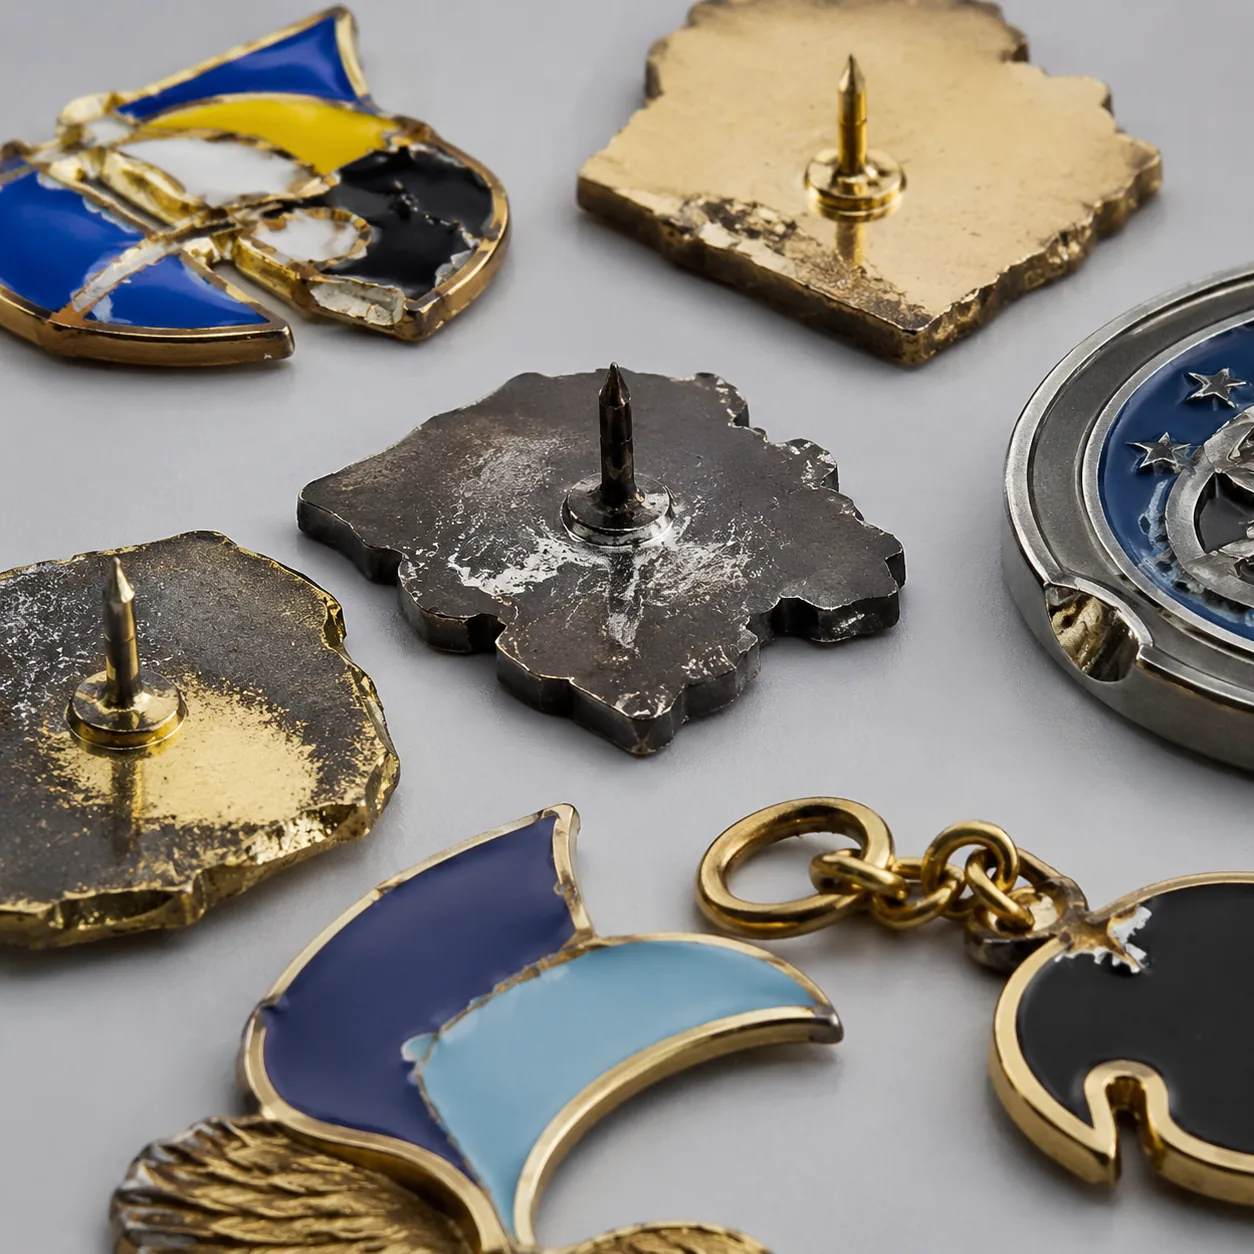
The recurring failures are not exotic. They are repeatable: enamel bleeding over walls, plating showing through thin edges, magnets pulling off weak card stock, patches shrinking after wash testing, and lanyard print drift between sample and bulk. The fix is not more persuasion; it is tighter specification at the exact points where the process can fail.
Failure mode 1: artwork that cannot be built
A drawing can look fine on screen and still be impossible to stamp, cast, weave, or print cleanly. The usual culprits are line widths below process capability, tiny isolated islands, text that becomes unreadable after tooling shrink, and cutouts that leave fragile bridges. In metal products, a detail that is visually acceptable at 1:1 scale may disappear once tooling compensation, polishing, and plating are applied.
For soft enamel pins, practical minimums are usually 0.25 mm for raised metal walls and 0.30 mm or more for text that must remain legible after filling and plating. For hard enamel, keep critical line work closer to 0.30 to 0.35 mm because the surface is polished flush and the final read depends on cleaner edges. For woven patches, the warning sign is detail density rather than one single line: if too many elements compete in a 60 x 60 mm area, the weave becomes noisy and the smallest shapes collapse. For screen-printed lanyards, hairline logos under 0.2 mm are risky unless the print method and fabric are controlled tightly.
- Specify the final size in millimeters, not only pixels or inches.
- Call out minimum line width and minimum gap width.
- Mark any text under 5 pt as review-required.
- State which elements are cosmetic if the process needs simplification.
- Request a 1:1 pre-production proof before tooling lock.
Failure mode 2: finish and color fighting each other
Plating, paint, and enamel do not behave independently. Bright gold warms adjacent colors; black nickel makes thin walls look narrower; matte textures reduce apparent contrast between compartments. Buyers often approve a flat PMS target without considering the final combination of substrate, plating, gloss, and fill depth.
This is where many reorders go wrong. The first sample matches the artwork, but the bulk order shifts because the buyer approved the wrong reference: a color chip alone instead of the actual build stack. For hard enamel, a 1.0 to 1.2 mm total fill depth is more stable than a shallow fill, but only if polishing is consistent and the cure cycle is controlled. For soft enamel, the exposed metal wall height usually sits around 0.2 to 0.4 mm above the fill, so plating variation is highly visible at edges. Typical visual acceptance is easiest to hold when the buyer approves both a PMS target and a physical master sample under neutral light.
| Spec item | What to write | Why it matters |
|---|---|---|
| Plating finish | nickel, black nickel, gold, antique brass, matte or polished | Changes perceived color and edge definition |
| Color reference | PMS code plus physical approved sample | Screen color alone is not reliable |
| Surface gloss | gloss, satin, or matte | Affects brightness and contrast |
| Fill depth | for example 0.8-1.2 mm | Prevents low-fill or domed appearance |
| Coating | epoxy, none, or clear coat | Changes scratch resistance and reflection |
Failure mode 3: dimensions that drift after tooling
Dimension problems are rarely dramatic on day one. They show up as subtle issues: a pin that sits crooked, a badge that overhangs a lapel, a coin that no longer fits a presentation case, or a magnet that misses the print area on a card. Small drift happens because tooling, polishing, plating buildup, and assembly each add variation.
If the spec only states nominal size, the factory will interpret acceptable variation based on internal habit instead of your use case. That is a bad trade on products that must match packaging, multiple SKUs, or existing brand assets. Better buyers define critical dimensions, tolerance bands, and which surfaces are functional versus cosmetic. A decorative outline on a metal promo product may allow ±0.3 mm, while attachment spacing, insert fit, or card slots often need ±0.1 to ±0.2 mm depending on the build and the packaging stack. For plated parts, remember that buildup can reach roughly 0.05 to 0.15 mm per side depending on finish and process, which is enough to affect tight-fit packaging.
The practical habit is simple: lock the finished size, then separately state whether that dimension is measured before or after plating. On a 25 mm coin or lapel pin, even a 0.15 mm buildup per side can matter if the part must sit in foam, acrylic, or molded packaging.
- Identify the one or two dimensions that must never drift.
- State tolerances separately for functional and decorative dimensions.
- Call out whether plating buildup is included in the finished dimension.
- Check fit against the actual package, card, or insert.
- Approve a physical sample, not just a CAD view.
Failure mode 4: weak attachments and hidden hardware risk
The front of the product gets approved first, but the back hardware is often where returns are created. Butterfly clutches, rubber clutches, safety pins, magnets, split rings, lobster clasps, and brooch backs all fail differently under load, angle, and repeated use. A magnet that feels strong in hand may still fail on thick fabric or through a blister card; a brooch pin may rotate if the center of gravity sits too far from the clasp.
For heavier metal products, especially brooches, coins used as wearable items, and larger keychains, attachment choice should be based on weight and intended motion, not habit. A 20 to 25 mm badge with thin stamped metal may stay stable with a standard clutch, but once the product exceeds roughly 8 to 10 g, or the shape becomes asymmetrical, dual posts, anti-rotation tabs, or a stronger clasp are more appropriate. If the buyer never states the wearing context, the factory is guessing. For magnets, request the holding condition in writing: garment thickness, card stock thickness, and whether the backer must survive hanging display or only presentation use.
| Hardware | Best for | Common failure |
|---|---|---|
| Butterfly clutch | light pins and badges | loosens with repeated wear |
| Rubber clutch | midweight pins | can detach under snagging |
| Magnetic back | delicate fabrics | loses holding force on thick garments |
| Brooch pin | larger or heavier pieces | rotation and sagging |
| Split ring / clasp | keychains | ring opening or clasp fatigue |
Failure mode 5: decoration method mismatch
Not every design belongs in the same decoration method, even if the category looks similar. Embroidery needs enough stitch area to build shape; woven patches need enough density to preserve detail; enamel needs walls that can contain fill; UV print and screen print need a surface that will hold fine color without smearing. A design that is perfect for one method can become a production mess when the buyer switches build types without redesigning it.
The giveaway sign is a spec written around appearance only: “make it as detailed as possible.” That usually creates a sample that looks strong at low quantity and unstable in mass production. The better approach is to tie the design to the method itself, then define the weak points. For example, if a patch has a dark background and tiny internal text, woven may outperform embroidery, but only if the linework is simplified and the edge is specified as merrowed or heat-cut to prevent fraying. For lanyards, sublimation is usually safer than screen print when the design carries gradients, but the base fabric, print width, and stitch finish still need to be named.
A useful buying rule is to match decoration method to detail density. Embroidery generally performs best when letters are at least 3 to 4 mm tall, woven when fine lines stay above about 0.15 to 0.2 mm, and enamel when enclosed areas are large enough to prevent fill breakout. If the art cannot clear those thresholds, change the art, not just the supplier.
- Match detail level to the decoration method before quoting.
- Avoid switching from print to weave or enamel without redesign.
- Define whether raised, flat, or stitched detail is acceptable.
- State any minimum readable text size.
- Ask the factory which elements will be dropped first if simplification is needed.
Failure mode 6: surface wear that appears after approval
Some defects do not show up on the first inspection. Plating that looks clean may tarnish after humidity exposure; epoxy may yellow or scratch; printed lanyards may crack at fold points; and soft enamel can collect dirt in recessed areas if the surface profile is too rough. Buyers who only inspect cosmetics at receipt often miss the actual life-cycle failure.
The practical answer is to specify the intended environment. Indoor promotional use, souvenir retail, and outdoor or event wear are not the same duty cycle. A product expected to live on a backpack zipper, for example, will see abrasion far faster than one sitting in a presentation box. For outdoor or high-touch use, ask for abrasion-minded material selection and, where relevant, a nickel-free plating declaration plus a salt-spray expectation for the metal layer. For plated items, a 48 to 72 hour neutral salt spray target is a reasonable internal benchmark for many promo projects; for higher-risk outdoor use, 96 hours is a more conservative request. Printed or coated surfaces should also be checked for rub resistance, edge lift, and yellowing under indoor light.
For printed goods, define the test in plain language: no visible cracking after 50 to 100 bend cycles on a lanyard neck area, no edge lift after 24 hours on adhesive-backed items, and no major color shift under normal indoor lighting. The point is not to over-engineer every piece; it is to make the supplier test the failure that matters most for the end use.
Failure mode 7: sampling that cannot be scaled
A good sample is only useful if the bulk order can match it. Many projects die in the handoff between sample and production because the sample was effectively hand-finished, but the bulk order must run on standard tooling, standard labor time, and standard packing. If the approval sample contains manual touch-up that is not written into the spec, the factory is not obligated to reproduce that invisible effort at scale.
That is why sample control needs to be as formal as the product itself. Record what was approved: plating shade, enamel tone, hardware type, backstamp position, packaging insert thickness, and any acceptable variation. When the factory has to choose between your memory and the written document, the written document wins every time. For repeat work, the safest MOQ tier is often 100 to 200 pcs for simple pins and patches, 300 to 500 pcs for mixed hardware or multi-part items, and 500 pcs or more for fully custom packaging where carton and insert setup cost needs to be spread out.
Lead times also need to be locked into the approval path. A straightforward reorder may ship in 12 to 18 days after proof approval, while a first-time complex item with custom backing card or special metal finish may need 20 to 30 days. If a supplier cannot state the sample date, bulk date, and packing date separately, the schedule is not controlled tightly enough for a promotional launch.
| What to lock | How to record it | Typical risk if omitted |
|---|---|---|
| Color | PMS plus physical sample | Tone shifts between batches |
| Finish | matte, polished, or antique | Appearance mismatch |
| Hardware | exact back type and size | Comfort or retention failure |
| Packing | card, bag, insert, carton | Transit damage or presentation mismatch |
| Critical dimensions | nominal plus tolerance | Fit problems in packaging or wear |
What to do next
Start with a failure-mode review instead of a design review. Ask which three things would most likely break in bulk: legibility, attachment, color, fit, wear, or packing. Then write those risks directly into the RFQ so the factory can price and test against them instead of guessing.
If you are comparing suppliers, send the same artwork with a control sheet that names the critical dimensions, finish, hardware, and acceptance limits. For complex metal products, ask for a pre-production sample, a written tolerance check, and bulk photos from the first run. If you want a practical starting point, use this checklist before you send the file:
- Confirm final size in mm and state the measuring point.
- Lock material, plating, color reference, and gloss level.
- Define minimum line width, text size, and gap width.
- Specify attachment type, back hardware, and load context.
- Set tolerance bands for all fit-critical dimensions.
- State MOQ, sample lead time, and bulk lead time in days.
- Approve a physical sample and archive the signed spec sheet.
If you want, ZheCraft can help turn a rough concept into a production-ready spec sheet for pins, badges, coins, patches, magnets, keychains, or lanyards before you request quotes.
Have a project? Send your artwork and target quantity and we’ll reply with a detailed quotation within 12 working hours.
Ready to get this made?
Send your sketch, target quantity and ship-date. Detailed quotation in 12 hours.


