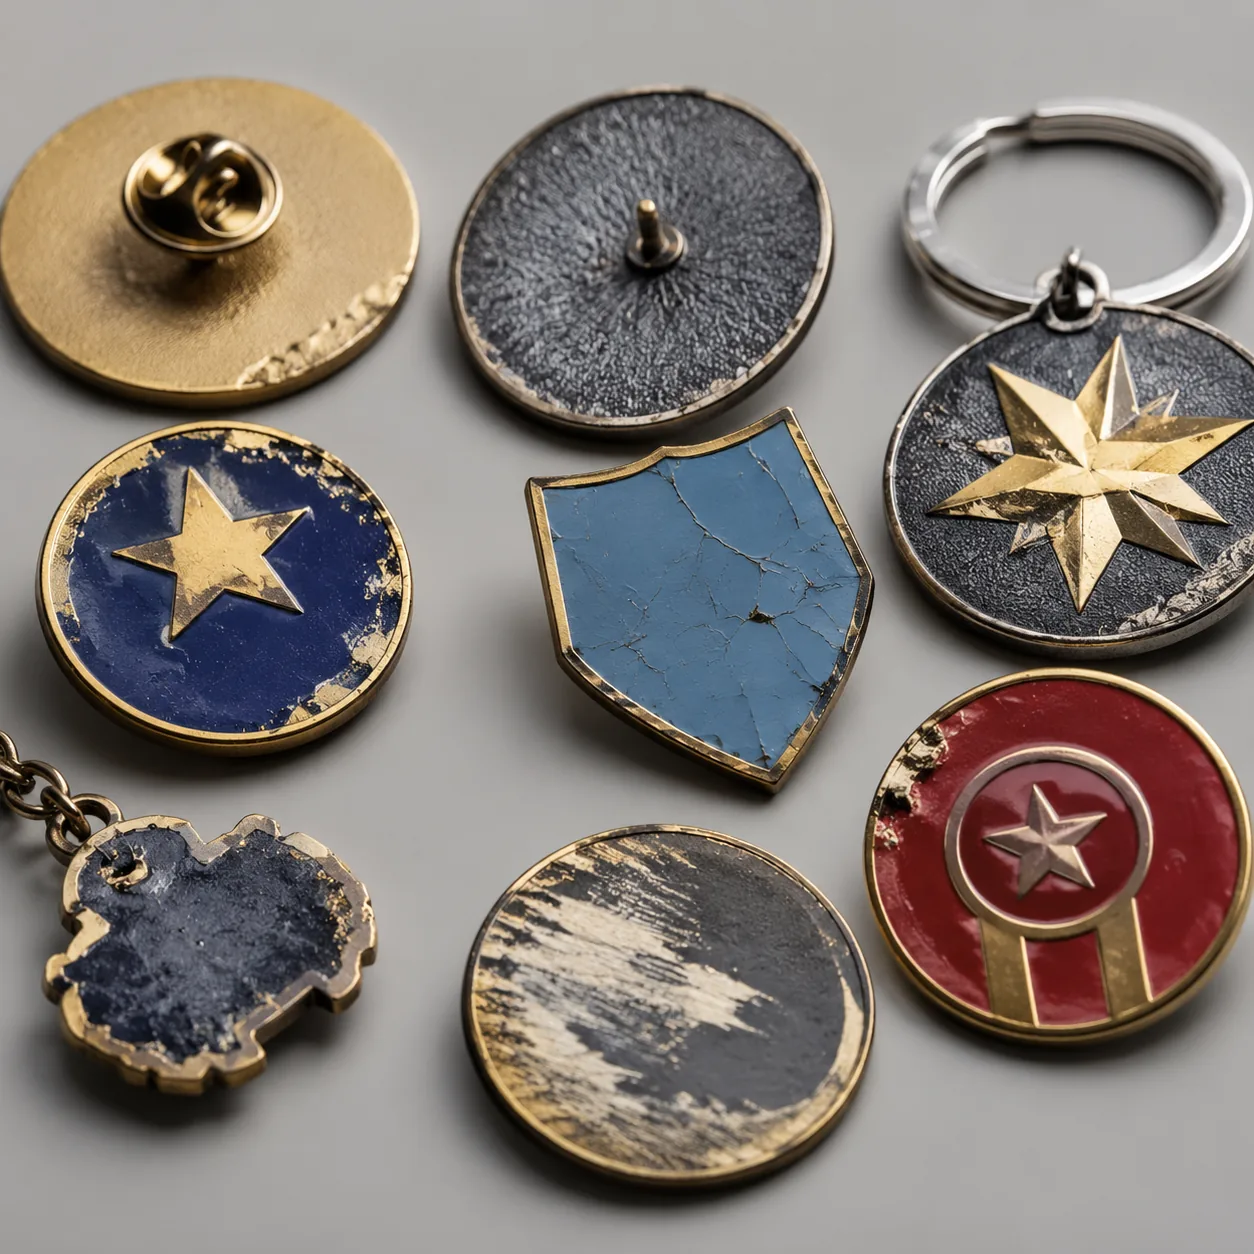
7 Production Failures That Ruin Custom Metal Giveaways
Why “Looks Fine” Still Fails at Mass Production
Most buyer rework starts with the same mistake: approving a single sample and assuming the factory can reproduce it unchanged at scale. In custom metal giveaways, the first 10–20 pieces often hide the real process behavior. Plating can close narrow lines, polishing can soften relief, enamel viscosity can shift fill height, and trimming tools can drift once heat and wear build up. The result is rarely a dramatic defect. It is usually a slow spread of small deviations that make the order look inconsistent, cheap, or out of spec.
The safer way to buy is to think in failure modes, not product categories. A pin, coin, badge, keychain, or medal can fail for different reasons, but the buyer controls the same core variables every time: line width, relief depth, substrate thickness, plating build, attachment tolerance, color reference, inspection criteria, and pack method. Typical production timing is 3–7 days for sample making, 15–25 days for bulk after sample approval, and 7–12 days for rush reorders when tooling is already on file. Common MOQs are 100–300 pcs for simple soft-enamel pins, 200–500 pcs for coins and badges, and 300–1,000 pcs for plated keychains or multi-part sets. FOB pricing usually starts around USD 0.35–1.10 per pin, USD 1.10–3.80 per coin, USD 0.75–2.60 per keychain, and USD 1.20–4.50 per badge, depending on size, plating, color count, and hardware.
The goal is not perfection on paper. It is to lock the few dimensions and acceptance limits that keep predictable defects from spreading through a 3,000-piece or 10,000-piece run.
1) Weak Lines That Blur After Plating
The first production failure is usually line loss. Thin outlines, small text, and narrow separators can disappear once nickel, gold, black nickel, antique, or sandblasted plating is added. A line that reads cleanly in vector artwork can become a bridged ridge after plating and polishing, especially on soft enamel, die-struck pieces, and etched badges.
The fix is to specify line width and negative space, not just overall size. For most custom metal products, a safe visible line is 0.25 mm minimum for simple geometry and 0.30 mm if the design includes text, corner detail, or mixed fills. If the artwork uses recessed color, specify a cavity width of 0.35–0.50 mm and a land depth of 0.20–0.30 mm so enamel can settle without pinholing or overflow. For small text, keep stroke weight above 0.20 mm and character height at 3.0–3.5 mm minimum if it must remain legible after plating. On designs with microcopy or serial numbers, ask the factory to confirm the smallest readable font at actual size before tooling is cut.
| Control point | Practical spec | Why it matters |
|---|---|---|
| Visible line width | 0.25–0.30 mm minimum | Prevents plating from bridging fine gaps |
| Recess/cavity width | 0.35–0.50 mm | Helps enamel flow without flooding edges |
| Text height | 3.0–3.5 mm minimum | Keeps copy readable after polishing |
| Plating build | 0.03–0.05 mm typical | Excess thickness softens detail |
2) Over-Polished Surfaces That Erase Detail
A common misconception is that more polishing means better quality. In practice, aggressive buffing rounds corners, reduces relief contrast, and flattens the texture that gives a metal item depth. This shows up quickly on challenge coins, stamped badges, brooches, and raised-logo keychains where the design depends on crisp transitions between high and low areas.
The right approach is to define which faces are polishable and which are not. On high-relief items, ask the factory to preserve a minimum relief difference of 0.20 mm for simple logos and 0.30 mm for portrait work. For antique finishes, specify that recesses retain visible oxidation after polishing; otherwise the buffing wheel can wipe out the contrast that makes the piece readable. On parts thinner than 1.5 mm, over-polishing can also make the item feel lighter than the approved sample by thinning the edge radius and removing too much material from the highest points.
For coin-style work, a realistic relief stack is 0.20–0.35 mm for standard logos and 0.40–0.60 mm for higher-end presentation coins. If the design depends on texture, call out a matte blast or sand-cast zone rather than relying on the factory to preserve surface variation by default. For brushed or antique items, require a retained sheen target on raised areas and a controlled darkening depth in recesses so the contrast survives handling and packaging.
3) Color Drift Between Sample and Bulk Run
Color failure is rarely one wrong Pantone number. It is usually a mix of batch-to-batch pigment variance, curing temperature, enamel depth, viewing angle, and lighting. A sample approved under warm office light can look noticeably different from a bulk run inspected under 6,500K industrial LEDs. That is why buyers need a color method, not just a color name.
For enamel-filled items, specify one reference per color: a Pantone C/TCX/TPG reference, a physical master sample, and the viewing condition if the color is brand-critical. For standard work, a practical tolerance is Delta E 2.0 or less for brand colors and Delta E up to 4.0 for internal promotions where visual match is less critical. If the product combines printed graphics and enamel, require each system to be matched separately because inks and enamel age differently during curing. For glossy finishes, also define whether the target is gloss, satin, or matte; the same pigment can read lighter or darker by 5–10 percent visually once reflectance changes.
- Use one named reference standard per color.
- Confirm whether gloss, matte, or satin finish changes perception.
- Approve under one defined light source, ideally 5,000K–6,500K.
- Ask for a pre-production wet sample when the color is brand-critical.
- Lock the approved physical sample before bulk starts.
4) Attachment Problems That Pass QC, Then Fail in Use
Attachment failures are expensive because they often show up after delivery. A pin clutch that fits loosely, a keyring that opens too easily, a brooch pin that twists on fabric, or a lanyard clip that deforms in transit can all pass visual inspection but fail under real handling. Buyers often treat hardware as an accessory; in reality, it is a load-bearing component.
The right spec depends on the product and the expected use. For pins, butterfly clutches are economical but can loosen on heavy pieces above roughly 20–25 g; rubber clutches are gentler but less secure for repeated wear; magnetic backs avoid fabric damage but are weak under motion and not ideal for thicker garments. For keychains and badges, ask for wire gauge, ring diameter, spring force, and open-close cycle expectation. A typical split ring for giveaways is 30–35 mm outer diameter with 1.0–1.2 mm wire; lighter rings can deform or spread during daily use. If a product will be worn on jackets, bags, or uniforms, define anti-rotation requirements so the front face does not drift off-center.
For higher-risk programs, specify hardware by testable criteria: pin post pull resistance, ring opening force, hinge cycle count, and any plating on the attachment itself. A practical benchmark is 3–5 kgf pull resistance for standard lapel-pin posts, 5,000+ open-close cycles for spring clips, and visible deformation no greater than 0.2 mm at the ring gap after basic handling tests.
| Failure mode | What to specify | Typical mistake |
|---|---|---|
| Loose pin backing | Back post diameter and clutch type | Assuming all clutches grip the same |
| Open ring spread | Wire gauge and cycle expectation | Checking only one sample by hand |
| Rotating brooch | Anti-rotation tab or dual-post layout | Ignoring fabric weight and movement |
| Bent lanyard hook | Material thickness and load rating | Accepting a visual-only sample |
5) Tooling and Mold Drift After the First Sample
The sample is not the process. It is only the first proof that the design can be made once. Tooling drift appears when mold cavities wear, cutting dies are dressed too aggressively, or the factory changes setup after approval to improve throughput. The part is still recognizable, but the proportions no longer match the approved sample.
The best defense is to freeze production-critical dimensions before approval. For most custom metal products, hold overall size tolerance at ±0.3 mm for items under 50 mm and ±0.5 mm for larger pieces. For thickness, a practical range is ±10 percent unless the product depends on exact weight, stack height, or hinge fit. On multi-part sets, define alignment tolerance between layers so front and back components do not drift apart after assembly. Hole position should be controlled to within ±0.2–0.3 mm on small parts, because even a minor shift can affect clasps, key rings, and pin posts.
If the order is reorder-sensitive, ask the factory to retain tooling with a version record and sample archive. Without that record, a reorder can quietly shift rim width, cavity depth, or attachment position even when the artwork file has not changed. For annual programs, add a requalification rule: any tooling reused after 6–12 months should be checked against the archived master before production resumes.
6) Surface Defects Hidden by Good Lighting
Some defects only appear when you stop looking at samples under ideal conditions. Pitting, scratches, plating haze, dust inclusion, sanding marks, and tiny enamel voids often disappear in photos but become obvious once a carton is opened. The root cause is usually process control between finishing, washing, drying, and packaging—not bad artwork.
This is where inspection criteria matter more than aesthetics. For plated metal giveaways, AQL 2.5 is common for major appearance control, while AQL 4.0 is often used for minor cosmetic defects on promotional items. Critical functional points, such as pin backs, rings, hinges, or magnets, should be inspected more tightly than decorative surfaces. Ask the factory to separate major defects from minor defects so the inspection team does not treat a structural failure and a cosmetic mark as the same issue. If the order is premium or retail-facing, reduce the cosmetic allowance and define explicit reject points for plating bubbles, exposed base metal, and visible tool marks within the front-view zone.
Packaging can also hide damage until the customer opens the box. If items are packed face-to-face or stacked tightly without interleaf protection, rubbing can create hairline scratches during transit. A good appearance spec is only useful if the pack spec prevents handling damage after final QC. For FOB orders, a lot of complaints come from cartons that passed inspection but failed in export transit because trays, sleeves, or dividers were underspecified. A practical pack spec is 1 pc/opp bag for loose giveaways, 10–20 pcs per inner tray for retail presentation, and carton compression limits that prevent top-layer crushing on plated or domed surfaces.
7) Order-Level Mismatch Between Design, Pack, and Use Case
The last failure is not really a manufacturing defect; it is a specification mismatch. Buyers approve the item itself, then forget the rest of the order: backing cards, tray layout, retail polybags, set composition, or event distribution format. A premium coin can arrive with weak tray support; a pin set can arrive with the wrong card size; a lanyard can be packed in a way that causes wrinkling and returns.
The fix is to define the item as a system. If the giveaway will be handed out at an event, sold at retail, or shipped internationally in mixed cartons, the pack spec should include unit protection, inner pack count, master carton size, and target gross weight. Common pack configurations are 1 pc/opp bag for simple giveaways, 10–25 pcs per inner box for retail-style distribution, and 50–100 pcs per master carton depending on item size. Carton loading should leave enough void control to avoid compression marks, especially on plated surfaces and enamel domes. For carded items, specify card thickness at 350–400 gsm and confirm the hanging-hole position to within ±1 mm so retail hooks and blister cards stay aligned.
When a multi-item promo order goes wrong, it is usually at one of three interfaces: product-to-product fit, product-to-pack fit, or pack-to-carton fit. That is why a pin approved separately from its card, or a coin approved separately from its tray, can still fail as a finished distribution unit.
What To Lock Before You Place The Order
If you want fewer surprises, lock the specs that control failure instead of the ones that only describe appearance. The highest-value items are size tolerance, thickness tolerance, relief depth, line width, color reference, attachment hardware, finish type, and packing format. Once those are fixed, the factory can still manage normal variation without drifting outside your brand or functional limits. The most efficient buying process is usually: sample approval, written spec lock, production confirmation, then in-line inspection at the first 30–50 units and again before packing.
- Confirm one approved physical sample and one written spec sheet.
- Lock size tolerance, thickness tolerance, and relief depth.
- State the minimum visible line width and cavity width.
- Define plating type and acceptable appearance range.
- Specify hardware type, load expectation, and anti-rotation needs.
- Write pack counts, carton protection, and label format.
- Assign AQL levels for cosmetic and functional checks.
For pins, coins, badges, keychains, and lanyards in one campaign, start with the failure that would be most expensive to correct after delivery. For a brand item, that is usually color or plating. For a functional giveaway, it is usually attachment hardware. For a retail-ready program, it is usually pack spec and carton damage. Once that priority is clear, the rest of the order becomes much easier to control.
Have a project? Send your artwork and target quantity and we’ll reply with a detailed quotation within 12 working hours.
Ready to get this made?
Send your sketch, target quantity and ship-date. Detailed quotation in 12 hours.


