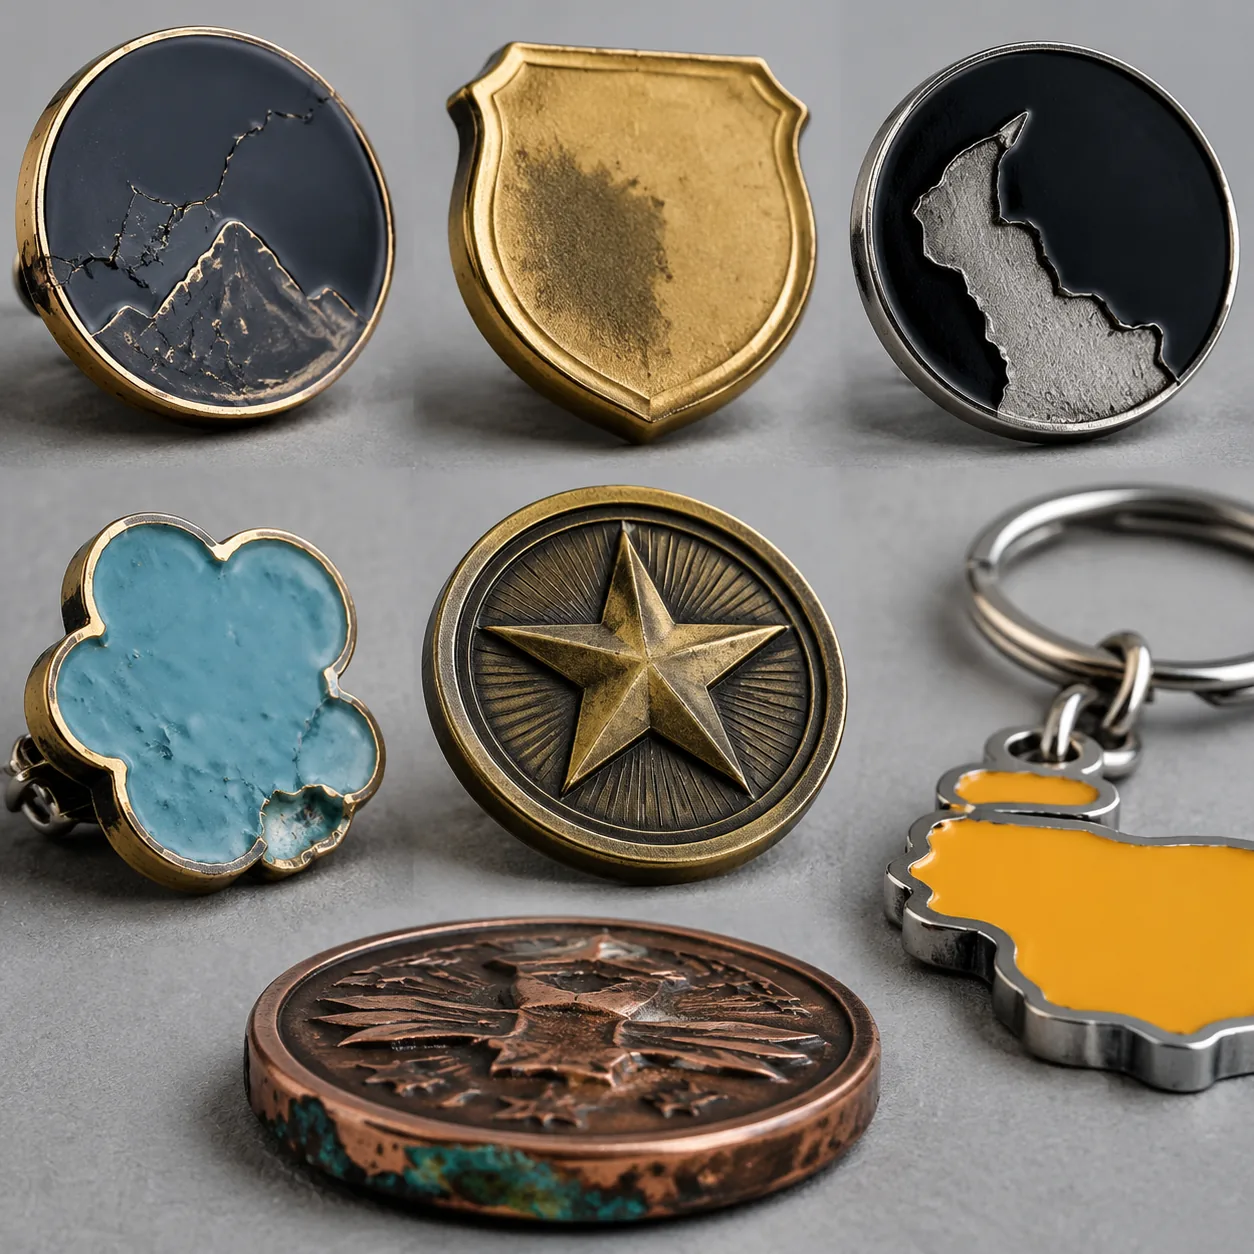
7 Production Failure Modes in Custom Metal Giveaways
Why good artwork still fails in production
Most custom metal giveaway defects do not begin in the artwork file. They appear when a clean render meets the limits of stamping, die casting, electroforming, etching, plating, enameling, and assembly. A pin, coin, badge, magnet, or keychain can look correct on screen and still fail in production because a stroke is too fine, a recess is too shallow, a plating stack is too thick for the geometry, or the attachment load was never defined. The result is usually not one dramatic failure but a cluster of small deviations that push an order into rework, sorting, or scrap.
The safest way to control these jobs is to write the order around failure modes. If you know how the part can break, you can define the drawing, quote sheet, sample approval, and inspection plan so the factory does not have to guess. For small promotional metal items, that usually means locking the process route early, defining measurable tolerances, and approving one golden sample before mass production. On repeat orders, that discipline is often the difference between a 95% first-pass yield and a batch that needs hand sorting.
Typical MOQ tiers and lead times vary by process and finish. A simple stamped soft-enamel pin often starts at 100-300 pcs, with 10-15 days for sampling and 18-28 days for mass production after sample approval. Die-cast keychains and challenge coins often sit at 300-500 pcs MOQ, with 12-20 days for sampling and 20-35 days for production. FOB pricing for standard custom work usually ranges from about USD 0.28-0.85 per piece for small pins, USD 0.70-2.20 for badge-style items, and USD 1.40-4.80 for heavier cast or multi-part items, depending on size, enamel count, plating, and packaging. Rush orders can compress lead time, but they usually increase unit cost by 10-25%.
What matters most is not whether the design looks feasible in a mockup. It is whether the chosen process can hold the smallest feature, the cleanest edge, and the final finish without breaking the inspection standard. If the order is not defined around those limits, the factory will usually optimize for speed, not for appearance consistency.
Failure mode 1: thin detail disappears or bridges
The most common surprise in pins, badges, and coins is detail loss. Hairline text that looks crisp in vector art may be too fine for stamping or die casting, especially after plating thickness and polishing round off edges. As a practical floor, stamped or die-struck details usually need metal line widths of 0.20-0.25 mm minimum; for reliable production, 0.30 mm is safer. Recessed or reversed detail below 0.25-0.30 mm often fills, bridges, or reads as a blur once color and finish are applied.
This is not just a visual issue. Thin detail raises tooling risk because fragile steel between lines can chip in the die, and it raises finishing risk because polishing removes the very edges the design depends on. On small lapel pins under 25 mm, keep text above 4 pt equivalent and avoid reversed spaces smaller than 0.30 mm. For etched parts, 0.15-0.20 mm line widths are possible on flat metal, but the final visual hold often drops after plating and handling. If the identity mark cannot survive those limits, enlarge the item or move to a flatter process with more tolerance for fine lines.
The best RFQ language is specific. Call out all critical lines, ask the factory to flag any feature below process minimum before tooling, and require a pre-production drawing with process notes. If the supplier proposes simplification, make them show exactly which strokes will be widened or removed. A practical rule is to avoid designs where the smallest negative space is less than 1.5 times the line width, because that is where bridging usually begins. For ultra-dense artwork, a larger format such as 30-35 mm often produces a better result than forcing the same art into 20 mm.
A useful internal check is to print the artwork at actual size and measure the narrowest gap with calipers or a design ruler. If the gap is already marginal on paper, it will usually be worse after molding, plating, and polishing. In production, the cheapest fix is almost always to widen the line before tooling, not to inspect harder after the fact.
Failure mode 2: plating looks patchy, dull, or rubs through
Plating complaints are often blamed on the finish line, but the root cause is usually substrate prep, base alloy quality, or a finish choice that does not suit the geometry. Sharp corners, deep recesses, and mixed textures can create visible tone shifts even when the bath chemistry is correct. Decorative finishes such as nickel, black nickel, antique brass, gold, and copper are usually specified by appearance, not by a heavy functional thickness. On promotional metal goods, cosmetic electroplating commonly lands around 0.03-0.08 microns for flash-like decorative layers and about 0.1-0.3 microns for more robust cosmetic build-ups, depending on the factory route and base metal.
Thickness alone does not guarantee appearance. Coverage uniformity and polish quality matter more than a nominal number on the quote sheet. If the base metal is porous or the buffing marks are too heavy, the plating will look cloudy, streaked, or low-gloss. A better spec includes finish type, target sheen, permitted variation zones, and an approved reference sample viewed under the same lighting used for inspection. For outdoor or high-touch items, ask about corrosion performance only if the product actually needs it; many giveaway parts are not engineered for strong salt-spray claims. For general indoor use, a clean cosmetic finish and a stable base polish are more important than unnecessary test language.
| Issue | What it looks like | What to specify |
|---|---|---|
| Thin detail | Blurred text or merged lines | 0.20-0.25 mm minimum metal line width; 0.30 mm preferred |
| Uneven plating | Dull patches or color shift | Finish type, sheen level, and an approved master sample |
| Scratch-through | Base metal showing after handling | Pre-plate polish standard and protective packing |
| Tarnish risk | Color darkens in storage | Storage conditions and anti-oxidation packaging |
For plating orders, define where cosmetic variation is acceptable. A hidden back side can usually tolerate minor tone drift, but a front face cannot. If the item will be boxed individually, request a packing method that keeps plated faces from contacting each other. That simple change often reduces scuff claims more effectively than adding another inspection step. For high-gloss finishes, a microfiber sleeve or a PET protective film is often worth the small added cost.
Also ask the supplier to confirm whether the finish is plated before or after assembly. On multi-part keychains and badge sets, assembly after plating can introduce contact marks, while assembly before plating can create shadowing in hard-to-reach areas. The correct route depends on geometry, and it should be documented before tooling starts.
Failure mode 3: enamel sinks, domes, or bleeds over the walls
Enamel problems are usually fill-control problems, not color problems. Soft enamel is meant to sit slightly below the metal lines; hard enamel should be filled and polished flush. Both fail when cavity depth, wall height, or fill volume are inconsistent. If the recess is too shallow, color can bleed over the edge. If it is too deep or too wide, the enamel may sink after curing and leave a low spot. On small badges and pins, consistent wall height matters more than adding extra colors.
The most useful spec is dimensional, not descriptive. For soft enamel, state the target recess depth and the acceptable visual step-down from the metal line. For hard enamel, define final flatness and confirm whether the factory uses true hard enamel polishing or a top-coated epoxy finish, because those are not the same in gloss, wear, or edge feel. A practical hard-enamel target is a flushness tolerance around 0.05-0.10 mm after polish, while soft enamel commonly sits 0.10-0.30 mm below the metal line depending on line height and curing shrinkage.
Reject criteria should be written before sample approval. Typical rejects include color overflow, pinholes, trapped dust, visible sink marks, and color bleed onto adjacent cells. If the design uses several close color breaks, increase the wall width instead of forcing more colors into the same space. That is often the cheapest fix because it prevents both fill errors and later polishing damage. As a production rule, keep color cells large enough that the shortest internal wall is at least 0.25-0.30 mm, and avoid extreme point-to-point corners where enamel tends to pull away during curing.
If the design needs a glossy, glass-like surface, ask whether the factory is quoting hard enamel polish or epoxy dome. Those are visually similar in photos but behave differently in wear, edge thickness, and rework tolerance. A buyer who specifies the wrong finish often ends up comparing two different processes as if they were the same product.
Failure mode 4: the size drifts or the shape distorts
A lot of rework starts with a dimension error that seemed too small to matter. In stamping and die casting, even a 0.3 mm shift on a key edge can change how the product feels in hand, interfere with attachment placement, or throw off a matching set. This matters most when a pin has a custom outline, a coin needs a fitted rim, or a badge must match a packaging insert. Without a tolerance, the factory will often treat the dimension as approximate rather than controlled.
For most small metal giveaways, a finished size tolerance of ±0.2-0.5 mm is realistic depending on process and overall size. Critical fit features should be called out separately, not hidden inside a general note. If a pin must fit a card slot, if a clasp must align with a ring, or if two halves must mate, list both nominal dimensions and the matching part dimension. The supplier can then decide whether tooling compensation is needed before mass production instead of after the first failed sample.
| Feature | Typical risk | Practical tolerance range |
|---|---|---|
| Overall outline | Too large for packaging or pairing | ±0.3 to ±0.5 mm |
| Attachment hole / post position | Misalignment or rotation | ±0.2 to ±0.3 mm |
| Mating fit with insert | Loose or impossible fit | Control both parts as a system |
| Rim width on coins | Visual imbalance | Keep within ±0.2 mm across the batch |
For products with paired components, use one reference dimension for the whole system. A badge and its insert, or a coin and its capsule tray, should be treated as one tolerance stack, not two separate parts. That reduces the common problem where each piece is technically within spec but the set still fails to assemble cleanly. If the order includes a display card or foam insert, the packaging dimension should be controlled with the same seriousness as the metal part itself.
If a customer-facing edge matters, define the acceptable burr height as well. A part can meet length and width while still failing because a sharp edge catches the finger or scrapes adjacent packaging. For polished promotional goods, a burr limit of less than 0.05-0.10 mm is a more useful callout than a vague request for a clean edge.
Failure mode 5: attachments fail in use or sit crooked
The weakest part of many giveaways is not the front design but the hardware behind it. Butterfly clutches can loosen in transit, rubber clutches feel softer but may not hold heavier items, magnetic backs are convenient but need enough pull strength, and brooch pins need enough leverage control to avoid sagging. If the attachment is undersized for the item weight, the sample may pass a static check and still rotate, tilt, or fall during real use. Hardware should be specified alongside the body, not added at the end.
As a rule, heavier or larger items need stronger retention and better anti-rotation control. For pins and badges, define post position relative to the center of gravity rather than only centering it visually. A small enamel pin under 10 g can often use one post; once the product approaches 15-20 g or has a long horizontal shape, two posts are safer. For keychains and lanyard-style assemblies, define swivel type, clasp size, ring gauge, and breaking load if the item will see repeated use. Basic pin back hardware may add only a few cents per set, but upgrading to stronger clutches or double-post hardware is almost always cheaper than replacing returned goods.
- Define attachment type by weight class, not preference alone.
- Call out post location relative to the center of gravity.
- Reject any sample that rotates noticeably in normal handling.
- Use stronger retention for items above about 15 g or with long offset shapes.
- Check hardware for rust, burrs, and sharp edges before packing.
If you are ordering mixed promo sets, keep the hardware family consistent across SKUs unless there is a real functional reason to vary it. Consistency makes QC easier and reduces the risk that one SKU passes because it is lighter while another fails under the same hardware spec. For magnets, ask for the approximate pull force in grams rather than accepting “strong magnet” as a description. That gives you a usable comparison between samples and suppliers.
A practical sample check is to shake, tilt, and wear the item, not just place it on a desk. A badge that looks centered in a tray can still flop once clipped to fabric. The factory should test the real use case, not a simplified one.
Failure mode 6: the part gets damaged during packing or transit
Some defects do not come from fabrication at all; they appear when the product is handled, packed, or shipped. Fine scratches, dust in recessed areas, oxidation marks, and edge nicks are especially common on plated products with polished faces. If the carton spec is weak, items rub against each other and develop visible wear before destination inspection. That is why an order can look acceptable at the factory and still fail on arrival.
The fix is usually a packing spec, not a redesign. Require individual polybags for high-gloss items, protective backing cards for pins, and compartmentalized inner trays when surfaces can rub. For mixed finishes, separate items by finish family so softer coatings do not contact harder, sharper edges. If the order is sensitive to scuffing or assembly shift, ask for carton-level drop or vibration testing at the sample stage, not after shipment. Many buyers focus only on AQL for appearance, but packing damage is often the actual source of claims.
A practical inspection approach is to set different AQL expectations for cosmetic and packing defects. A common promotional-goods target is AQL 2.5 for major appearance defects and AQL 4.0 for minor defects, with zero tolerance for function failures such as broken posts or missing hardware. If the item has mirrored surfaces, raise the visual standard before packing rather than trying to sort scratches at the end. For premium orders, some buyers tighten cosmetic acceptance further to AQL 1.5 on the front face while keeping packaging defects at AQL 4.0.
The carton spec should also define compression resistance, inner pack count, and the maximum stack height. A fragile plated badge packed 100 pcs per bag will almost always scratch more than the same part packed 25 pcs per compartment. If the supplier cannot quote packaging in the same breath as the metal part, the shipment is not fully specified.
What to lock before mass production
Start by identifying which failure mode would be most expensive on your order: detail loss, plating inconsistency, enamel fill, size drift, hardware failure, or transit damage. Then put that risk into the RFQ as a measurable requirement, not a vague comment. The most useful buyer documents usually include the artwork file, a dimensioned drawing, finish selection, tolerance notes, hardware choice, packing method, and a signed golden sample. If any of those are missing, the factory will fill the gap with its own assumptions.
Before tooling starts, ask the supplier to confirm three things: the process route, the critical tolerances, and the reject criteria for the first article sample. For ZheCraft, that is where hidden rework risk is usually caught early enough to adjust line widths, plating finish, attachment position, or packing before mass production. The goal is not a longer spec. The goal is to make the failure impossible to ignore. That is what keeps a reorder clean and avoids a painful remake later.
Use this checklist before approval:
- Confirm the process route: stamped, die-cast, etched, or mixed.
- Lock the smallest line width and the narrowest gap.
- Specify finish type, sheen level, and any hidden areas allowed to vary.
- Define finished size tolerance and any critical fit dimensions.
- Approve hardware by weight class and load requirement.
- Set packing method, inner count, and surface protection.
- Sign one golden sample and attach photos of acceptable defects.
When those items are in place, a factory can quote more accurately, sample faster, and produce with fewer surprises. That is the real quality-control gain: fewer assumptions, fewer arguments, and a much lower chance that a good design turns into a bad shipment.
Have a project? Send your artwork and target quantity and we’ll reply with a detailed quotation within 12 working hours.
Ready to get this made?
Send your sketch, target quantity and ship-date. Detailed quotation in 12 hours.


